

Tutorials
IoT Project Ideas for FYP: 10 You Can Finish Alone
Aug
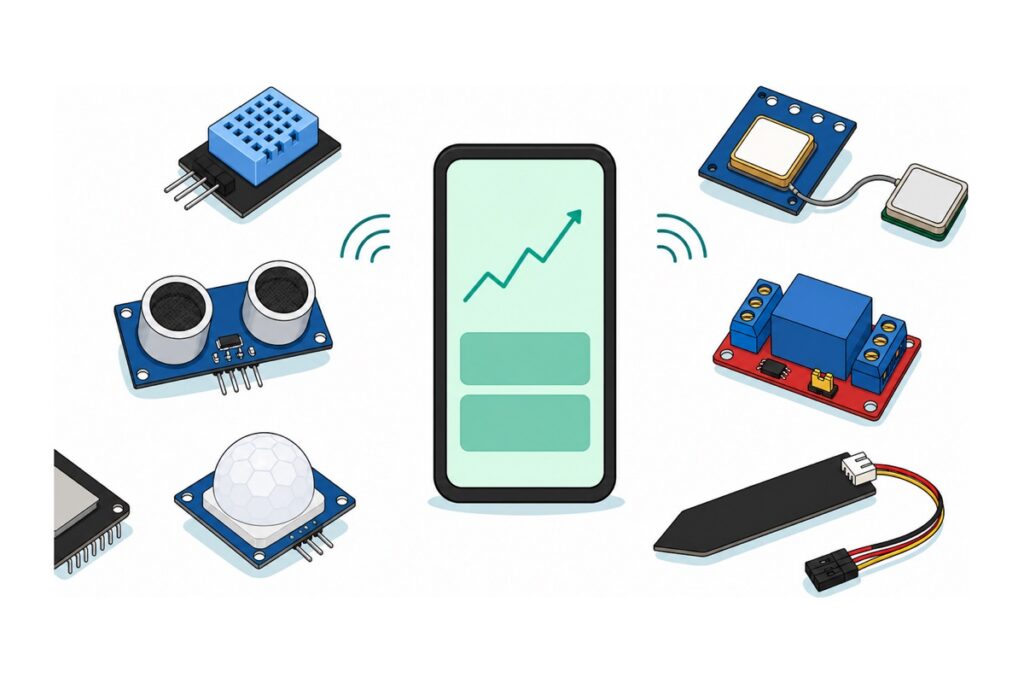
Every IoT project you can genuinely finish on your own in one semester shares the same skeleton: one sensor in, an ESP32 makes the decision, Wi-Fi pushes the value out to a Blynk dashboard, and a relay can act on it. The ten ideas below are that skeleton with the sensor swapped — so the real difficulty comes from where the thing gets installed, not from how many components it has.
This guide is for university, polytechnic and diploma students who have to pick one final year project and finish it themselves. Every idea points at a full build guide that already exists here, so you can go straight to the wiring once you have chosen.
Short answer: the safest to do alone are a room temperature and humidity monitor, phone control of a DC lamp or fan, and an automatic plant watering system — all of them installed indoors where there is a socket. The ones that most often never get finished are face recognition attendance, mains energy monitoring, and battery nodes that have to last for months.
What skeleton do all of these IoT projects share?
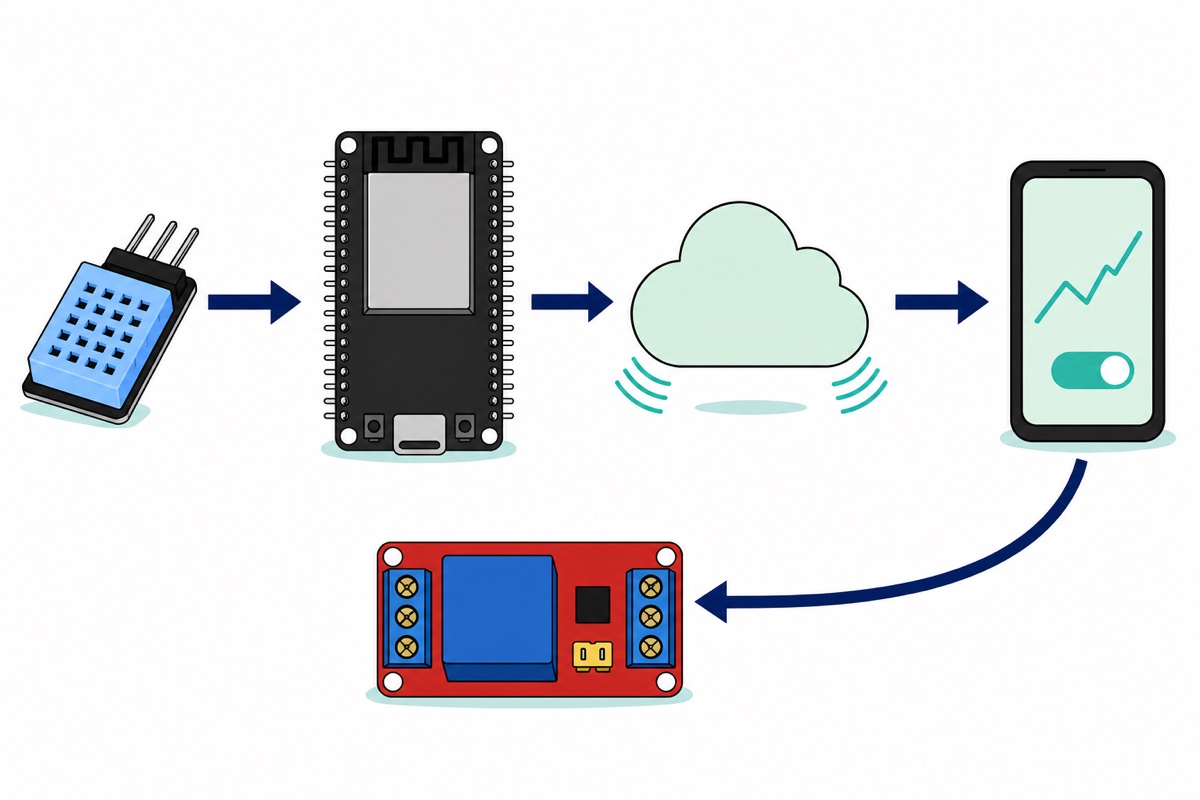
The ESP32 is a microcontroller with a Wi-Fi radio inside the same package, and that is the only reason this list of ideas can be this short. Every project below is the same four blocks.
The first block, the sensor, turns a physical quantity into something the board can read: a voltage digitised by the ADC (soil probe, TDS), a pulse width measured with a timer (HC-SR04), or a data frame on a serial protocol (DHT11, DS18B20, GPS). The second block is the decision — almost always one comparison against one threshold.
The third block is what makes it “IoT”. The ESP32 opens an outbound TCP connection to the Blynk server and writes values to virtual pins; your phone app subscribes to that same server. Because both sides dial out to a server in the middle, you never need to know the board’s IP address and you never open a port on your router — that is why these projects work from outside the house with no extra network work. The fourth block, the relay, carries the decision back into the physical world.
FYP core — buy once, use for any idea
 NodeMCU ESP32 Wi-Fi + Bluetooth Development Board CH340/CP2012 - For IOT Project - ESP-32 (CH340)
 Data Cable Type-A Type-C MicroUSB Type-B 0.5m 1m 30cm 0.3m 100cm Data Transfer Upload Code - TYPE-A TO TYPE-C CABLE (1.0M)
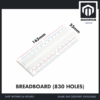 MB102 Breadboard 170 400 830 Holes Breadboard Donut Board Arduino Prototype Multi Color - BREADBOARD (830 HOLES)
 40pcs Dupont Wire 10cm 20cm 30cm for Breadboard DIY Experiment Jumper Wire Breadboard wire - DUPONT WIRE M-F 20CM
 40pcs Dupont Wire 10cm 20cm 30cm for Breadboard DIY Experiment Jumper Wire Breadboard wire - DUPONT WIRE M-M 20CM
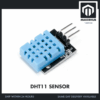 DHT 11 DHT 22 Temperature and Humidity Sensor DHT22 High Sensitivity Sensor DHT11 For Aduino IOT - DHT11 SENSOR
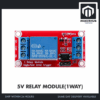 Relay Module 3.3V 5V 12V 1/2/4/8 Ways Optocoupler Trigger Relay Module 1 2 4 8 Channel Relay Module - 5V RELAY MODULE(1WAY)
An ESP32 board with Wi-Fi built in, a Type-C data cable, an 830-hole breadboard, both genders of dupont wire, one first sensor and one relay output. This is the whole skeleton before you pick an idea.
Optional add-ons
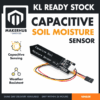 Capacitive Soil Moisture Sensor V1.2 Corrosion Resistant with Cable For Arduino IOT Application
 Mini Water Pump Submersible DC 3V-5V - 5V WATER PUMP
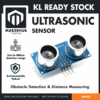 Ultrasonic Sensor HC-SR04 Ultrasonic Range Detection Distance Finder Obstacle avoidance For Arduino Application
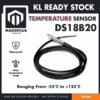 Temperature Sensor DS18B20 Temperature Measurement Probe WaterProof 18B20
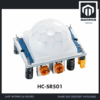 PIR Motion Sensor HC-SR501 MN-SR501 MINI Human Sensor Human Detector Motion Detector Arduino HCSR501 MNSR501 - HC-SR501 PIR MOTION SENSOR
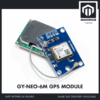 GPS Module GY NEO 6M/8M with Ceramic Antenna Time and Location Tracking - For Arduino IOT Project - GY-NEO-6M GPS MODULE
 ESP32-S3 WROOM CAM DEVELOPMENT BOARD OV5640 CAMERA MODULE WIFI BLUETOOTH DUAL USB-C IOT AI
 ESP32 Expansion Board 30P Expansion Board ESP32 Shield GPIO Expansion Development Kit
Pick only one or two, depending on which idea you choose in the table below. A 30-pin ESP32 board covers almost the full width of a breadboard and leaves only about one usable column of holes beside it, so the expander board at the end of this list is the way out when an idea needs a lot of connections.
Ten IoT project ideas for FYP and final year projects
The level column below is judged on where the project has to be installed, not on how many components it uses.
| IoT project idea | Core sensor | Level | Add-on | Build guide |
|---|---|---|---|---|
| Room or lab temperature and humidity monitor | DHT11 | Easy | None — already in the core | DHT11 monitor + OLED |
| Phone control of a low-voltage DC lamp or fan (12 V, for example) | — (output only) | Easy | None — already in the core | Control a relay with Blynk |
| Automatic plant watering system | Soil moisture sensor | Easy | CAPSOIL, 5VWPUMP | Automatic watering system |
| Intrusion alarm with phone notification | PIR | Easy | HCSR501 | ESP32 web server + relay — the output half |
| Indoor air quality and haze monitor | Dust sensor | Moderate | Follow that guide’s own list | Air quality sensor |
| Tank water level monitor | Waterproof ultrasonic | Moderate | Waterproof probe — follow that guide’s own list | Tank water level sensor |
| Aquaculture or aquarium water temperature monitor | Waterproof DS18B20 | Moderate | DS18B20 + a 4.7 kΩ resistor | Waterproof temperature sensor |
| TDS water quality meter for a pond or a tap | TDS probe | Moderate | Follow that guide’s own list | TDS meter |
| Remote monitoring camera | Camera module | Moderate | S3CAM56 | ESP32-S3 CAM video stream |
| Vehicle or asset location tracker | NEO-6M GPS | Hard (power in the field) | GPS6MAN | NEO-6M GPS module |
One note on the tank row: the HC-SR04 in the optional list is a dry-air sensor — its two transducers are exposed, and the damp air inside a water tank eats them. Keep it for distance measurement on the bench or rubbish level in a bin; for water tanks our guide uses a fully potted ultrasonic probe.
The cost of each idea follows the same pattern: the core is bought once, then one or two items from the optional list. Both lists above show current prices live, so the cost estimate for any row is the core plus the parts named in that row.
For secondary school level projects — Form 1 to 3, RBT coursework — there is a better-suited list in our RBT electronics project ideas guide.
The same skeleton code for every idea
The sketch below is the full skeleton for the first idea in the table: read the DHT11, send two values to the dashboard, and fire a notification when it crosses the threshold. To turn it into any other idea, swap the two reading lines and the library — everything else stays.
// The base skeleton of every FYP IoT project: read sensor -> decide -> send to Blynk.
#define BLYNK_TEMPLATE_ID   "TMPL6xxxxxxxx"   // copy from Blynk.Console
#define BLYNK_TEMPLATE_NAME "Projek FYP"
#define BLYNK_AUTH_TOKEN    "TokenAndaDiSini"

#include <WiFi.h>
#include <BlynkSimpleEsp32.h>
#include <DHT.h>

const char* SSID_WIFI = "NamaWiFiAnda";
const char* PASS_WIFI = "KataLaluanWiFi";

#define PIN_DHT  4          // GPIO4 on the ESP32 DevKit
#define JENIS_DHT DHT11

DHT dht(PIN_DHT, JENIS_DHT);
BlynkTimer pemasa;

const float HAD_SUHU = 32.0;   // trigger threshold, in Celsius
bool amaranAktif = false;

void hantarBacaan() {
  float suhu   = dht.readTemperature();
  float lembap = dht.readHumidity();

  // The DHT11 sometimes does not answer; skip that round, do not send junk.
  if (isnan(suhu) || isnan(lembap)) {
    Serial.println("Bacaan DHT gagal - langkau pusingan ini");
    return;
  }

  Blynk.virtualWrite(V0, suhu);
  Blynk.virtualWrite(V1, lembap);

  // 1 C of hysteresis so a reading wobbling at the threshold does not fire
  // dozens of notifications back to back.
  if (suhu >= HAD_SUHU && !amaranAktif) {
    Blynk.logEvent("suhu_tinggi", String("Suhu ") + suhu + " C");
    amaranAktif = true;
  } else if (suhu < HAD_SUHU - 1.0) {
    amaranAktif = false;
  }
}

void setup() {
  Serial.begin(115200);
  dht.begin();
  Blynk.begin(BLYNK_AUTH_TOKEN, SSID_WIFI, PASS_WIFI);
  pemasa.setInterval(120000L, hantarBacaan); // 2 values / 2 min - see the quota maths below
}

void loop() {
  Blynk.run();
  pemasa.run();
}
Two things outside this code fail silently if you miss them. In Blynk.Console, create a template, datastreams V0 and V1, and an event with the code suhu_tinggi; if that name does not exist, Blynk.virtualWrite and Blynk.logEvent return no error at all — your dashboard simply stays empty. In the Arduino IDE, the DHT sensor library depends on Adafruit Unified Sensor, and without it compilation stops with the error Adafruit_Sensor.h: No such file or directory.
The four decisions inside that sketch are the four mistakes that most often wreck an FYP. First, BlynkTimer instead of delay(): Blynk.run() has to be called continuously so it can answer the server’s pings in time. The Blynk library pings every 40 seconds and drops the connection when nothing has arrived for 40 seconds plus three 6 second timeouts, roughly 58 seconds (BlynkConfig.h). So a long delay() inside loop() drops the connection and the device looks “offline” on the phone even though it is running fine, while a short delay() makes the dashboard buttons sluggish. BlynkTimer avoids both.
Second, the isnan check. The DHT11 sends its data as pulses whose length determines the bit value, and the ESP32 has to time those pulses. When Wi-Fi work interrupts mid-frame, that timing drifts and the library returns NaN. Skipping that round beats pushing a garbage value onto your graph.
Third, one degree of hysteresis. A real reading wobbles slightly around the threshold, so without a gap between “alarm on” and “alarm off”, a temperature sitting right at 32 °C will send notification after notification.
Fourth, a two minute interval rather than two seconds. The DHT library only allows one fresh reading every 2 seconds; an earlier call returns the same old value, not an error (DHT.cpp). More important for a project left running: Blynk’s free plan counts 100,000 device messages a month (Blynk plan list). Two values every two seconds is about 86,400 messages a day, so a month’s quota is gone in roughly a day and your graph stops updating mid-semester; two values every two minutes is about 43,000 a month. Drop the interval temporarily while testing on the bench, then put it back before you leave the project running.
This short video shows those readings appearing on the phone for the first time — the part that is hardest to convey in text.
What actually eats the weeks?
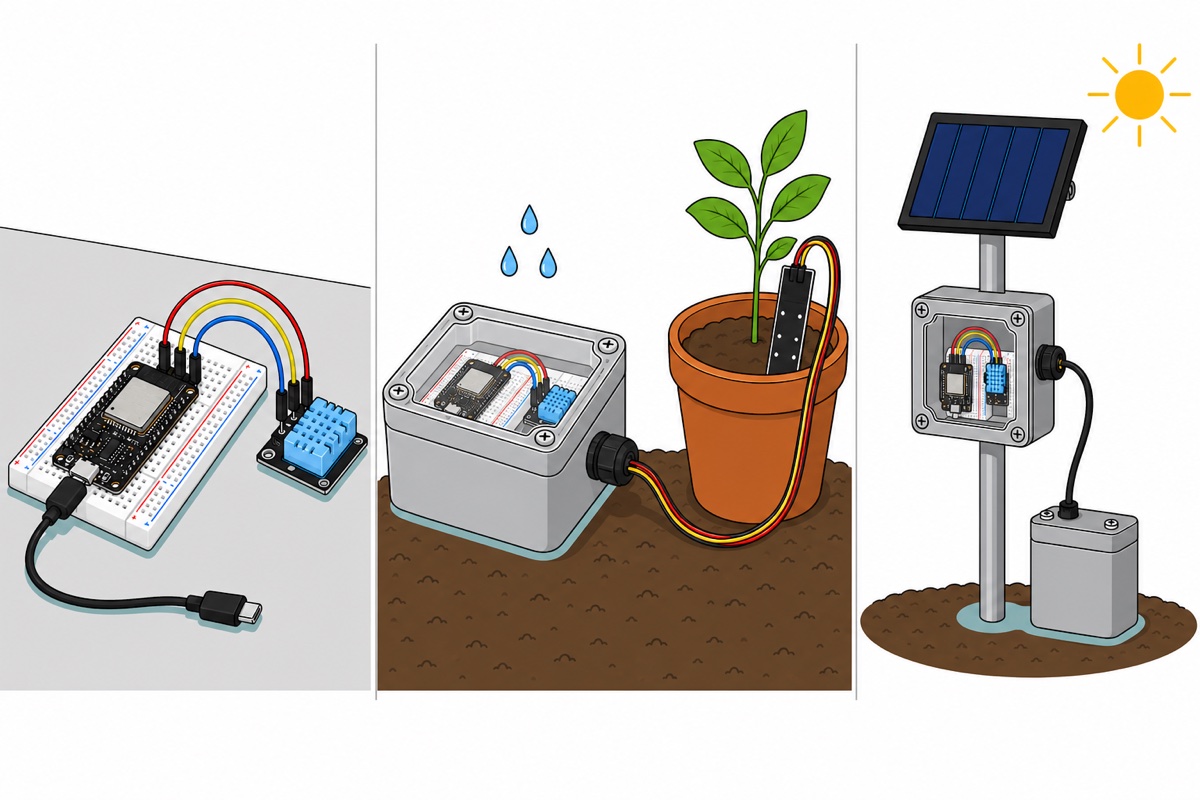
The sensor is not the expensive part in terms of time. Reading a DHT11 or a soil probe on the bench is an afternoon’s work, because the library is already written and the wiring is three wires. What burns weeks is four things outside that circuit.
| Factor | Why it eats time | How to shrink it |
|---|---|---|
| Installation environment | Every step away from the desk — into a pot, into a tank, up a pole — adds waterproofing, mounting and access | Pick a spot you can reach within five minutes |
| Waterproofing and enclosure | Boxes, cable glands and sealing are mechanical work, not electronics work | Keep the electronics inside, only the probe outside |
| Power in the field | No socket means batteries, charging and a current budget — a full sub-project | Stay on USB supply if you possibly can |
| Your own user interface | A phone app or your own server is a second project with its own bugs | Use the ready-made Blynk dashboard |
That is why the last two rows of the ideas table are marked higher. The camera and the GPS are no harder to wire than a DHT11; they are harder because both usually end up outside the room.
Two details surprise students on day one: the ESP32-S3 camera board ships with its pin headers unsoldered, but the first stream only needs a USB-C cable so you can start without soldering anything; and a GPS module will not get its first fix indoors — take it out into the open and give it a few minutes before deciding it is faulty.
Another common source of lost weeks is a board that refuses to accept code. The causes are in our ESP32 not detected and upload failed guide, and a board that dies by itself when Wi-Fi comes up is usually a power rail problem — see the ESP32 power supply guide.
Ideas that look easy but are better avoided
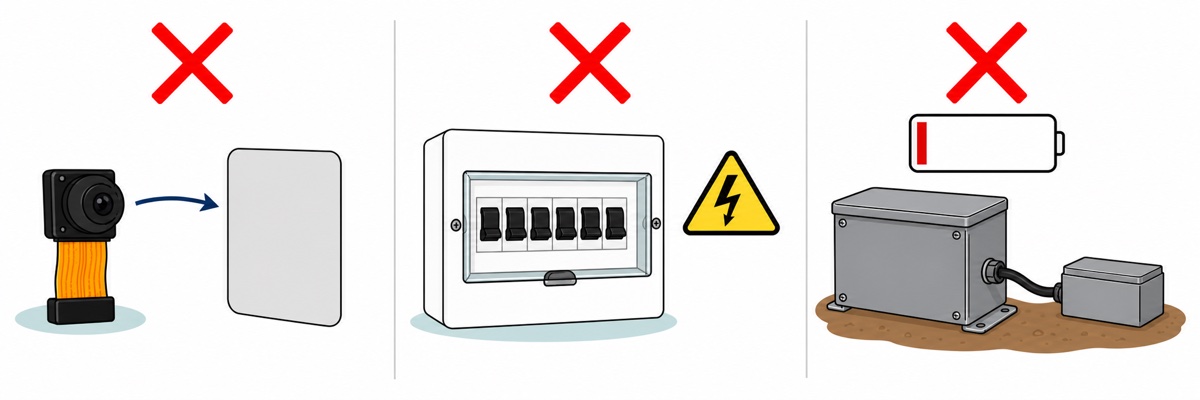
Face recognition attendance systems. An ESP32 camera module can stream video, but face recognition compares a small feature vector against a stored sample. Change the light, the angle or the distance, and the distance between two pictures of the same person shifts more than the distance between two different people — the lab demo passes, the real lecture hall does not. If you build it anyway, build it as a logging and notification tool with a human confirming, not as a lock.
Mains energy monitors. Measuring a house’s energy use means working on mains wiring, and that is high voltage work which in Malaysia requires a licensed wireman. This guide stays on low-voltage DC. If energy really is your theme, measure the DC side of a load — a solar panel, a battery pack — using a DC measurement module, and leave mains out of scope.
Battery-only nodes that must last for months. The ESP32 chip really can drop to around 10 µA in deep sleep (Espressif datasheet), but a DevKit board is not just the chip. The AMS1117 regulator on it draws 5 mA typical quiescent current (its datasheet) even while the chip sleeps, and the USB-serial chip stays powered too. So the board’s consumption floor is a few mA, not microamps: a 2000 mAh pack divided by 5 mA gives 400 hours, roughly 17 days — and that counts the regulator alone, so with the USB-serial chip on the same board the real figure is shorter still. Not months. If your project must stand on its own, plan solar and duty cycling from the start (solar panel and 18650, lithium battery types).
Writing your own phone app. Dashboards and push notifications already come free with Blynk. Writing your own app adds a build chain, Android permissions, file distribution and a new protocol between phone and board — all of it outside the system you are supposed to be demonstrating.
Common mistakes we see
Connecting a relay module or a pump straight to the 3.3 V pin. A 5 V relay module takes DC+ from the board’s VIN or 5V pin with GND shared, and its IN pin can be driven directly from a 3.3 V GPIO because the opto-coupler inside only needs enough current to light its internal LED. A mini pump draws 0.1–0.2 A, far beyond what a single GPIO pin can deliver, so it must be switched through the relay’s load terminals and never taken straight off a pin. This guide stays on low-voltage DC loads; the full wiring and the position of the H/L trigger jumper are in our relay module guide.
Reading an analogue sensor on an ADC2 pin while Wi-Fi is up. ADC2 on the ESP32 is shared with the Wi-Fi radio (Espressif documentation), so the moment Wi-Fi connects, readings on ADC2 pins such as GPIO25, 26, 27, 12, 13 and 14 can fail or return zero. This hits the soil probe and TDS meter ideas exactly: the circuit is correct, but the graph is flat. Put every analogue sensor on an ADC1 pin — GPIO32, 33, 34, 35, VP and VN.
Choosing a 5 V sensor for an ESP32 without dropping the voltage. The HC-SR04 is powered at 5 V and its ECHO pin puts out nearly 5 V, while ESP32 GPIO pins are 3.3 V and are not 5 V tolerant. Two resistors as a voltage divider (1 kΩ and 2 kΩ, for example) bring 5 V down to about 3.3 V. If you want to skip that work for now, run the sensor on an Arduino Uno, which is 5 V throughout — as in our smart dustbin project. Compare that with the HC-SR501: the PIR module wants a 5 V supply (the board’s VIN pin when it is powered over USB), but its output is already at 3.3 V level, so it goes straight into a GPIO with no divider.
Wiring a DS18B20 without a pull-up resistor. The 1-Wire bus is an open-drain circuit: devices can only pull the line low, never push it high. Without a 4.7 kΩ resistor between the data line and 3.3 V, the line never returns high and the board reads blank or −127 °C. That resistor does not come with the probe, so get one ready before installation day.
Assuming any USB cable will do. Plenty of Type-C cables carry only the power wires. The board will light up, the PWR LED comes on, but no COM port appears because there is no data path. Use a data cable, not a charging cable.
Switching ideas mid-semester. Because all ten ideas share the same skeleton, changing sensor in week six usually does not throw away your code — but it does throw away your installation work, which costs far more. Fix where it will be installed before you fix which sensor it uses.
We supply the components and the step-by-step build guides; the project stays yours from beginning to end.
FAQ
What is an IoT project?
An IoT project is a circuit that measures something in the physical world and sends that reading over a network so it can be seen or controlled from somewhere else. In a student project, that means a sensor, a board with Wi-Fi such as an ESP32, and a dashboard on your phone.
Which IoT project idea is easiest for an FYP?
A room temperature and humidity monitor, because it uses nothing but the core parts list and installs on a desk. Difficulty in IoT projects comes from the installation environment, not the sensor, so an indoor project always finishes faster.
How much does an IoT project for FYP cost?
Cost is shaped as core plus add-on: one identical core set for every idea, then one or two items depending on the idea you pick. Both parts lists above show current prices, so you can total up your own idea’s row.
ESP32 or Arduino Uno for an IoT project?
The ESP32, because the Wi-Fi radio sits inside the same chip package — no extra network module needed. An Arduino Uno needs a separate network board before it can send anything out. There is a full comparison in our ESP32 vs ESP8266 vs Arduino Uno guide, and the variant choice in our which ESP32 to buy guide.
Can one person finish an IoT project alone in a single semester?
Yes, if the installation is easy to reach. The sensor-to-dashboard skeleton itself is a few days’ work; what takes the rest of the semester is the enclosure, the waterproofing, the power and the repeated testing in the real location.
Last updated August 2026. Stuck? Chat with us on WhatsApp.
