

Tutorials
ESP32 Not Detected or Upload Failed? The Complete Fix Guide
Jul
If your ESP32 is not detected in Arduino IDE, the cause is almost always one of three things: a charge-only USB cable, a missing CH340 or CP2102 driver, or a board that needs its BOOT button held during upload. Swap to a proper data cable first — that one step fixes over half the cases we see.
Why is my ESP32 not detected at all?
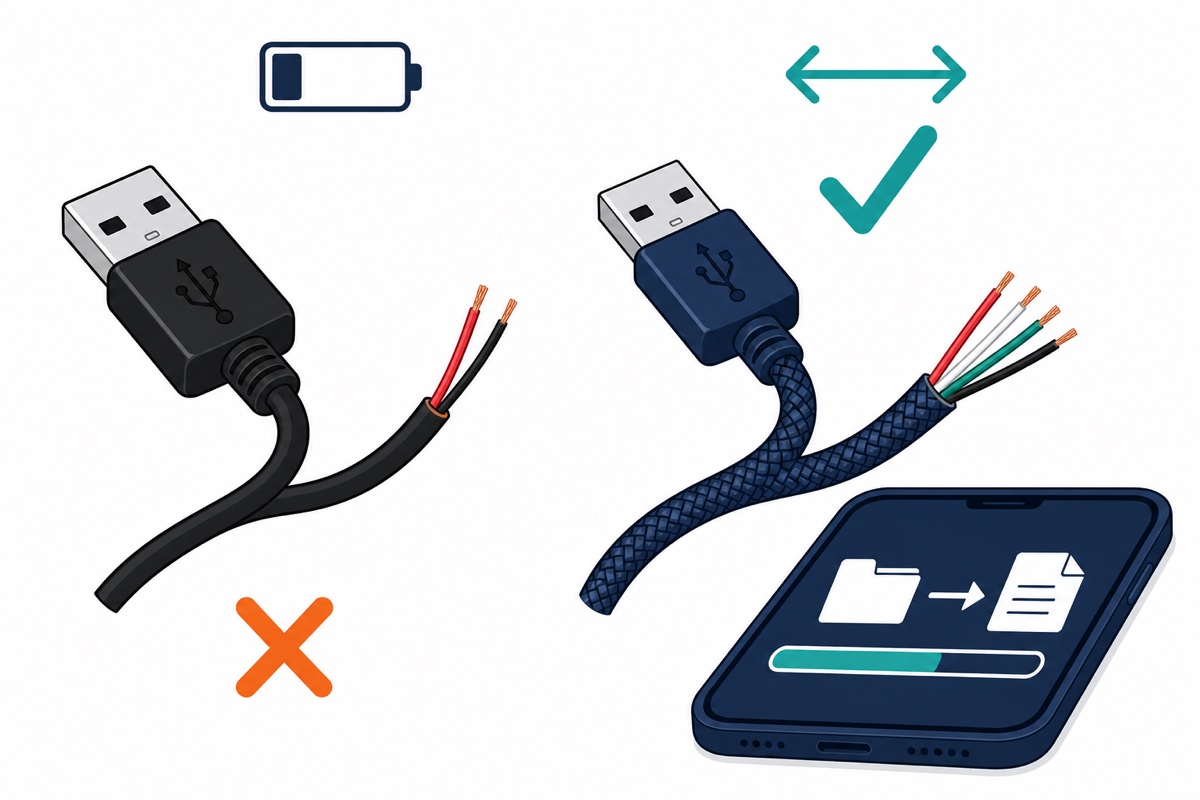
The number one cause, by a wide margin, is a charge-only USB cable. It fits perfectly and even lights up the board, but with no data lines inside, your computer never sees the chip.
Quick test: plug the same cable into your phone. No file-transfer prompt means that cable can never program an ESP32. Keep one known-good data cable in your kit and label it.
Which USB driver does my ESP32 need — CH340 or CP2102?
Look at the small chip near the USB connector. It will be a CH340 (install the WCH driver) or a CP2102 (install the Silicon Labs driver). Our CP2102 dev boards and CH340 boards differ mainly in which driver they need.
After installing, replug — the board should now appear as a COM port in Windows Device Manager, or as /dev/cu.* on Mac.
Recommended gear
 NodeMCU ESP32 Wi-Fi + Bluetooth Development Board CH340/CP2012 - For IOT Project - ESP-32(CP2102)
 Data Cable Type-A Type-C MicroUSB Type-B 0.5m 1m 30cm 0.3m 100cm Data Transfer Upload Code - TYPE-A TO TYPE-C CABLE (0.5M)
Alternative boards
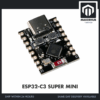 ESP32 Super Mini Ultra Small Size ESP32-C3 RISC-V Low Power Consumption - ESP32-C3 SUPER MIN
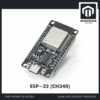 NodeMCU ESP32 Wi-Fi + Bluetooth Development Board CH340/CP2012 - For IOT Project - ESP-32 (CH340)
What does each symptom actually mean?
| Symptom | Likely cause | Fix |
|---|---|---|
| Board powers on but no COM port appears | Charge-only USB cable | Use a data cable — verify it shows file transfer on a phone |
| Data cable confirmed, still no port | Missing USB driver | Install the matching driver — WCH (CH340) or Silicon Labs (CP2102) — then replug |
| “Connecting…….._____” then “Failed to connect to ESP32: Timed out waiting for packet header” or, on newer esptool, “No serial data received” (error 2) | Board not in download mode | Hold BOOT when “Connecting…” appears, release once upload starts |
| Port exists but upload fails instantly | Port busy — Serial Monitor or another IDE window holds it | Close Serial Monitor and other IDE windows, retry |
| Uploads fine alone, “disappears” on an expansion board | Expansion board expects its own power | Feed the expansion board external 5V; keep USB on the ESP32 for upload |
| Random resets, “Brownout detector was triggered” | Insufficient power (WiFi + peripherals) | Better cable or port, or external 5V supply |
| ESP32-C3 Super Mini not appearing | Native-USB board not in bootloader mode | Hold BOOT while plugging in the cable |
How do I fix “Failed to connect to ESP32: Timed out waiting for packet header”?
This is the famous error 2. Your computer sees the board, but it is not in download mode when esptool knocks — Espressif’s esptool troubleshooting guide documents exactly this failure.
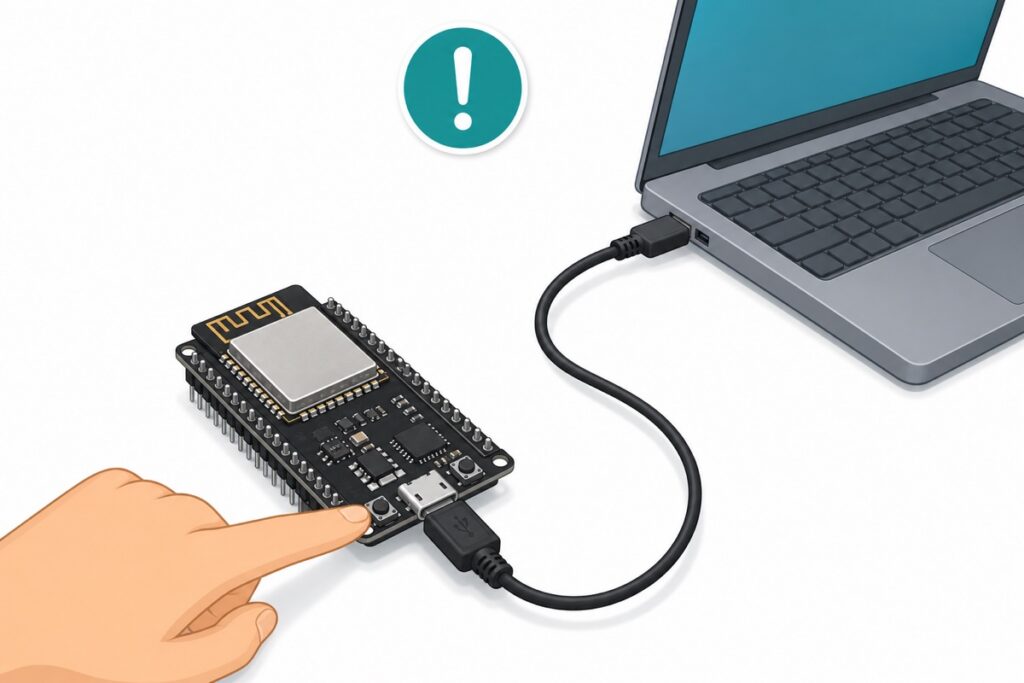
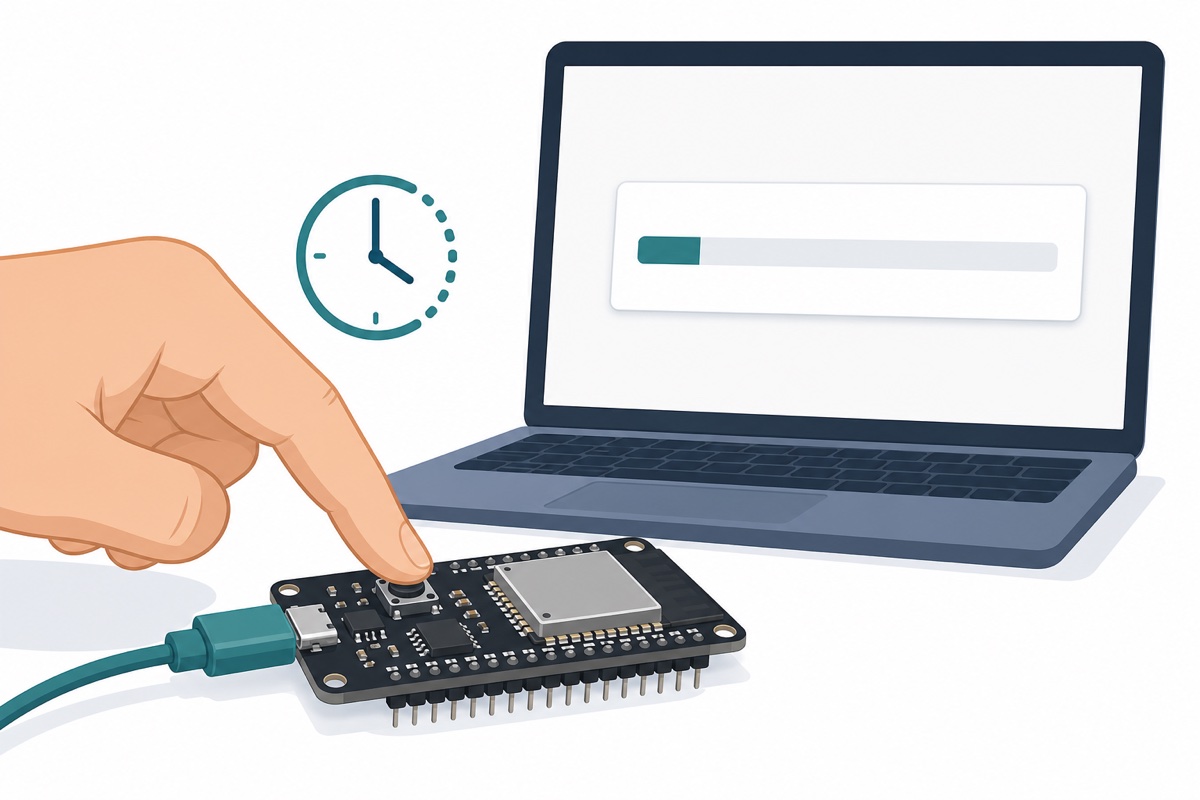
The fix is timing: click Upload, and the moment Connecting........ appears, press and hold the BOOT button. Release once the upload percentage starts climbing. Many cheap dev boards lack the auto-boot circuit, so the button press is normal, not a defect.
Is my Arduino IDE actually set up for ESP32?
Arduino IDE does not know the ESP32 out of the box. In Boards Manager, install “esp32 by Espressif Systems”. Then select the board — the generic “ESP32 Dev Module” works for most — and the correct port.
Also close the Serial Monitor before uploading: the port serves one program at a time, and a monitor left open elsewhere is a classic culprit. Then upload this test sketch:
// Minimal ESP32 upload test for Arduino IDE
// Board: "ESP32 Dev Module" — Port: your COM / /dev/cu.* port

const int LED_PIN = 2;  // most ESP32 dev boards have an onboard LED on GPIO 2

void setup() {
  pinMode(LED_PIN, OUTPUT);
  Serial.begin(115200);   // set Serial Monitor to 115200 baud to match
}

void loop() {
  digitalWrite(LED_PIN, HIGH);
  Serial.println("ESP32 alive - upload and serial are working");
  delay(500);
  digitalWrite(LED_PIN, LOW);
  delay(500);
}
If the LED blinks and text streams in, cable, driver, IDE and board are all proven good.
What is the fastest troubleshooting order?
- Test the USB cable on a phone — no file-transfer prompt means charge-only. Replace it.
- Identify the USB chip (CH340 or CP2102) and install the matching driver.
- Confirm the board appears: COM port (Windows) or
/dev/cu.*(Mac). - Install “esp32 by Espressif Systems”, pick “ESP32 Dev Module” and the right port.
- Close Serial Monitor and other IDE windows before uploading.
- “Connecting…” then timeout? Hold BOOT until the upload starts.
- Random resets or brownout? Improve power: better cable, port, or external 5V.
Why does my ESP32 work alone but not on an expansion board?
A classic RBT and FYP complaint: the board uploads happily on its own, then “doesn’t appear” once seated on an expansion board.
Check whether the expansion board has its own power input — many expect external 5V for servos, sensors and relays, while the USB on the ESP32 is still needed for uploading. A LM2596 buck converter set to 5V is the usual way to feed that rail.
Why does my ESP32 keep resetting or showing “Brownout detector was triggered”?
Random reboots and the brownout message mean the board is starving for current, not that your code is broken. WiFi plus peripherals can demand more than a weak cable or laptop port delivers. Use a better cable, a different USB port, or an external 5V supply.
What about the ESP32-C3 Super Mini?
The ESP32-C3 Super Mini uses native USB — no CH340 or CP2102 in between — so setup is different but simpler. If it refuses to appear, hold BOOT while plugging in the cable to force the bootloader.
Common mistakes we see from real customers
“sometimes i can connect but sometimes it wont connect” — intermittent detection is nearly always physical: a worn cable, loose USB port, or shaky header joints. Swap to a short known-good data cable and another port; if you soldered your own headers, reflow any suspect pins.
“the esp32 itself is okay but when connected to the expansion board, it doesn’t appear” — the expansion board likely needs its own external 5V. Power it separately; keep USB on the ESP32 for uploads.
“Why did my esp32 show error code 2” — that is esptool’s “Timed out waiting for packet header” exit code. Hold BOOT when “Connecting…” appears.
“esp apakah yang sesuai untuk saya guna tanpa menekan button boot semasa uploading coding” — pick a board with a working auto-boot circuit; many cheap ones omit it. The ESP32-C3 Super Mini’s native USB is also a simpler route.
“Also tried with different cable. Not working” — the second cable was another charge-only cable — it happens more often than you would think. Always verify with the phone file-transfer test first.
FAQ
Why did my ESP32 show error code 2?
Error 2 is esptool giving up after “Timed out waiting for packet header” — the board never entered download mode. Hold BOOT when “Connecting…” appears.
Which ESP32 can I use without pressing the BOOT button every upload?
Boards with a proper auto-boot circuit enter download mode automatically; many cheap boards leave it out. The ESP32-C3 Super Mini’s native USB is a simpler alternative, needing BOOT only when the port refuses to appear.
My phone charger cable fits the board — why doesn’t it work?
Many charger cables are charge-only, with no data wires, so the board powers up but stays invisible. Test the cable on a phone: no file-transfer prompt means it cannot program an ESP32.
Do I need a driver on Mac too?
Usually not any more. Modern macOS already includes Apple drivers for both the CH340 and CP2102, so the board simply appears as a /dev/cu.* device. Install the WCH or Silicon Labs driver only if no port shows up — never both, as a vendor driver on top of Apple’s can create conflicting ports.
What does “Download mode successfully detected, but getting no sync reply” mean?
This one is different from a plain timeout: esptool is telling you the board did enter download mode, so the USB cable, the driver and the port are all working. What never arrives is the board’s reply to the sync command. Unplug anything wired to the serial pins first — TX0 and RX0 (GPIO1 and GPIO3 on a classic ESP32) are the same lines the uploader uses, so a serial peripheral, a module left plugged into an expansion board, or a stray jumper on those two pins will block every upload until it is removed. If those pins are already bare, close any open Serial Monitor or second program holding the COM port, then try a different cable and a different USB port before suspecting the board.
My uploads work now — what should I build first?
Something small with real sensors. Our automatic clothesline with rain sensor tutorial is a popular first project for Malaysian weather.
Last updated July 2026. Stuck? Chat with us on WhatsApp.

Pingback: Arduino Nano V3 Setup: CH340 Driver + First Upload
Pingback: ESP-01S Wi-Fi Relay Module: How to Flash It and Wire a Load