

Tutorials
10 RBT Electronics Project Ideas for Form 1–3 (+ Parts List)
Jun
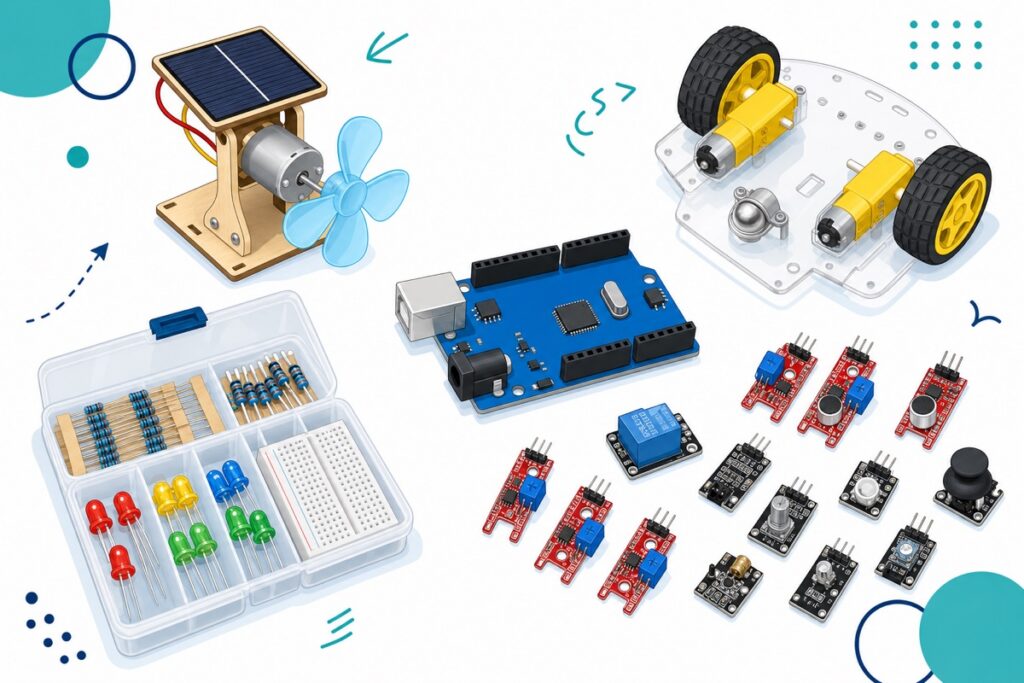
For an electronics project in RBT (Reka Bentuk & Teknologi, Malaysia’s school Design & Technology subject), Form 1 to Form 3, pick something that works, that you can explain, and that finishes on time — a no-code solar fan, an LED traffic light, an automatic clothesline or a line follower robot. Project kits supply components and modules only — add one Arduino Uno as the brain for every coded project. All 10 ideas, the parts list and full guides are below.
How do you choose an RBT project that scores well?
High-scoring RBT projects tend to share three things: they run stably during the demo, the student can explain what every component does, and the folio has clear assembly photos. A simple project you genuinely understand almost always beats an impressive one that is half finished. So choose by skill level, not by the “wow” factor.
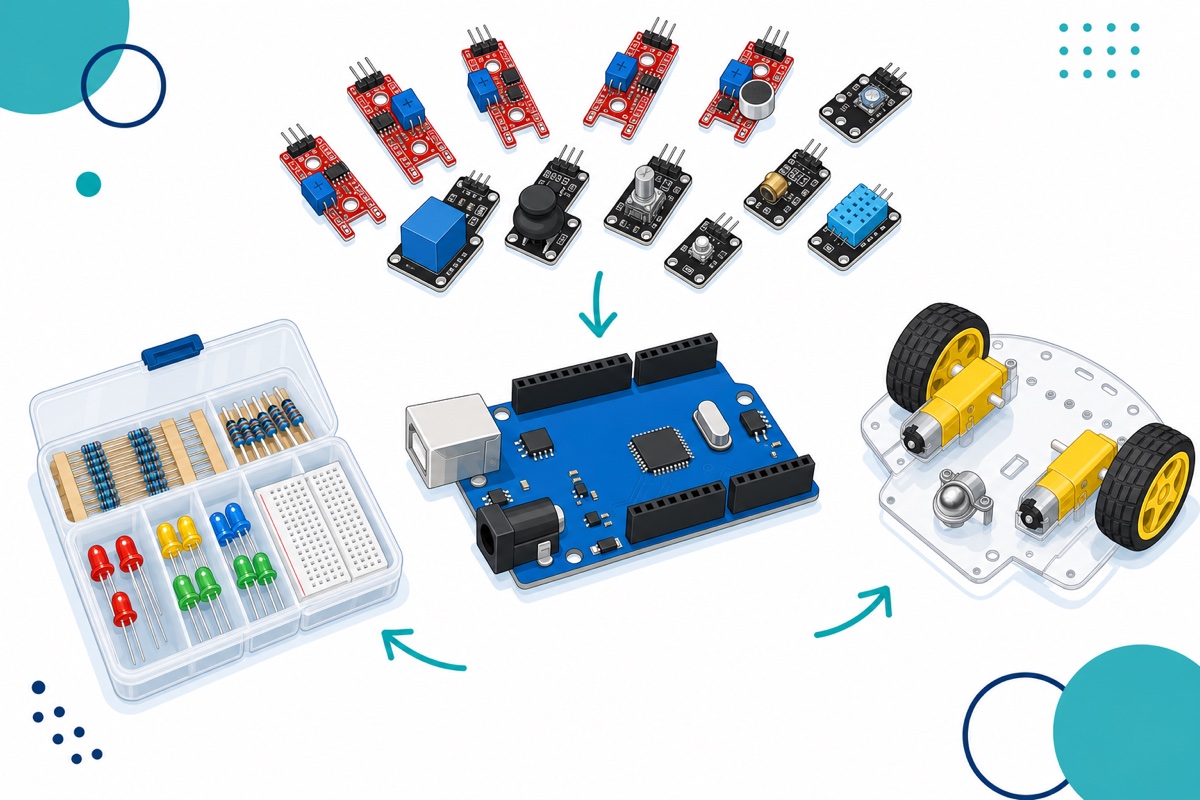
One important thing before you buy: project kits — sensor kits, component kits, chassis kits — contain modules and parts only, without an Arduino board. For nine of the ten ideas below, the brain is an Arduino Uno like the UNOCH34: buy it once and use it for every coded project this year and for years after. That is why it sits on the first row of the parts list. The one exception is the solar fan, which spins straight off sunlight with no code at all.
Basic parts list
 Arduino Uno Compatible SMD UNO R3 with Type B Cable - ATMEGA328P with CH340G-Microcontroller Project
 Electronic Component Set Beginner Electrical Learning Kit For Arduino Beginner Learning - ELECTRICAL STARTER KIT
 37 in 1 Sensors & Electronic Set Beginner Sensor Learning Kit 37in1 For Arduino Beginner
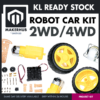 2WD 4WD Smart Car Chassis Single Layer Acrylic Arduino Smart Car Chassis Kit With Motor - 2WD CAR KIT
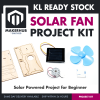 Solar Fan Project Kit Project RBT KSSR KSSM STEM Proejct
You don’t need to buy everything at once — the “Which kit should you buy first” section below shows the minimum combination for each project path.
What are the 10 best RBT electronics project ideas?
These ten ideas are arranged by difficulty, and nearly every one has a free step-by-step guide on MakerHub — complete with wiring, full code and common mistakes. Here is the summary:
| Project idea | What you learn | Difficulty (suggested Form) | Key components |
|---|---|---|---|
| Solar fan | Solar energy, basic circuits | Easy, no code (Form 1) | Solar fan kit only |
| LED traffic light | Digital outputs, timed sequences | Easy (Form 1) | LEDs, resistors, breadboard, Uno |
| Ultrasonic distance alarm | Distance sensor, buzzer | Easy (Form 1) | HC-SR04, buzzer, Uno |
| WS2812 RGB lights | Libraries, addressable LEDs | Easy (Form 1) | WS2812, Uno |
| Digital clock | I2C, RTC, displays | Intermediate (Form 2) | DS3231, display, Uno |
| Automatic clothesline | Analog sensors, servo | Intermediate (Form 2) | Rain sensor, servo, Uno |
| Automatic plant watering | Soil sensor, relay, pump | Intermediate (Form 2) | Soil moisture sensor, relay, pump, Uno |
| Phone Bluetooth control | Wireless communication | Intermediate (Form 2) | HC-05, Uno |
| Digital weighing scale | Signal amplification, calibration | Challenging (Form 3) | Load cell, HX711, display, Uno |
| Line follower robot | Motor driver, control logic | Challenging (Form 3) | 2WD chassis kit, motor driver, 2 IR sensors, Uno |
Easy — great for Form 1 and beginners
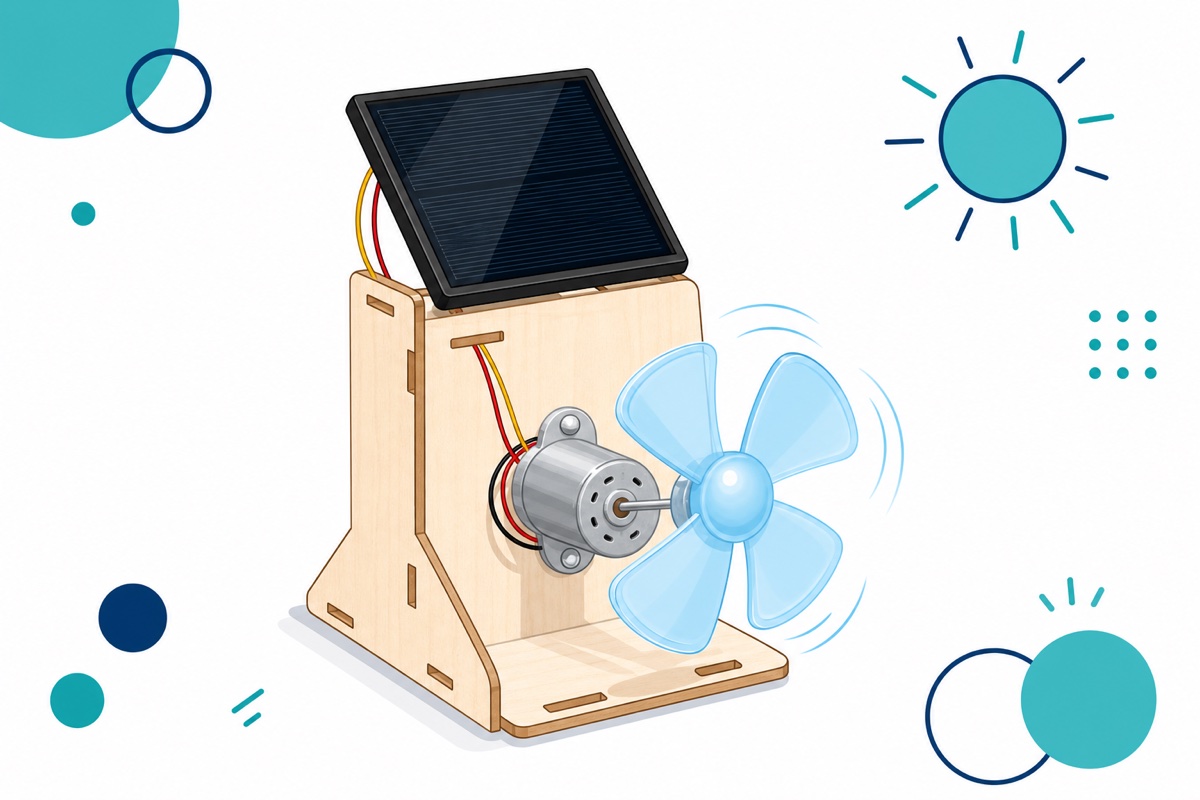
The solar fan is the true no-code starter: the solar panel drives a DC motor directly, and the blue fan spins the moment sunlight hits it. The solar fan kit comes complete — laser-cut plywood stand, solar panel, motor and fan — ideal for students who have never touched coding.
The LED traffic light is the classic first Arduino program — three LEDs light up in the red, green, yellow sequence. Every component is in the ELECTRK component kit; follow our Arduino traffic light guide.
The ultrasonic distance alarm uses an HC-SR04 to measure distance with sound echoes; add a buzzer from the sensor kit and it becomes a parking sensor or a drawer alarm. Start with the HC-SR04 ultrasonic sensor guide. The WS2812 RGB lights steal the show at exhibitions — one data wire controls dozens of colourful LEDs, as shown in the WS2812 RGB LED guide.
Intermediate — a solid fit for Form 2 RBT electronics projects
The DS3231 digital clock keeps accurate time even when power is cut, and teaches I2C communication — follow the DS3231 digital clock guide. The automatic clothesline is a folio favourite: a rain sensor detects droplets and a servo pulls the line under shelter. The build is in the automatic clothesline rain sensor guide; before buying a servo, read the difference between 180, 270 and 360 servos.
Automatic plant watering reads the soil moisture and switches a pump on through a relay — the blue relay module in the 37-in-1 sensor kit is a good fit. Follow the automatic plant watering guide and how to use a relay module safely. Bluetooth control lets an Android phone switch lights on and off through an HC-05 module — the steps are in the HC-05 Bluetooth guide.
Challenging — capstone projects for Form 3
The digital weighing scale pairs a load cell with an HX711 amplifier and teaches calibration — a concept few other school projects touch, so it stands out easily. Full steps are in the HX711 digital weighing scale guide.
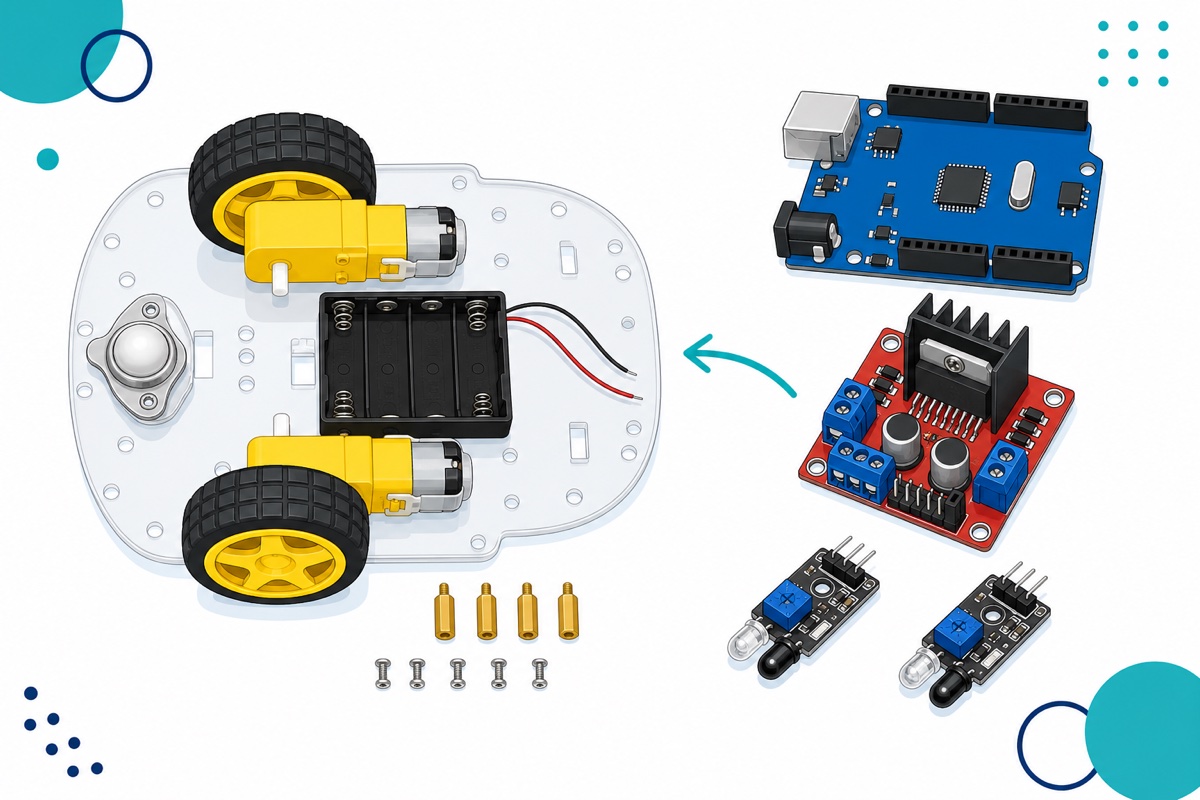
The line follower robot is the most impressive project on this list: a 2WD car follows a black line using two IR sensors. The 2WD chassis kit supplies the frame, motors, wheels and battery holder — add an Uno, a motor driver and two IR sensors following our line follower robot guide. Finished them all and want a challenge beyond the syllabus? Try streaming video with the ESP32-S3 CAM.
Which kit should you buy first?
The Arduino Uno UNOCH34 is the right first purchase for any coded project — a Uno R3-compatible board with the ATmega328P chip, USB cable included so it plugs straight into a laptop. This one board becomes the brain of nine of the ten ideas above.
The ELECTRK component kit covers circuit basics in one box — metal-film resistors, LEDs in assorted colours, capacitors, transistors, push buttons, jumper wires and a breadboard. The 37-in-1 sensor kit is the experiment box: 37 plug-and-play modules including a relay, DHT11 temperature and humidity, joystick, buzzer and IR receiver that stay useful project after project.
The short version: for a no-code project, take the solar fan kit on its own. For a coding start, pair the UNOCH34 with the ELECTRK. For sensor projects, pair the UNOCH34 with the 37-in-1 kit. For the robot, add the 2WD chassis kit — and remember, the motor driver and IR sensors for the line follower are bought separately.
What are the common mistakes in school electronics projects?
Buying the kit, forgetting the “brain”
The most common pattern every project season: the sensor kit or component kit arrives, and only then it turns out there is nothing to program. Kits contain modules and components only — put an Arduino Uno in the same order so the project can start straight away.
Assuming the car kit is complete
The 2WD chassis kit does supply motors, wheels and a frame, but a line follower still needs an Uno, a motor driver and two IR sensors. List the full requirements from the start — the table above and our line follower guide have the complete list.
A project too big for the time available
The simplest working version should be finished first; extra features come later. A simple project that runs stably and can be explained always scores better than a complicated one that fails during the demo.
Uploading all the code at once
When everything is uploaded in one go and nothing works, it is hard to tell which part went wrong. Test the sensor first with the Serial Monitor, then the outputs, then combine them — our guides are deliberately arranged in this order.
FAQ
How much does it cost to complete an RBT electronics project?
It depends on the path: the solar fan is the cheapest ready-to-go route because one kit is complete on its own, while coded projects need an Arduino Uno, a basic kit and the project-specific modules. Current prices and stock show live in the parts list above, so it is easy to total up the project you choose.
Which RBT electronics projects suit Form 2 and Form 3?
For Form 2, the intermediate group — the digital clock, automatic clothesline and automatic plant watering — gives enough challenge without getting complicated. For Form 3, the digital weighing scale or the line follower robot shows the extra effort. There is no fixed rule; choose by skill, not by age.
I’m not good at coding — can I still do this?
Yes. Every MakerHub guide includes complete code you can upload as-is, with comments in plain language — start with the traffic light to learn the basics. If you want to avoid code entirely, the solar fan needs none at all.
Do I need to know soldering for an RBT project?
Most projects on this list use a breadboard and jumper wires — just push them in, no soldering. The main exception is the TT motor tabs on the 2WD car, which take a simple two-minute solder, and our line follower guide covers that step.
Can I reuse the same components for another project next year?
Yes — this list is designed exactly for that. The Arduino Uno, component kit and sensor kit are reused across all 10 ideas; only project-specific modules like the load cell, HC-05 or rain sensor differ between projects.
Last updated August 2026. Stuck? Chat with us on WhatsApp.

Pingback: IoT Project Ideas for FYP: 10 You Can Finish Alone