

Tutorials
ESP32-CAM Tutorial (ESP32-S3): First Stream + Upload Fixes
May
To get an ESP32-CAM streaming video: plug the ESP32-S3 CAM in with a USB-C data cable, flash the built-in CameraWebServer example, read the IP from the Serial Monitor at 115200 baud, and open it in a browser on the same 2.4 GHz WiFi. No FTDI adapter, no IO0 jumper — the S3 board uploads over plain USB.
Why does the ESP32-S3 CAM skip the classic upload dance?
The classic AI-Thinker ESP32-CAM — the board most online tutorials describe — has no USB socket. Uploading means wiring a USB-TTL adapter like the CH340 serial converter to its TX/RX pins, jumpering IO0 to GND for download mode, then removing the jumper and pressing reset to run. We are out of stock on that board, but if you already own one, everything from the CameraWebServer sketch onward still applies — just pick the AI Thinker board and CAMERA_MODEL_AI_THINKER instead.
The ESP32-S3 WROOM CAM we stock skips all of that: the ESP32-S3 has native USB built into the chip, so you plug a USB-C cable straight in and hit Upload. It also carries the sharper OV5640 camera and 8 MB of PSRAM. Comparing board families? See ESP32 vs ESP8266 vs Arduino Uno.
Parts list
| Item | Price | Qty | |
|---|---|---|---|
 ESP32-S3 WROOM CAM DEVELOPMENT BOARD OV5640 CAMERA MODULE WIFI BLUETOOTH DUAL USB-C IOT AIS3CAM56 ESP32-S3 WROOM CAM DEVELOPMENT BOARD OV5640 CAMERA MODULE WIFI BLUETOOTH DUAL USB-C IOT AIS3CAM56 | RM56.95 | Out of stock | |
 Data Cable Type-A Type-C MicroUSB Type-B 0.5m 1m 30cm 0.3m 100cm Data Transfer Upload Code - TYPE-A TO TYPE-C CABLE (0.5M)ATCC050 Data Cable Type-A Type-C MicroUSB Type-B 0.5m 1m 30cm 0.3m 100cm Data Transfer Upload Code - TYPE-A TO TYPE-C CABLE (0.5M)ATCC050 | RM4.90 | Out of stock |
How do I connect the OV5640 camera ribbon?
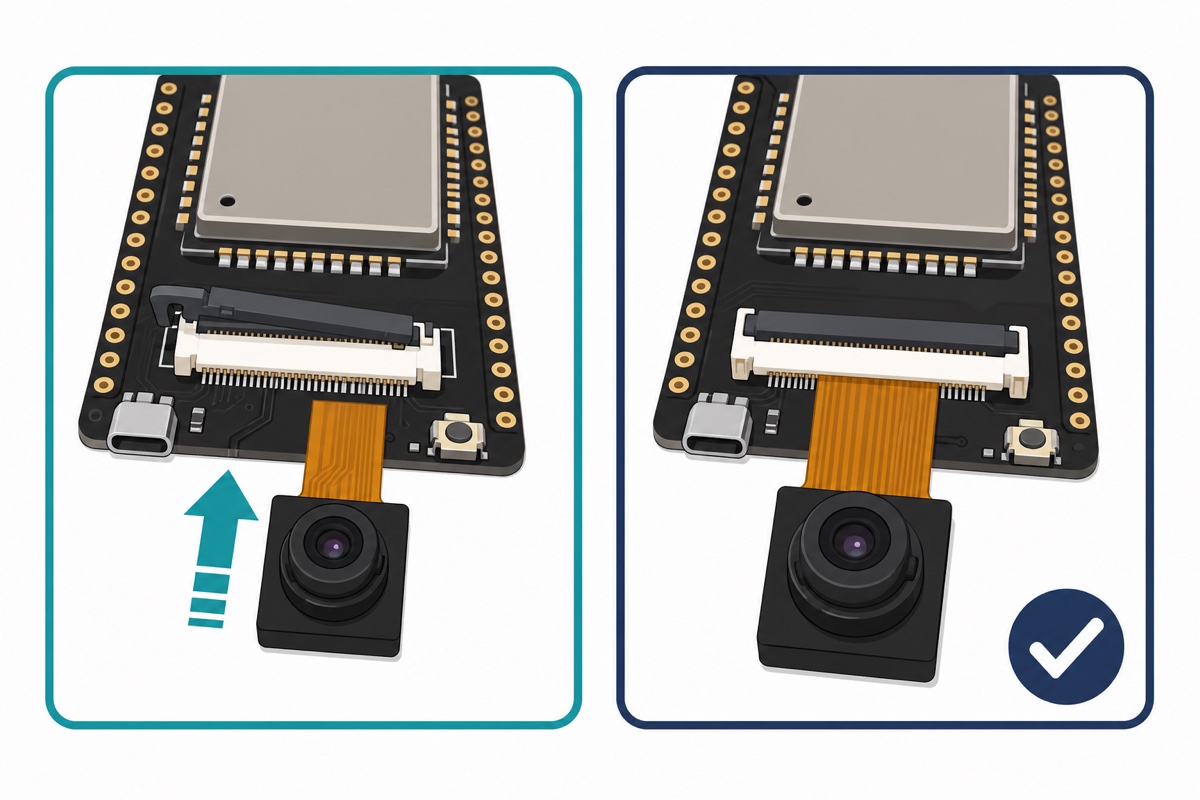
The OV5640 camera module arrives detached: a small black square camera on a golden-orange ribbon cable. It seats into the white FPC connector on the board’s bottom edge — flip the latch open, slide the ribbon in straight and fully, press the latch closed.
A half-seated or crooked ribbon is the top cause of “Camera init failed” errors. Always connect or re-seat the ribbon with the USB cable unplugged. The OV5640 captures up to 2592×1944 — noticeably sharper than the classic OV2640.
Which Arduino IDE settings does the ESP32-S3 CAM need?
The ESP32-S3 CAM needs the “esp32 by Espressif Systems” package from Boards Manager, then these Tools-menu settings. The module is marked N16R8, which the ESP32-S3-WROOM-1 datasheet decodes as 16 MB flash plus 8 MB Octal PSRAM — hence OPI PSRAM below, and the camera needs that PSRAM for anything beyond small frame sizes.
| Tools menu item | Setting |
|---|---|
| Board | ESP32S3 Dev Module |
| PSRAM | OPI PSRAM |
| Flash Size | 16MB (128Mb) |
| Partition Scheme | Huge APP (3MB No OTA/1MB SPIFFS) |
| USB CDC On Boot | Enabled |
USB CDC On Boot matters more than it looks: when you work through the S3’s native USB port, that setting routes Serial.print output to your Serial Monitor. Leave it disabled and the sketch runs — but prints its IP into thin air.
Which of the two USB-C ports should I plug into?
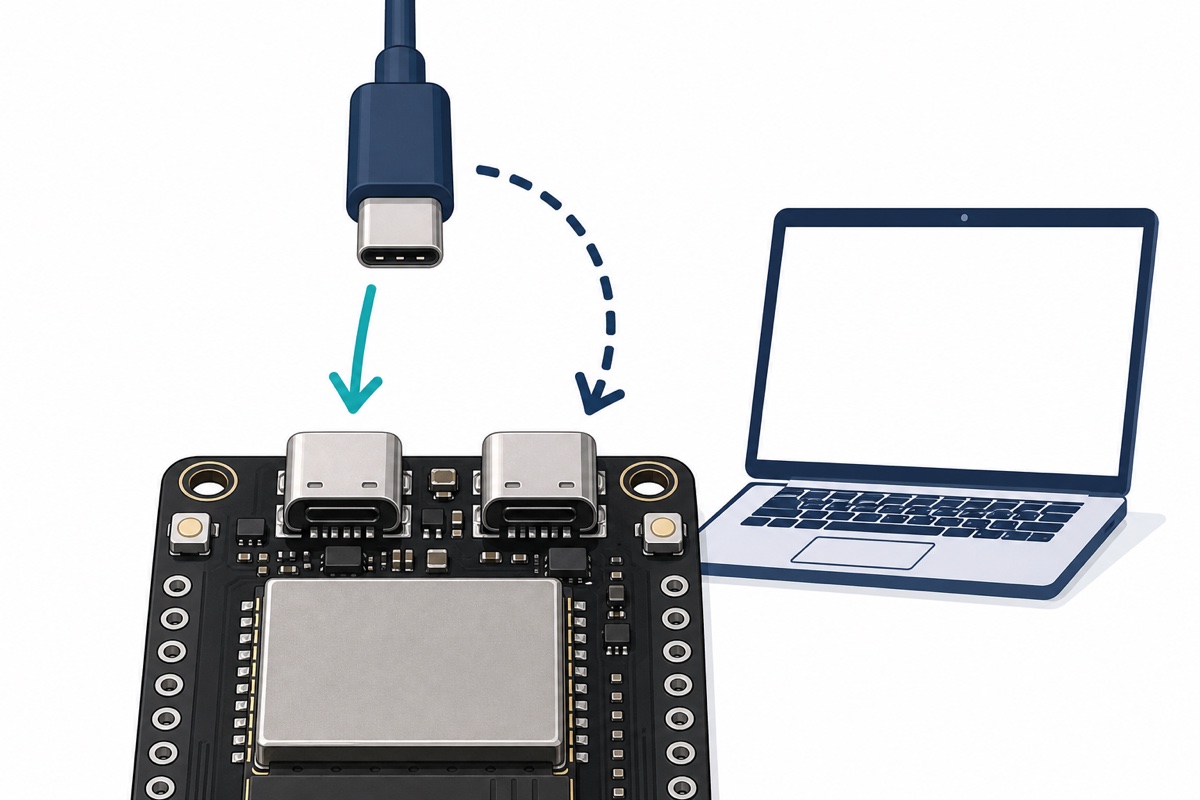
The two USB-C ports on the ESP32-S3 CAM are not twins: one connects to the ESP32-S3’s built-in native USB (the USB Serial/JTAG peripheral), the other goes through a separate USB-to-UART bridge chip. Both can upload code, but they appear to your computer as different devices, and silkscreen labels vary between revisions.
So rule out port confusion first: if nothing shows under Tools → Port, move the cable to the other USB-C port before touching drivers. The native USB port usually appears without installing anything; the UART-bridge port may need WCH’s CH343 driver (Freenove bundles it for Windows, macOS and Linux in their board repo). If neither ever appears, suspect the cable — charge-only cables power the board but carry no data, which is why the parts list includes a proper data cable. Full walkthrough: ESP32 not detected / upload failed fix.
How do I upload CameraWebServer and see the stream?
The CameraWebServer sketch ships inside the ESP32 board package — open File → Examples → ESP32 → Camera → CameraWebServer. You only edit three lines. In the board_config.h tab (older cores keep the list at the top of the sketch), comment out the default model and uncomment the S3 one, then fill in your WiFi details:
// board_config.h — pick the pin map for this board layout
#define CAMERA_MODEL_ESP32S3_EYE  // Has PSRAM

// CameraWebServer.ino — your 2.4GHz WiFi name and password
const char *ssid = "YourWiFiName";
const char *password = "YourWiFiPassword";
The define selects a pin map, not a camera — the driver probes the ribbon at boot and identifies the OV5640 by itself. Click Upload, then open the Serial Monitor at 115200 baud. A healthy boot ends like this:
........
WiFi connected
Camera Ready! Use 'http://192.168.0.123' to connect
Type that address into any browser on the same WiFi and press Start Stream. Freenove’s official chapter video walks this exact example from upload to live stream:
Why can’t I open the stream IP address?
The ESP32-S3 CAM prints its stream IP once at boot, so the top reason people “never got an IP” is that it scrolled past or the monitor was closed. Open the Serial Monitor at 115200 and press the board’s reset button — the whole boot log, IP included, prints again. Gibberish means the baud rate is wrong, not a broken board.
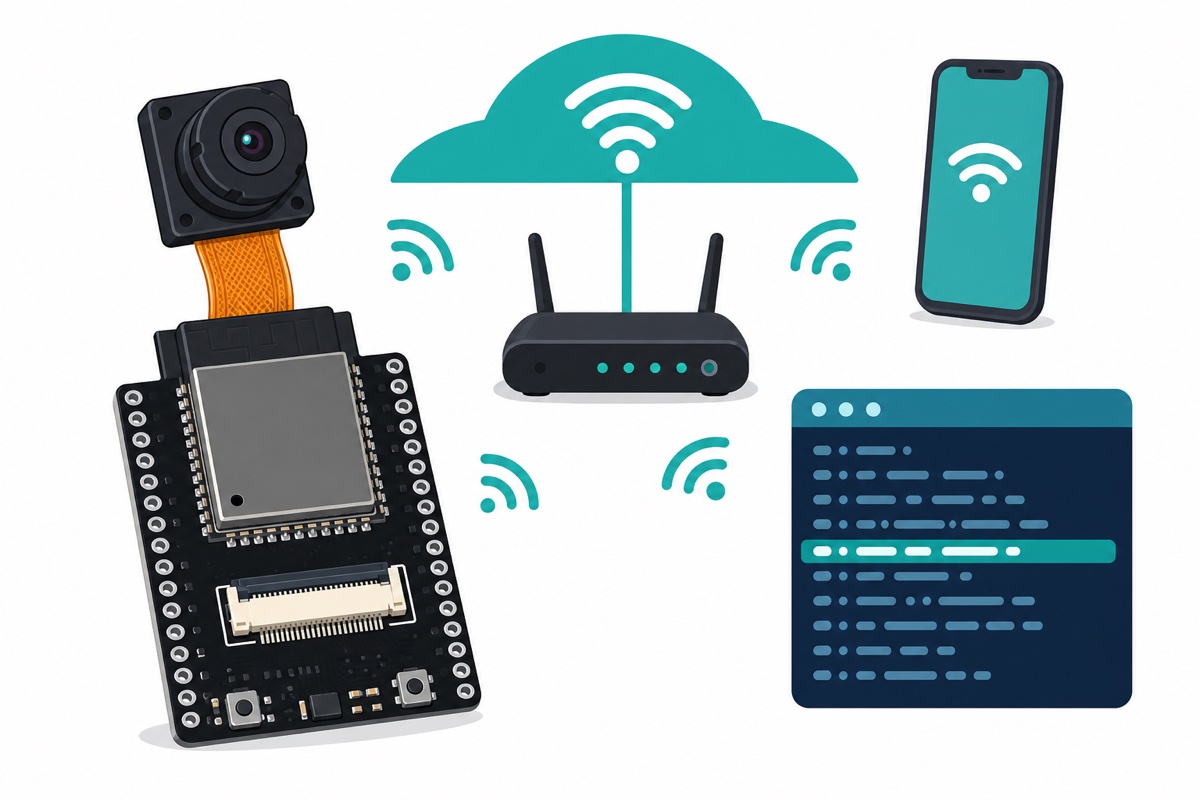
If the IP prints but the page will not load, the problem is almost always the network, not the board. The ESP32-S3’s radio is 2.4 GHz only (802.11 b/g/n) — it cannot see or join 5 GHz networks, and your phone or laptop must sit on the same 2.4 GHz network. A phone on mobile data or on the router’s 5 GHz band fails the same way. On phone hotspots, enable the 2.4 GHz band (often called “extend compatibility”) before retrying.
Why does the board reboot itself mid-stream?
The ESP32-S3 CAM draws real current when the camera and WiFi transmit together, and a supply that sags triggers a reset — often with Brownout detector was triggered in the serial log. The usual culprits are long thin charging cables, unpowered USB hubs, and tired laptop ports. Use a short proper data cable and a direct port or decent 5V adapter, and the reboot loop disappears. For a battery-powered remote camera, read our TP4056 + 18650 charging guide first.
What do the common upload and stream errors mean?
These are the failures the ESP32-S3 CAM throws most often, and their fixes.
| Symptom | Likely cause | Fix |
|---|---|---|
| No COM port appears at all | Wrong USB-C port for your setup, charge-only cable, or missing driver | Swap to the other USB-C port, use a known data cable, then check drivers |
| “No serial data received” / “Failed to connect: Timed out” | Board not in download mode | Hold BOOT while “Connecting…” appears, release when upload starts |
| “Camera init failed” in serial log | Ribbon half-seated, or wrong camera model define | Re-seat ribbon with power off; confirm CAMERA_MODEL_ESP32S3_EYE |
| IP prints but page never loads | Viewer on a different network or on 5 GHz | Join the same 2.4 GHz WiFi on the viewing device |
| “Brownout detector was triggered” reboot loop | Power sag from weak cable, hub or port | Short data cable, direct port or proper 5V adapter |
Common mistakes we see from real customers
The most common message we get is some version of “esp32 tak detect/error 2/boot button”. “Error 2” means the upload tool never reached the board — nearly always the wrong USB-C port or a charge-only cable. Fix those first; only then reach for the BOOT-button trick.
Second: opening the stream IP from a phone that is quietly on mobile data or on the router’s 5 GHz band. The address looks dead while the board streams happily — join the 2.4 GHz network and it loads instantly.
Third: powering the board through a random phone-charger cable. It uploads fine, then brownout-resets the moment the stream starts. A short proper data cable ends the mystery reboots.
FAQ
Do I need an FTDI or USB-TTL adapter for this board?
No. The ESP32-S3 CAM uploads through its own USB-C ports. Only the classic AI-Thinker ESP32-CAM needs an external USB-TTL adapter plus the IO0-to-GND jumper for flashing.
Does the ESP32-CAM work on 5 GHz WiFi?
No. The ESP32-S3 — like the classic ESP32-CAM — supports 2.4 GHz WiFi (802.11 b/g/n) only. Give it a 2.4 GHz network and put your viewing device on the same one.
Can I run it from a battery for a remote camera?
Yes, with a supply that can hold a stable 5V under streaming load — a bare 18650 through a weak regulator will brownout-loop. Our TP4056 and 18650 guide covers charging the battery side safely.
Why is my stream laggy or freezing?
Drop the frame size and quality in the stream page’s control panel, keep the board near the router, and note the example is built for a single viewer — a second open tab will stall or stutter the stream.
What is the difference between the OV2640 and OV5640 cameras?
Mainly resolution: the classic OV2640 tops out at 1600×1200; the OV5640 in this kit reaches 2592×1944. The sketch needs no change — the driver detects the sensor at boot.
Last updated August 2026. Stuck? Chat with us on WhatsApp.
