

Tutorials
Automatic Clothesline with Rain Sensor (Arduino Project)

Jul
To build an automatic clothesline with a rain sensor, you only need three parts: an LM393 rain sensor module that detects water droplets, an Arduino UNO that reads its signal, and an SG90 servo that reels the clothesline in under the roof the moment rain is detected. Wire it up following the table below, upload our example sketch, and your model clothesline can rescue the laundry all by itself.
How does an automatic clothesline with a rain sensor work?
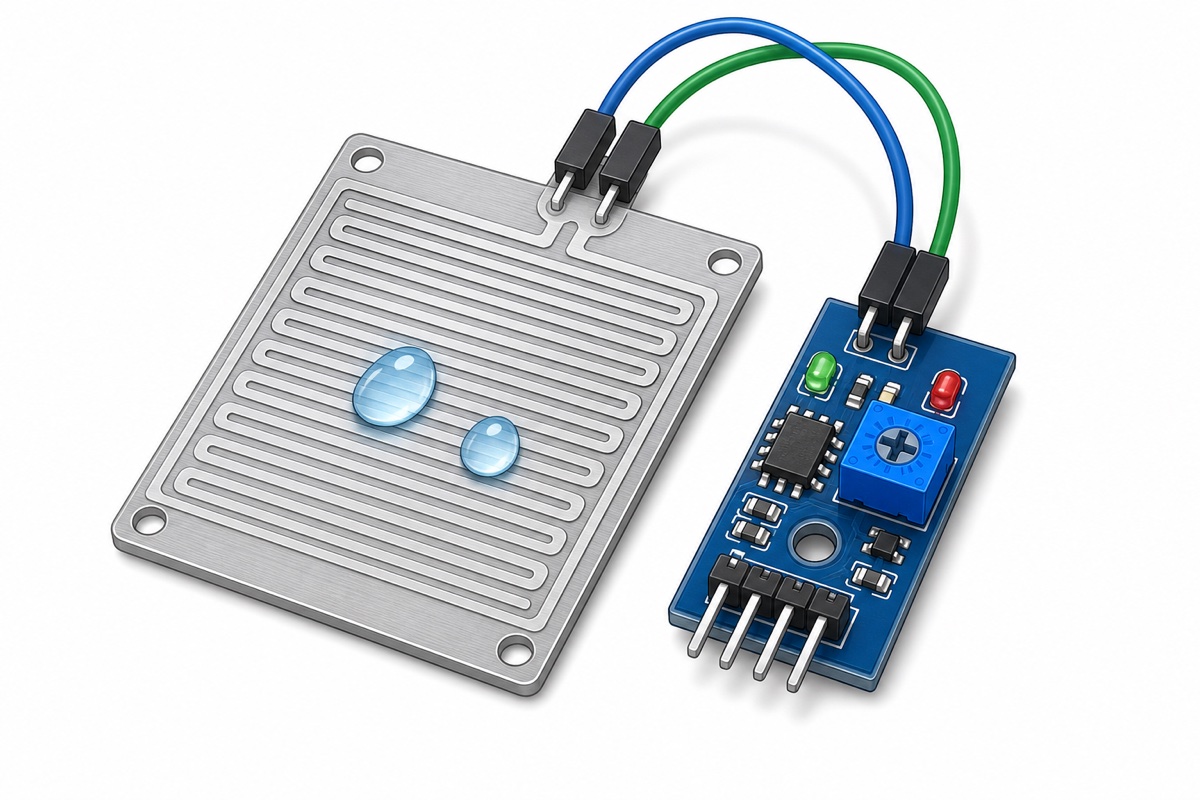
The concept is simple. The detection board on the rain sensor module has interleaved copper traces — when a water droplet lands on the board, the water bridges those traces and the LM393 module sends a signal to the Arduino UNO.
The Arduino reads that signal and tells the servo to turn. We turn the servo into a winch — the end of the clothesline is tied to the servo horn, so when the servo spins, the line reels in and the laundry gets pulled in under the roof. Once the sensor board dries out again, the servo spins the other way and the clothesline slides back out.
This is a classic project for RBT — Reka Bentuk dan Teknologi, the design-and-technology subject in Malaysian schools — and a favourite FYP too. It fits our weather perfectly: blazing sun at two, torrential downpour by three. Every component you need is in this list.
Parts list
 Arduino Uno Compatible SMD UNO R3 with Type B Cable - ATMEGA328P with CH340G-Microcontroller Project
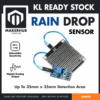 Raindrops Sensor Water Droplets Sensor Module High Sensitivity For Arduino IOT Application
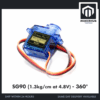 SG90 MG90 Tower Pro Micro Servo Motor 9g 180 360 Servo Motor for Arduino Robotic - SG90- 360°
 MB102 Breadboard 170 400 830 Holes Breadboard Donut Board Arduino Prototype Multi Color - BREADBOARD (400 HOLES)
 40pcs Dupont Wire 10cm 20cm 30cm for Breadboard DIY Experiment Jumper Wire Breadboard wire - DUPONT WIRE M-F 20CM
Extra tools (optional)
| Item | Price | Qty | |
|---|---|---|---|
 XL830L Digital Multimeter with backlight Portable Multimeter Electronics ProjectMULTIME XL830L Digital Multimeter with backlight Portable Multimeter Electronics ProjectMULTIME | RM25.95 |
Want a clean 3D-printed casing? Get a 3D printer at Smith3D.
What is the difference between the AO and DO outputs on the rain sensor module?
The rain sensor module has two output pins, and this is where a lot of students get tripped up:
| Output | Signal type | What the reading means |
|---|---|---|
| AO | Analog, 0–1023 | A graded value — the wetter the board, the lower the value drifts. Useful when you want to know how wet it is. |
| DO | Digital, HIGH or LOW | A plain yes/no answer. On most modules, DO goes LOW when the board is WET — the opposite of what most people expect. |
For this project we only use DO — all we need to know is “raining or not”. Burn this into memory: LOW means wet. It is the number one cause of clotheslines that “move on their own”, which we cover further down. The small potentiometer on the module adjusts the sensitivity.
How do I wire up the sensor and servo?
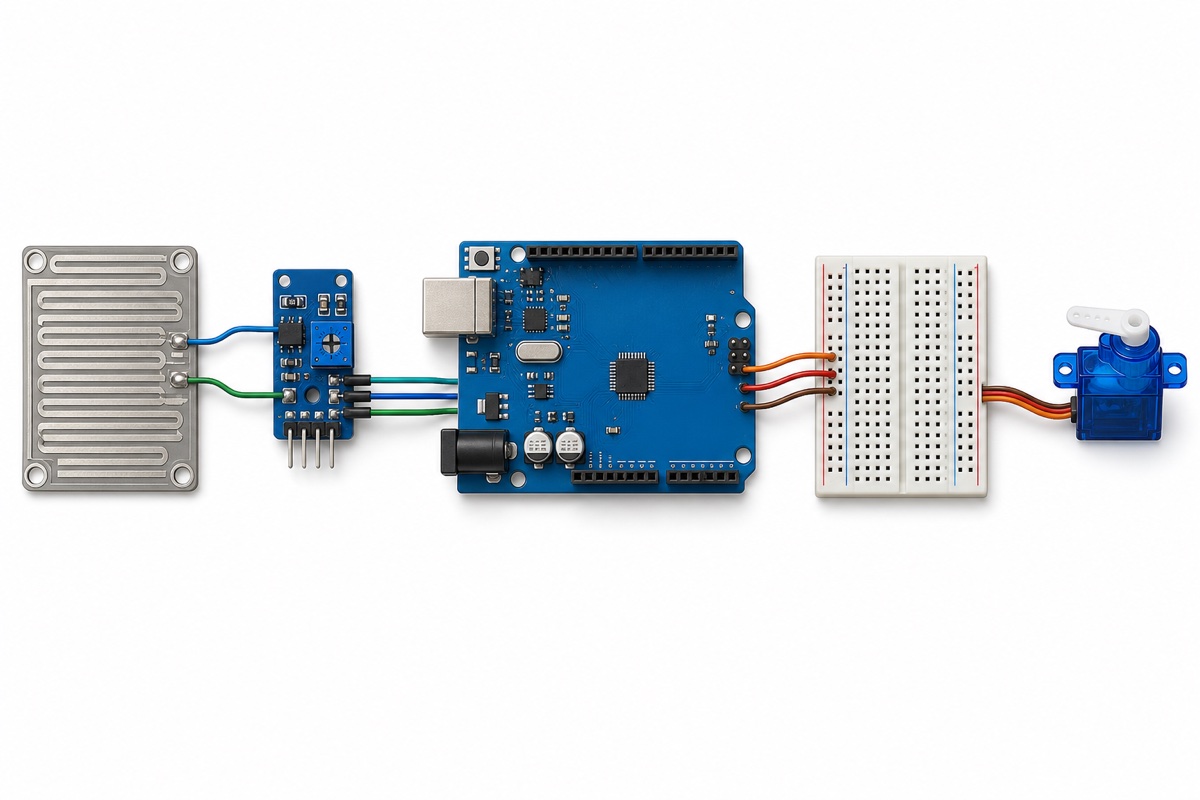
Don’t worry if this is your first time holding a jumper wire — the whole build is just six connections. With a breadboard and jumper wires, there is no soldering involved at all.
| Component | Pin / wire | Connect to Arduino |
|---|---|---|
| Rain sensor module | VCC | 5V |
| GND | GND | |
| DO | Pin 2 | |
| SG90 servo | Brown / black | GND |
| Red | 5V | |
| Orange / yellow | Pin 9 |
If your module arrives with the header pins loose in the bag, check our guide on how to solder header pins first — it’s a quick, easy job.
A note on power: for a lightweight model like this, USB or battery power is plenty. Don’t drive heavy loads from the Arduino’s 5V pin — if the servo jitters or the board keeps resetting, that’s your sign you need a separate 5V supply.
Why is the SG90 360° servo a good winch?
The SG90 360° servo is a continuous rotation servo — it doesn’t move to a specific angle; it spins continuously like a motor.
In code, write(0) and write(180) mean full speed in either direction, while write(90) means stop. How far the line reels in is controlled by spin time — for example, spin for 3 seconds, then stop.
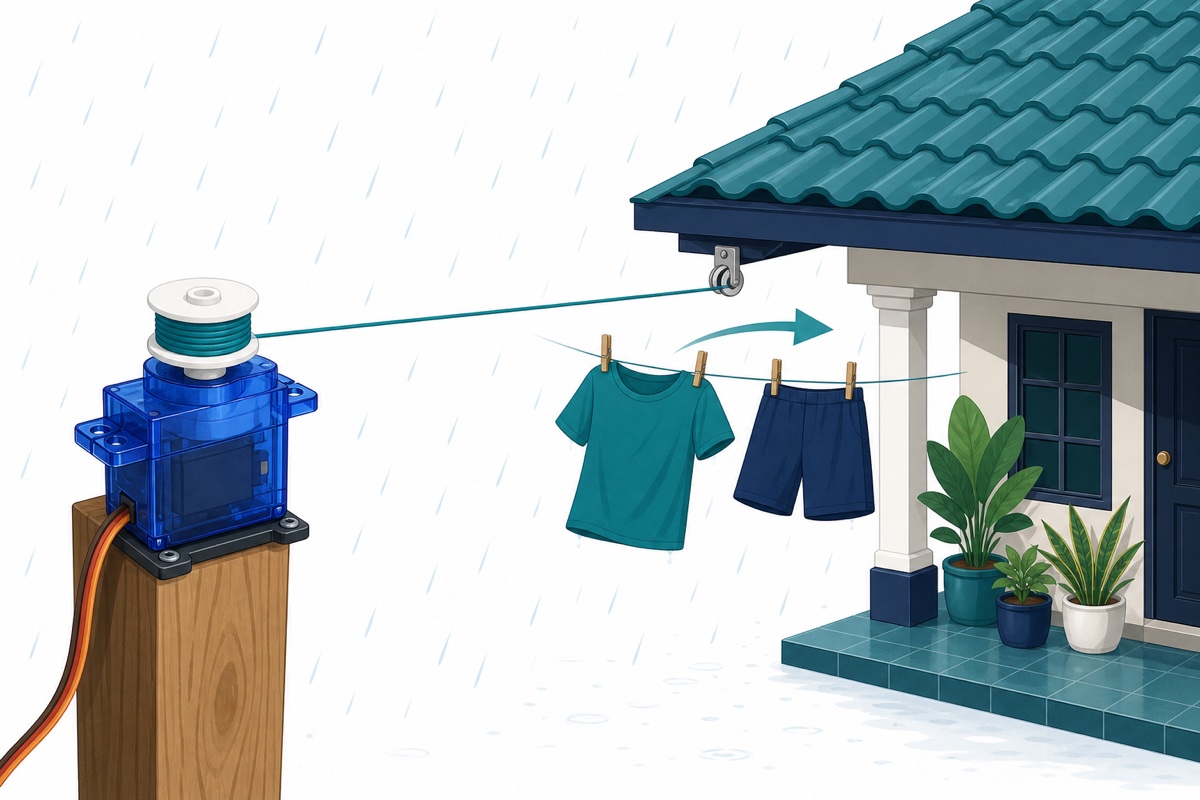
If what you have on hand is a 180° positional servo instead, you control it by angle: write(0) for the line-out position, write(180) for line-in. Not sure which type you have? Read our guide on the difference between 180° vs 270° vs 360° servos before you buy.
Full Arduino code (with debounce)
This sketch confirms the reading twice, 500 ms apart — so a stray splash doesn’t trigger the whole system. Once the clothesline is in, it waits a full minute before checking again. (You’ll notice the variable names and serial messages are in Malay — jemuranDalam simply means “the clothesline is in”. Feel free to rename them; the logic doesn’t care.)
#include <Servo.h>

const int PIN_SENSOR = 2;   // rain sensor module DO
const int PIN_SERVO  = 9;   // servo signal wire (orange/yellow)

Servo winch;                // SG90 360-degree servo acting as the line winch
bool jemuranDalam = false;  // current state: true = clothesline is in

void setup() {
  pinMode(PIN_SENSOR, INPUT);
  winch.attach(PIN_SERVO);
  winch.write(90);          // 90 = STOP for a 360-degree servo
  Serial.begin(9600);
}

// Confirm the reading twice - so one stray splash doesn't trigger the system
bool hujanDisahkan() {
  if (digitalRead(PIN_SENSOR) == LOW) {     // LOW = WET on most modules
    delay(500);                             // wait half a second
    if (digitalRead(PIN_SENSOR) == LOW) {   // still wet? now we call it rain
      return true;
    }
  }
  return false;
}

void tarikMasuk() {
  winch.write(0);     // full speed in one direction
  delay(3000);        // 3 seconds of spin = how far the line reels in
  winch.write(90);    // stop
  jemuranDalam = true;
  Serial.println("Hujan dikesan - jemuran masuk");
}

void keluarSemula() {
  winch.write(180);   // spin the opposite direction
  delay(3000);        // same time = same distance
  winch.write(90);    // stop
  jemuranDalam = false;
  Serial.println("Dah kering - jemuran keluar");
}

void loop() {
  if (!jemuranDalam && hujanDisahkan()) {
    tarikMasuk();
    delay(60000);     // wait 1 minute before checking again
  }
  else if (jemuranDalam && !hujanDisahkan()) {
    keluarSemula();
    delay(60000);     // give the sensor board time to dry properly
  }
  delay(200);
}
Upload it via the Arduino IDE, then open the Serial Monitor at 9600 baud to watch the status. Drip a little water onto the sensor board to test — no need to wait for real rain.
Common mistakes we see from real customers
“The clothesline retracts even when there’s no water”
“project anak saya ada masalah — bila power on, jemuran terus masuk walaupun tak kena air. kemungkinan apa masalahnya ya… wiring cable ataupun code yang salah?”
This is the question that lands in our WhatsApp most often — a parent whose kid’s project pulls the clothesline in the moment it powers on, no water anywhere near the sensor, asking whether the wiring or the code is to blame. It’s usually one of these three:
- Inverted DO logic in the code. Many people write
if (digitalRead(PIN_SENSOR) == HIGH)for rain, when on most modules it’s LOW that means wet. The sketch above already uses the correct logic. - Sensitivity potentiometer set too high. The module becomes over-sensitive — very common in our humid Malaysian air. Turn the potentiometer slowly until the reading stays stable when the board is dry.
- The sensor board is damp or dirty from an earlier rain. Wipe the board dry with a cloth before testing again.
Not sure whether it’s the wiring or the code? Use a multimeter to check whether the DO pin’s signal changes when you drip water on the board — if it changes, the wiring is fine and the problem lives in the code.
Not confident about the wiring? You’ve got this
“cikgu saya cakap kalau tak tahu nak sambung wayar semua ni, tak payah buat”
One student told us their teacher said if you don’t know how to connect all these wires, don’t bother doing it. Don’t give up — this project only has six wire connections. Follow the wiring table above line by line, tick off each row as you finish it, and double-check everything before you power on. Plenty of students starting from zero get it right on the first try.
Can this system handle a real clothesline at home?
Honest answer: this is a learning model, not a real clothesline system. An SG90 servo can only winch a lightweight model — a real load of wet laundry is far heavier than it can handle.
For a full-scale version you would need a high-torque DC motor, a motor driver, and a separate power supply — no longer running off the Arduino’s pins. If that supply is a higher voltage, step it down with a buck converter — see our guide on how to set an LM2596 buck converter to 5V.
Want higher RBT marks?
Presentation counts too. A 3D-printed casing looks far neater than a cardboard box held together with sticky tape — if your school has a 3D printer, print a casing for the Arduino and a mount for the sensor. A live demo of the clothesline sliding in and out in front of the teacher always leaves an impression.
FAQ
Why does my clothesline retract by itself even when it’s not raining?
Three main suspects: inverted DO logic in the code (LOW means wet, not HIGH), sensitivity set too high, or a sensor board still damp from the last rain. Wipe the board dry and check them one by one.
Can I use a regular 180° servo?
Yes, you just control it differently — by angle, for example write(0) for the line-out position and write(180) for line-in, instead of spin time like a 360° servo.
How do I adjust the rain sensor’s sensitivity?
Turn the small potentiometer on the module a little at a time while testing with a few drops of water. The goal: DO stays stable when dry, and flips quickly when droplets land.
Can I use the AO output instead of DO?
Yes — AO gives an analog reading from 0 to 1023, so you can set your own wetness threshold. But for a school project, DO is plenty and the code stays simpler.
Why does the code wait one minute before checking again?
Because the sensor board usually stays wet for a while after the rain stops. Without this pause, the servo would keep pulling the line in and out every time the reading flickers.
Last updated July 2026. Stuck? Chat with us on WhatsApp.
