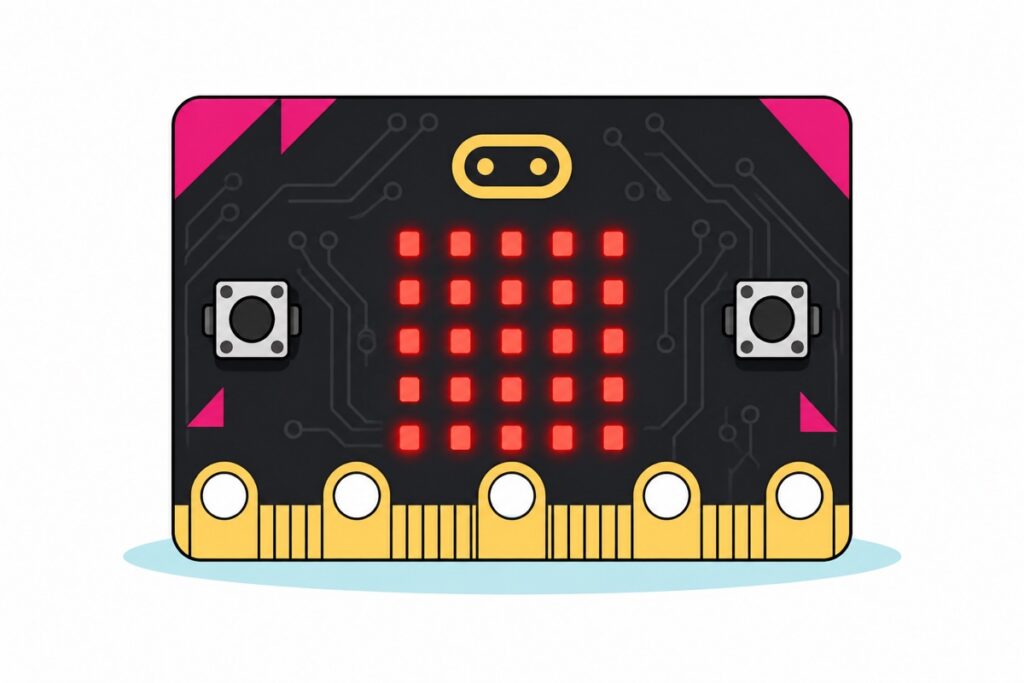
10
Sep
Sep
A micro:bit V2 is already complete enough for a full RBT project: 25 LEDs, two buttons, mic, speaker, light, temperature and motion sensors, all built in. No soldering, no wiring, programmed from a browser with MakeCode blocks.


A micro:bit V2 is already complete enough for a full RBT project: 25 LEDs, two buttons, mic, speaker, light, temperature and motion sensors, all built in. No soldering, no wiring, programmed from a browser with MakeCode blocks.
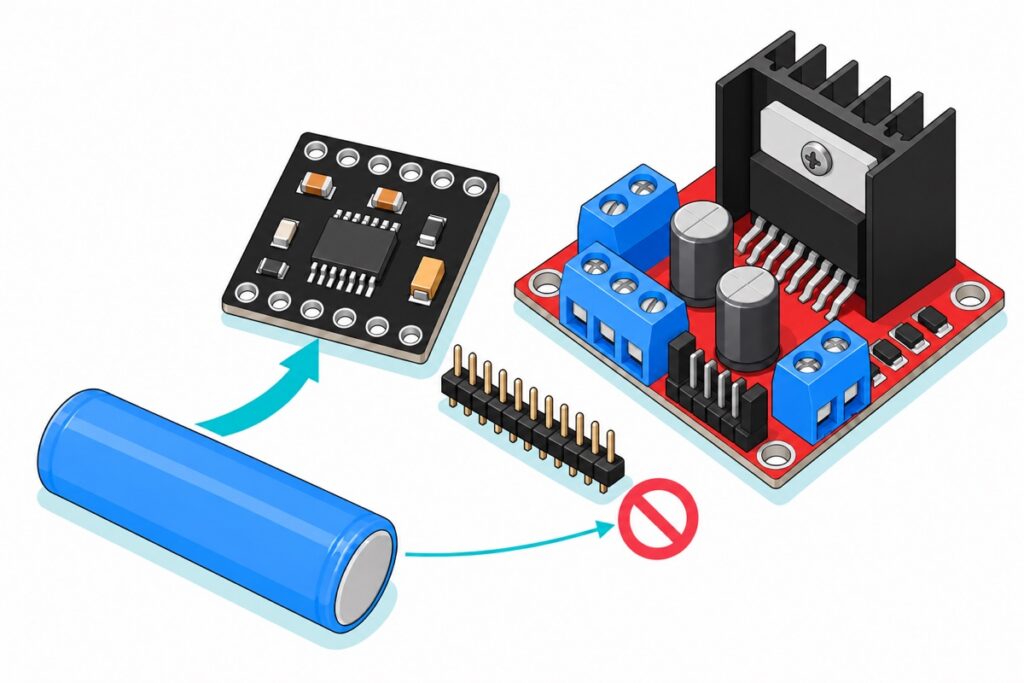
Pick the DRV8833 whenever the motors run off a battery: it starts at 2.7 V and loses about 0.36 V in its own bridge, so a single 18650 drives a robot that browns out an L298N. Wiring, Arduino code, protections and a plain decision rule.
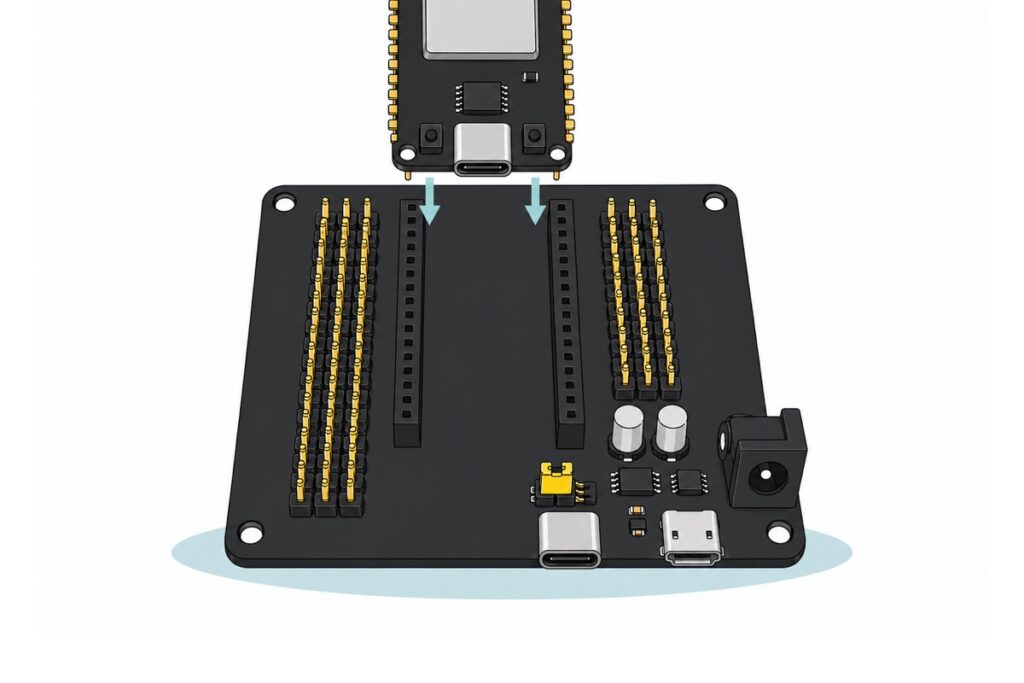
An ESP32 expansion board holds a 30-pin DevKit and re-presents every pin as a labelled G-V-S column on 2.54 mm headers. Here is what that genuinely fixes — reachable pins, printed names, a barrel jack with its own 5 V regulator — what it cannot fix, and when a plain breadboard is the better buy.
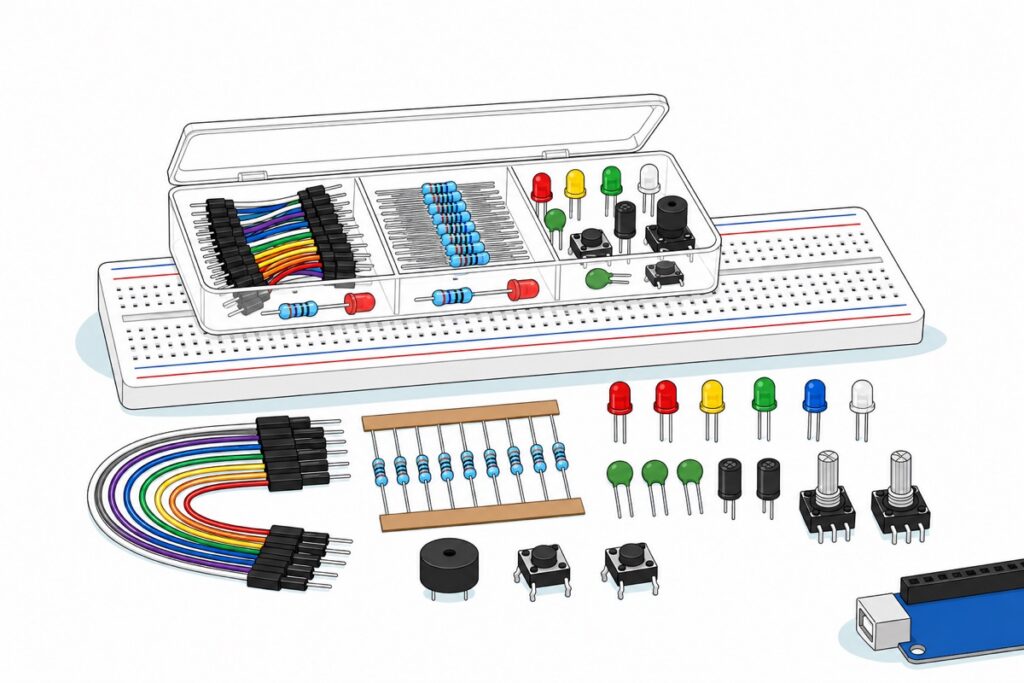
A starter kit is a box of consumables and prototyping plumbing — resistors, LEDs, capacitors, buzzers, buttons, jumper wires and an 830-hole breadboard — with the board as an add-on. No printed book, no LCD, no sensor modules. Here is what is really in the case, the honest case for buying one, and the four parts a beginner in Malaysia actually needs on day one.
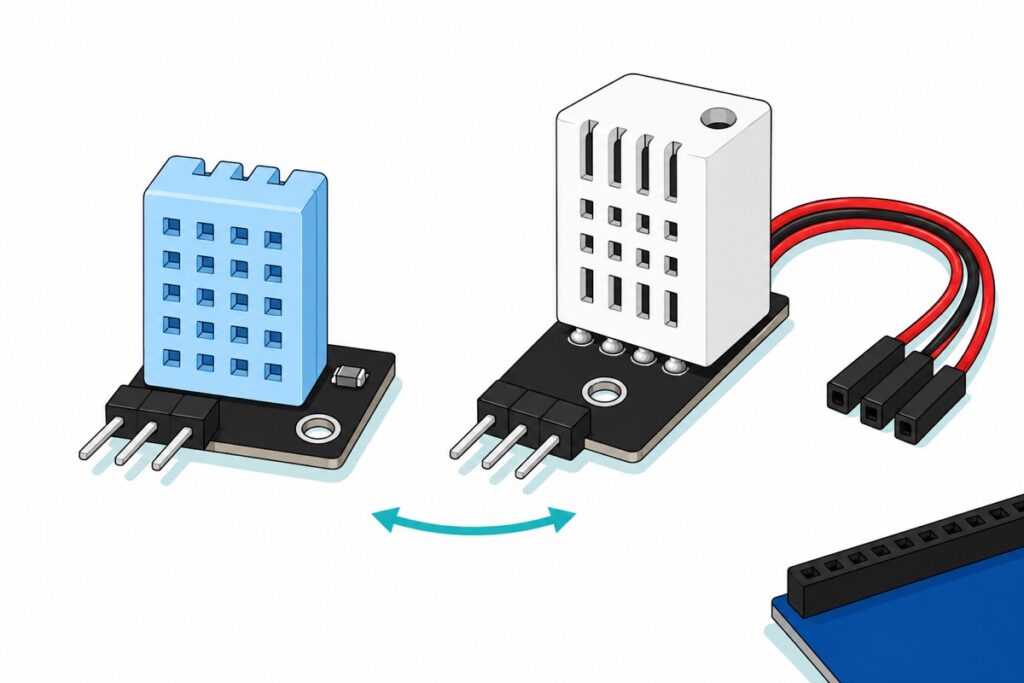
The DHT22 reads 0–100 %RH and −40 to 80 °C; the DHT11 stops at 20–90 %RH and 0–50 °C. Which matters in Malaysia, where the pull-up resistor lives on a 3-pin module versus a bare 4-pin sensor, and the four things that make readings come back as nan or freeze on one number.
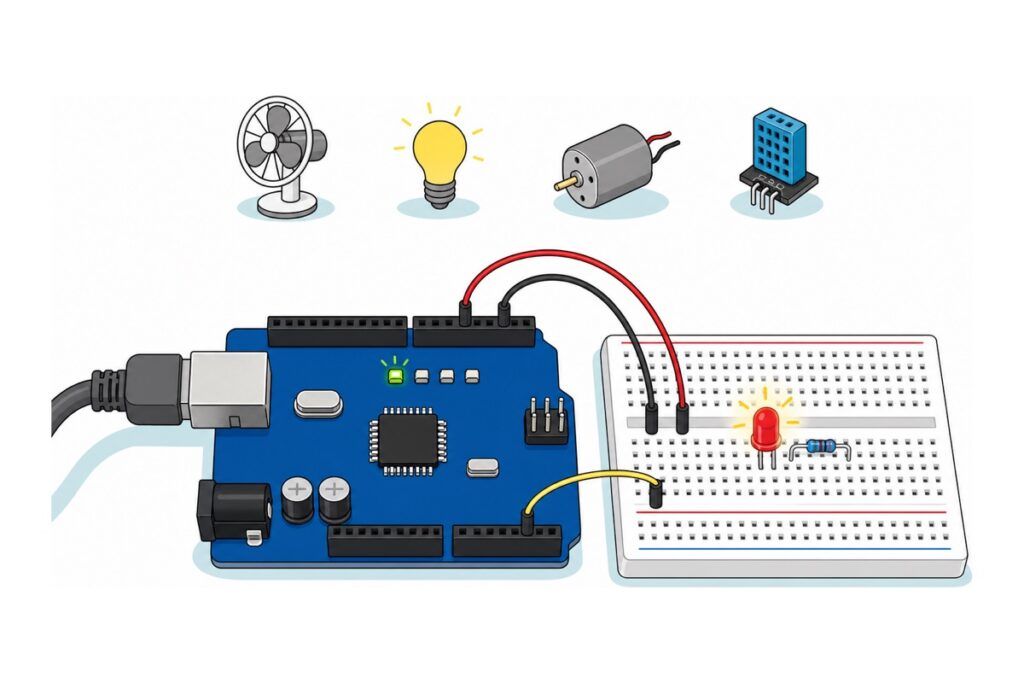
An Arduino is a small circuit board with a single microcontroller chip that runs one program – yours – over and over. What it can and cannot do, whether you need to code first, what is in a starter kit, and a realistic first week.
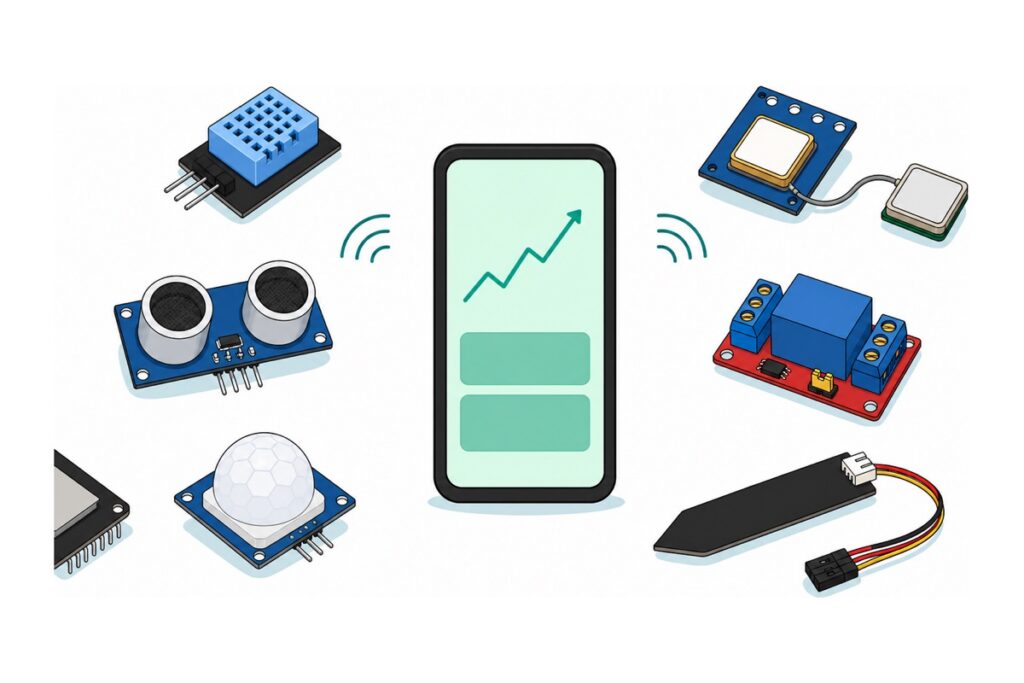
Ten IoT project ideas a final year student can genuinely finish alone in one semester, built on one shared ESP32 and Blynk skeleton.
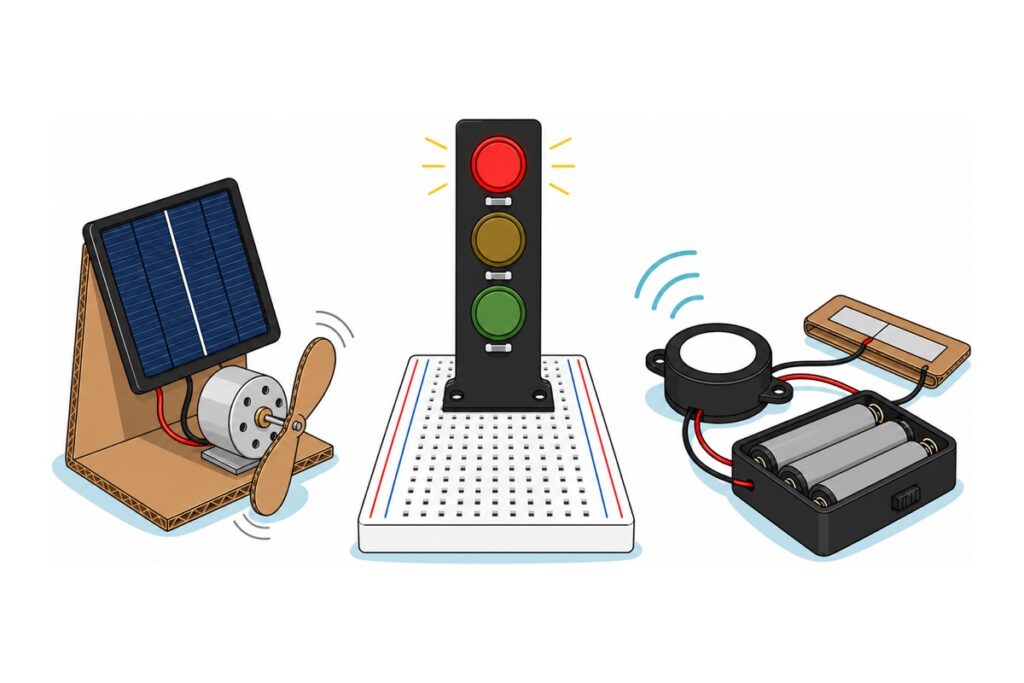
Three science fair projects a Year 4 to Year 6 pupil can finish without coding or soldering: a mini solar fan, a mini traffic light and a cardboard-and-foil door alarm. All run on 4.5 V or less, with a full parts list, a wiring table, an adult-jobs table, and a script for explaining each one to the judges.
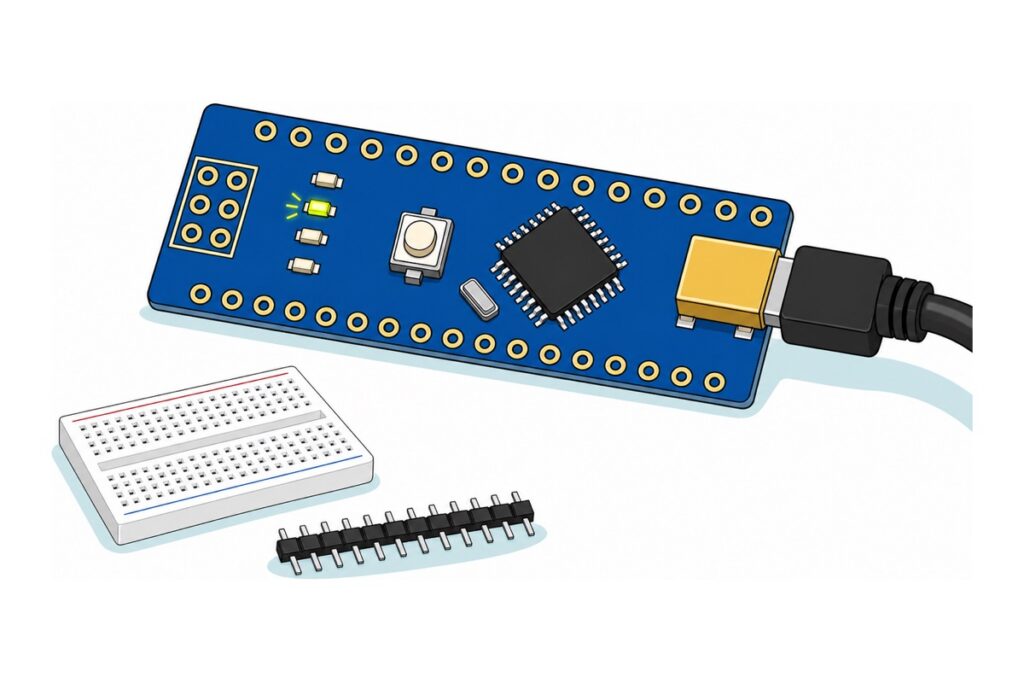
Three steps get an Arduino Nano V3 blinking: install the CH340 driver, choose Arduino Nano under Tools > Board, and set Tools > Processor to ATmega328P (Old Bootloader) — the menu that decides whether your first upload works. No soldering required, plus what cable the Mini-USB socket needs and when the Nano beats an Uno.
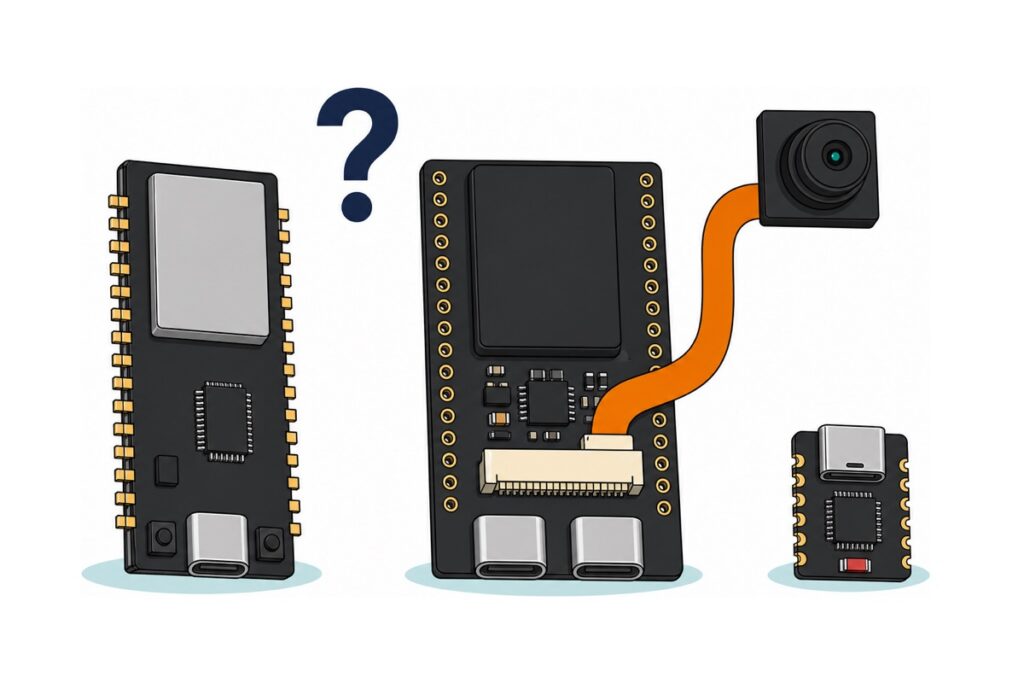
Five listings all say “ESP32” and differ in ways the shelf label never shows. This guide settles the four axes that decide which one you should buy: the USB chip (CH340 vs CP2102, and which board is Type-C), the header length (30 vs 38 pins, and how many of those eight extras are actually usable), the chip generation (classic LX6, S3 with PSRAM, C3 RISC-V), and the entry you pick in the Arduino IDE board list.
Log in to your MakerHub account