

Tutorials
Arduino Starter Kit: What’s Actually Inside, and Is It Worth It?
Sep
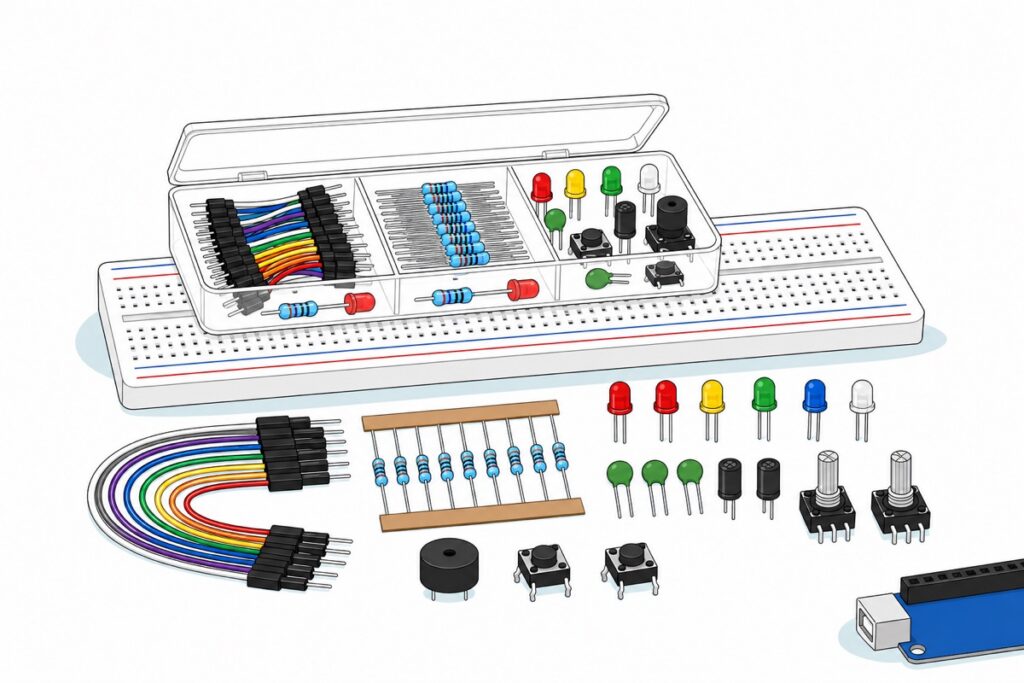
An Arduino starter kit is a box of consumables and prototyping plumbing — resistors, LEDs, capacitors, buzzers, buttons, jumper wires, an 830-hole breadboard and a power module — with the microcontroller board offered as an add-on, not baked in. It is not a course, and there is no printed book inside. Buy the kit when you do not yet know which parts go together. Buy one at a time when you already do.
What is actually inside an Arduino starter kit?
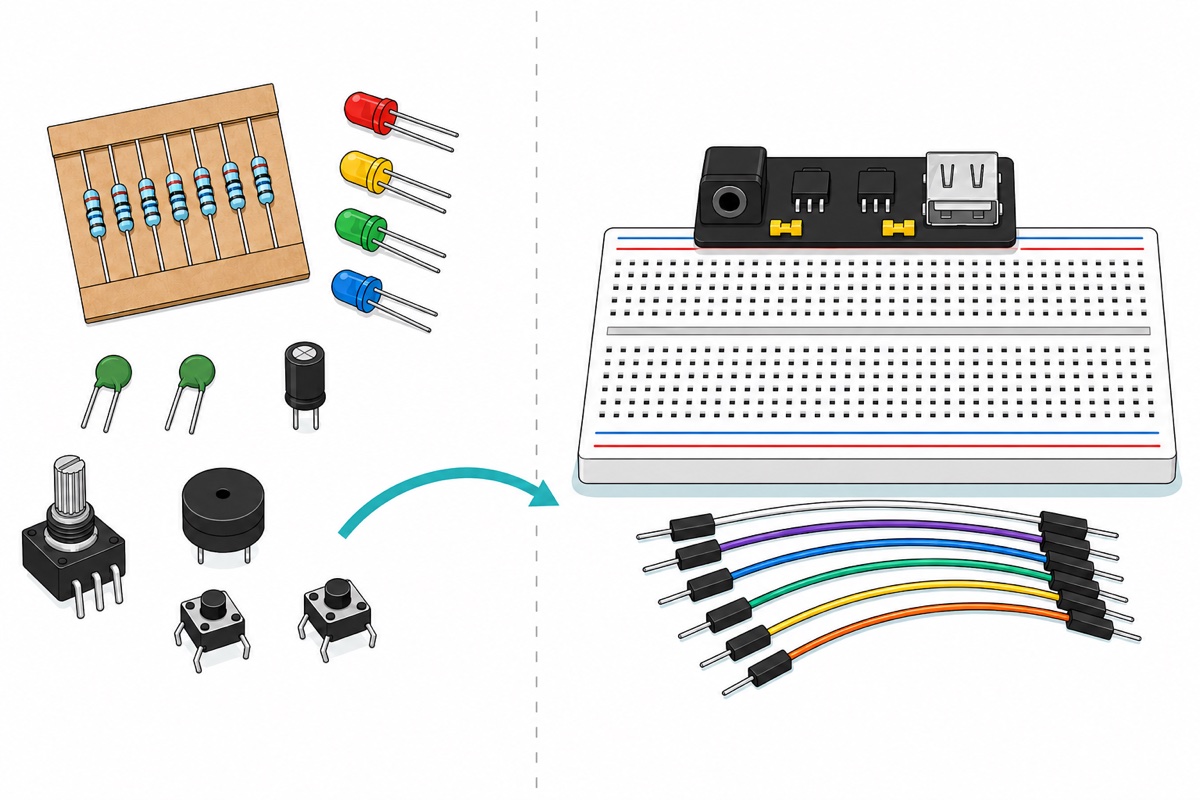
Our electronic component starter kit is a latching transparent case the size of a pencil box, sorted into trays: resistors taped to kraft-paper cards, loose LEDs, wire bundles down one side, and the 830-hole breadboard forming the bottom layer. Locally these boxes get called an Arduino set, an electronic starter kit or a learning kit more or less interchangeably, and they all mean the same thing: a case of parts, with or without a board sold beside it.
| What is in the case | What that family is for |
|---|---|
| Resistors, many values, taped to cards | Limiting current into an LED, and setting pull-ups and pull-downs on inputs |
| 5mm LEDs — red, yellow, green, blue, white, plus RGB | Output you can see; the first thing every beginner makes work |
| Ceramic and electrolytic capacitors | Smoothing a supply, timing, and steadying a chip’s power pin |
| Diodes and transistors | One-way current, and switching a load an output pin cannot drive alone |
| DIP integrated circuits | Ready-made logic and amplifier blocks that straddle the breadboard trench |
| Potentiometers, photoresistor, thermistor | Analogue inputs — a knob, light, temperature |
| Active and passive buzzer | Audible output; the active one makes its own tone, the passive one needs you to |
| Tactile push buttons | Digital input |
| Male-to-male, male-to-female and single-core wires | Every connection you will make |
| 830-hole breadboard | The surface all of the above plugs into, no soldering |
| Breadboard power supply module | Feeds both of the breadboard’s power rails from one DC input |
What is not in it matters just as much, because generic marketplace kits are full of it: no LCD screen, no sensor modules, no servo motor. Every item above is a part you will genuinely spend, and that is the point of the box — it is a consumables and plumbing kit, not a shelf of half-used modules.
The three routes — this is a menu, pick ONE
 Electronic Component Set Beginner Electrical Learning Kit For Arduino Beginner Learning - STARTER KIT WITH UNO R3
 Electronic Component Set Beginner Electrical Learning Kit For Arduino Beginner Learning - ELECTRICAL STARTER KIT
 Arduino Uno Compatible SMD UNO R3 with Type B Cable - ATMEGA328P with CH340G-Microcontroller Project
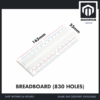 MB102 Breadboard 170 400 830 Holes Breadboard Donut Board Arduino Prototype Multi Color - BREADBOARD (830 HOLES)
 40pcs Dupont Wire 10cm 20cm 30cm for Breadboard DIY Experiment Jumper Wire Breadboard wire - DUPONT WIRE M-M 20CM
Five rows, three alternative routes — not one shopping list. Own nothing: take the kit with the Uno R3 and stop there. Already own a board: take the kit on its own. Know your parts list: take the Uno R3, whose Type-B cable is part of that product, plus the 830-hole breadboard plus one pack of male-to-male jumpers. Pick a route and ignore the other rows.
Parts list
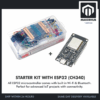 Electronic Component Set Beginner Electrical Learning Kit For Arduino Beginner Learning - STARTER KIT WITH ESP32
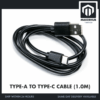 Data Cable Type-A Type-C MicroUSB Type-B 0.5m 1m 30cm 0.3m 100cm Data Transfer Upload Code - TYPE-A TO TYPE-C CABLE (1.0M)
 40pcs Dupont Wire 10cm 20cm 30cm for Breadboard DIY Experiment Jumper Wire Breadboard wire - DUPONT WIRE M-F 20CM
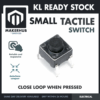 Tactile Button Momentary Switch 6mm x 6mm x 5mm Push Button 4 Pin
The ESP32 route if you want Wi-Fi from day one, its USB-C cable, male-to-female jumpers for when sensor modules arrive later, and one tactile button — the cheapest first input.
Is there a learning book inside, and does a board come with a cable?
An Arduino starter kit contains no printed learning book, and which USB cable you need depends on which board lane you pick. Those are the two questions customers ask us before they buy, so here they are answered plainly. One asked, “Arduino ini datang sekali dengan buku pembelajaran untuk coding tak??” — no, there is no printed learning book in the case. What replaces it is this tutorial library: every guide here is free, written in English, Bahasa Melayu and 中文, and starts from what an Arduino actually is. A book in the box would be one fixed booklet; the library keeps growing and links to the exact parts each guide uses.
Another asked, “Esp 32 takde provide cable ye untuk upload coding atau supply power ke” — and the cable deserves a straight answer, because it is the one thing that stops a beginner on the very first evening. The Uno R3 bought on its own ships with its Type-B cable; that is in the product title. For the kit routes, make sure the matching cable is already on your desk before you start: Type-B — the squarish printer plug — for the Uno, and USB-C for the ESP32 in our kit option, whose board carries a USB-C socket between its EN and BOOT buttons.
That cable is not only power. Your upload travels down the same lead through a CH340 serial chip, so a charge-only cable with no data conductors leaves the board powered and blinking while the IDE insists no port exists — the case our not-detected fix guide works through.
That chip matters for a second reason, and it is the most common way a first evening stalls. A CH340 board is not a USB device in its own right: the CH340G is a bridge that converts USB into the plain serial the ATmega328P actually speaks, so your computer has to load a driver for it before it will create a port at all. Windows and macOS do not always ship with that driver, which is why a perfectly good board can plug in, light up and still leave the IDE’s port list empty. Install the CH340 driver first, then set Tools → Board to Arduino Uno and Tools → Port to the port that appears when the board is plugged in.
When is a starter kit genuinely the right buy?
A starter kit is the right buy when you cannot yet name the parts a project needs, which is most of the first month. A customer told us exactly why the kit pulls at people: “I was browsing around and looked favourably on those esp32 kits that comes with all kinds of things. I found that convenience since I’m lacking in many components.” Minutes earlier the same person had asked whether a USB-C ESP32 would work with a display they had. That is the real problem — not laziness, but not yet knowing which parts go together. A kit removes that decision from your first purchase, and it is a fair thing to pay for.
There is a harder commercial reason too, and it is worth saying plainly from behind the counter. A resistor or an LED costs a few sen; picking it off the shelf, bagging it, labelling it and posting it costs many times that, every time. Passives only survive that arithmetic in assortments, which is why they reach you taped to a card rather than as a line item of two — so when what you are short of is the cheap stuff, the kit is the parts lane, not a compromise version of it.
When are you better off buying the parts one by one?
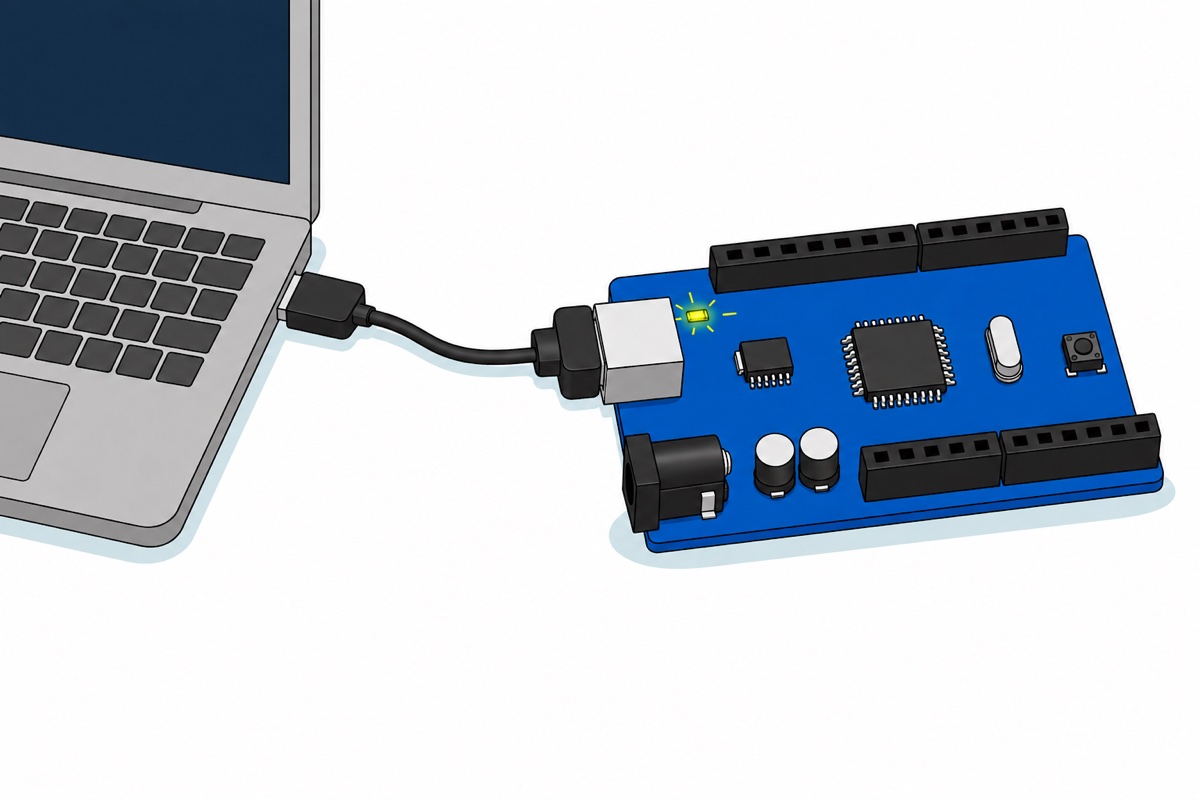
Start with the fact that undercuts every kit sales pitch: on day one you need no components at all. Look at the Uno beside its USB socket and there is a small LED with an L silkscreened next to it. That LED is wired to digital pin 13 through its own resistor on the board itself, so driving pin 13 high and low blinks it with nothing plugged in. The board and its cable really are the only mandatory purchase, and the sketch below is the whole of day one.
// Day one, zero components: the Uno already has an LED on pin 13.
// If this blinks, your board, your cable and your driver are all working.
const uint8_t L_LED = LED_BUILTIN;   // LED_BUILTIN is 13 on every Uno R3

void setup() {
  pinMode(L_LED, OUTPUT);
  Serial.begin(9600);
  Serial.println(F("board alive - watch the L LED next to the USB socket"));
}

void loop() {
  digitalWrite(L_LED, HIGH);   // pin 13 driven to 5V, the L LED lights
  delay(500);
  digitalWrite(L_LED, LOW);    // pin 13 pulled to 0V, the L LED goes out
  delay(500);
}
That compiles to a little over 2 kB, comfortably under a tenth of the Uno’s flash, and it is the single most useful test you own, because a failure here is a cable, driver or board problem, never a wiring problem. Open the Serial Monitor at 9600 baud after it uploads and the line appears, even though the sketch only prints it once inside setup() — opening the monitor pulls the board’s DTR line, which resets the Uno and runs setup() again. That reset is worth understanding, because it is also your proof that the data wires in the cable work and not just the power ones. Seeing someone do the plug-in-and-upload once removes most of the fear:
From there, four purchases cover everything a beginner in Malaysia actually does in the first month: the board with its cable, an 830-hole breadboard, a pack of male-to-male jumper wires, and one tactile push button — the cheapest first input, and the one that teaches pull-downs. Our push-button guide covers that wiring, and the breadboard guide explains which holes are joined before you plug anything in. A digital multimeter is the next thing to buy after those four, not one of them.
Those four hide one trap worth knowing before you order. A push button on its own does not hand the Arduino a clean signal: while the button is open the input pin connects to nothing, so it floats and reads whatever electrical noise is around, flickering between HIGH and LOW. The textbook fix is an external 10 kΩ resistor tying that pin to ground — a fifth part. The ATmega328P spares you the trip: every input pin carries an internal pull-up of about 20–50 kΩ that pinMode(pin, INPUT_PULLUP) switches on, so the pin idles HIGH by itself and reads LOW the moment the button connects it to ground. Wire the button between the pin and GND, invert the logic, and the four-part lane really is complete. Want an external LED instead of the onboard one and you need a resistor and an LED together — which is exactly the handful the consumables case exists to supply.
| If you… | Buy | Because |
|---|---|---|
| own nothing at all | Starter kit with Uno R3 | One purchase gets you board, breadboard, wires and every passive part |
| already own a board | Starter kit only | The consumables box on its own; no second Uno in the drawer |
| know your parts list | Uno + breadboard + M-M jumpers | Three items, nothing unused, and you add parts as projects demand them |
| want Wi-Fi from the start | Starter kit with ESP32 | Same case, but the board can reach the internet without a shield |
If the board choice is what is stalling you, our Uno versus ESP32 comparison settles it and which ESP32 variant narrows the rest; a plain ESP32 board on its own is there too.
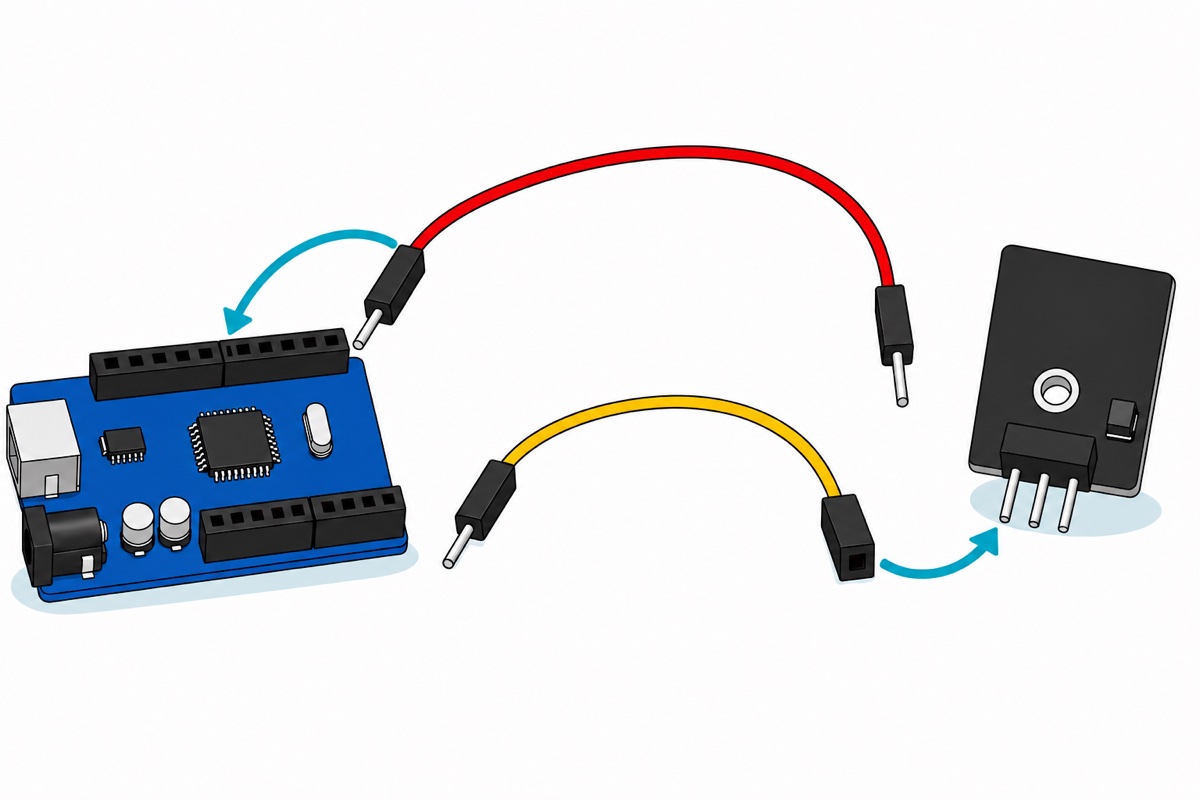
What turns a box of parts into a working setup?
Connector matching, and it is the one thing nobody tells beginners. A dupont wire end is either a pin or a socket, and two of the same never mate. The Uno’s headers are sockets. A breadboard hole is also a socket. So a wire running from the Uno to the breadboard must carry a pin at both ends — that is the male-to-male jumper, and it is why it is the gender to buy first. A sensor module, on the other hand, ends in pins, so the wire from module to Uno needs a socket at the module end and a pin at the Uno end: male-to-female. Our jumper wire guide lays out all three genders. The 30-pin ESP32 in our kit option is the exception worth knowing: its own pins are male, so it presses straight into the breadboard and everything else runs male-to-male from there. Decide where it sits before you press it in, though. Its two pin rows straddle the centre channel of a full-size breadboard and leave just one spare hole beside each pin, so push the board to one end and keep the rest of the strip free to build on.
The other question the kit provokes on day two is which of the kit’s resistor values you actually reach for. Work it out rather than guess. A red LED drops roughly 2 V once it conducts, so on a 5 V pin the resistor has to absorb the remaining 3 V. The ATmega328P allows 40 mA absolute maximum per I/O pin and is comfortable far below that, so target 10 mA: 3 V ÷ 0.01 A = 300 Ω. Starter assortments are usually stocked in the E12 series — 180, 220, 270, 330, 390 and so on — which has no 300 Ω step, so you take the next value up, 330 Ω. Up rather than down, always: a smaller resistor passes more current than you budgeted, and it is the microcontroller pin, not the LED, that you are protecting. Three values do most of the work in that whole assortment — 220–330 Ω for LEDs, 1 kΩ for general limiting, 10 kΩ for pull-ups and pull-downs.
The kit’s power supply module drops one DC input onto both of the breadboard’s power rails, and each rail’s voltage is set by a small jumper cap that also has an OFF position — check those caps first if a rail seems dead, because a working module looks faulty in that position.
There is a second dead-rail trap and it belongs to the 830-hole board rather than the module: look closely at the red and blue stripes and each one is broken in half at the mid-board line, so a power module clipped to one end feeds only the half it sits over. Two short jumpers bridging those breaks — red half to red half, blue half to blue half — turn them back into full-length rails. Until you do that, a circuit built at the far end of the board simply has no supply, and nothing about it looks wrong.
To see the passives actually going into a breadboard rather than listed in a table:
Common mistakes we see from real customers
Buying a kit to get one part. If you already know you need a specific sensor, the kit does not contain it — no starter kit does. Order the part, and buy the consumables case only when the thing you keep running out of is resistors and jumper wires.
Assuming the kit teaches the course. The case holds parts, not lessons — kit photos show a finished project sitting on the box, but the box itself is inventory. Pair it with a written guide from the first evening or the parts stay parts.
Ordering jumper wires in the wrong gender. Male-to-female looks like the safe general-purpose choice because it has one of each. It is not: two sockets cannot mate, so an M-F wire cannot run from an Uno socket to a breadboard hole, which is most of what a beginner wires. Buy male-to-male first, male-to-female when modules arrive.
Treating a USB cable as interchangeable. Type-B, micro-USB and USB-C are three different plugs, and a charge-only lead of any of them will power a board it cannot upload to. Match the cable to your board before ordering the board.
FAQ
What is actually inside an Arduino starter kit?
Consumables and prototyping plumbing. Ours holds resistors in many values, 5mm LEDs including RGB, ceramic and electrolytic capacitors, diodes, transistors, DIP ICs, potentiometers, a photoresistor and thermistor, active and passive buzzers, tactile buttons, three kinds of hook-up wire, an 830-hole breadboard and a breadboard power supply module. No LCD, no sensor modules, no servo.
Does an Arduino starter kit come with a learning book?
There is no printed book in the case. The curriculum is this free tutorial library — every guide in English, Bahasa Melayu and 中文, each one linking to the exact parts it uses. Start with the beginner’s guide to what an Arduino is, then the breadboard guide, then the push-button guide.
Do I need to buy a USB cable separately?
The Uno R3 bought on its own comes with its Type-B cable. For the kit routes, have the matching cable ready before you start: Type-B for the Uno, USB-C for the ESP32 option. Make sure it is a data cable — a charge-only lead powers the board but never uploads to it.
Is a starter kit worth it, or should I buy the parts separately?
Buy the kit if you do not yet know which parts go together, or if what you are short of is passives — resistors, LEDs, capacitors are only sold economically in assortments. Buy separately if you already have a parts list, because then the kit is mostly drawer filler and you will still order the specific items you needed.
What are the first four things a beginner should buy?
An Uno R3 with its cable, an 830-hole breadboard, a pack of male-to-male jumper wires, and one tactile push button. That covers every beginner exercise for the first month. The board alone will blink its own onboard LED on pin 13, so you can start the same evening it arrives.
Last updated September 2026. Stuck? Chat with us on WhatsApp.
