

Tutorials
How to Solder Header Pins on Arduino Modules (Easy Guide)
Jul
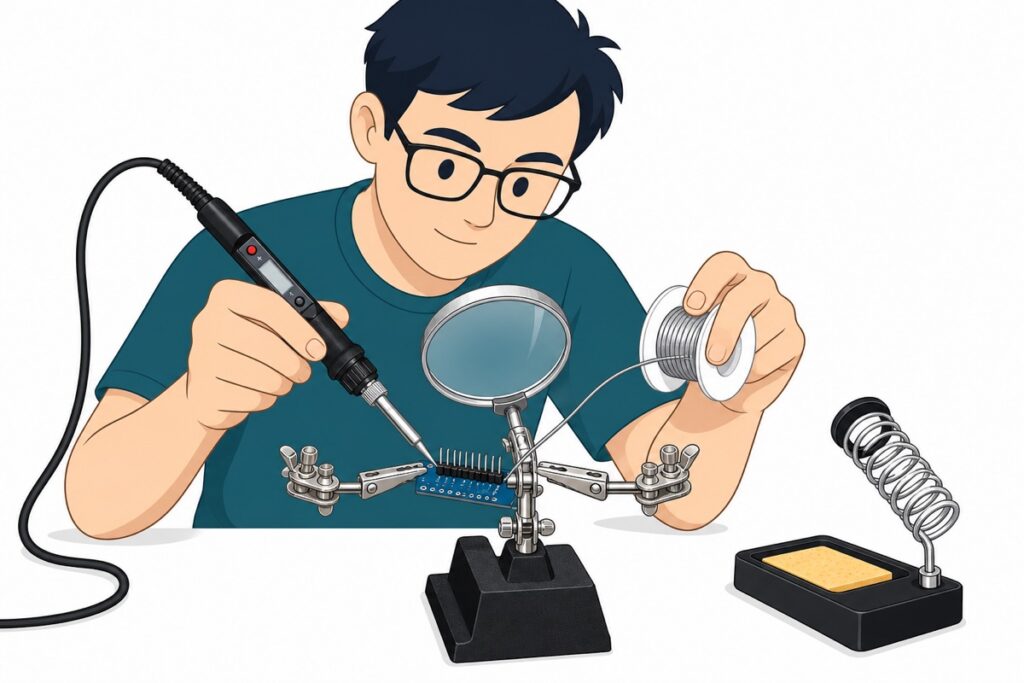
To solder header pins, push the header’s long side into a breadboard, sit the module on top, then touch a 350 °C iron to both the pad and the pin for 1–2 seconds while feeding solder into the joint — about 3 seconds per joint. A good joint looks like a shiny little volcano, and 15 minutes of practice is genuinely enough.
Why do so many modules arrive with the header pins loose?
Most breakout boards — HX711 load-cell amplifiers, LM2596 buck converters, all kinds of sensor modules — ship with the header pins loose in the packet, so you can choose the mounting: pins down for a breadboard, pins up for jumper wires, or wires soldered direct.
It is also the single biggest wall for beginners: we answered around 80 solder-related questions in the last 90 days. The honest news is that header pins are the easiest soldering job there is, and one short practice session covers it.
Complete soldering starter kit
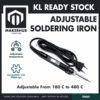 80W Electronics Soldering Iron with LCD Display Ajustable Temperature Microconstroller Electronic Project
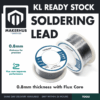 50g Soldering Wire Lead with Flux Core 1mm Diameter
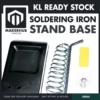 Soldering Iron Stand Metal Spring Holder Support Station Base Heat Resistant Workshop Electronics DIY Tool
 Sodering Clip Stand with Magnifying Glass Soldering Holder Electronics Project Assistance Holder
 Desoldering Pump Solder Cleaner Sucker Vacuum Soldering Removal
 Soldering Iron Tip Cleaner with Container Steel Ball Tip Cleaning
What tools and temperature do you need?
You need a soldering iron set to about 350 °C, a roll of 60/40 leaded solder, an iron stand, and a brass ball cleaner to keep the tip shiny.
A desoldering pump is worth having nearby for the day two pins get bridged.
Beginners should start with leaded 60/40 solder. It melts at roughly 183–190 °C, flows easily, and forgives slow hands. Lead-free solder needs the iron about 30–40 °C hotter and is noticeably harder to work with — save it for later.
| Solder type | Melting point | Iron temperature | For beginners? |
|---|---|---|---|
| 60/40 leaded | ~183–190 °C | ~350 °C | Yes — start here, and wash hands after use |
| Lead-free | Higher than 60/40 | ~30–40 °C hotter than for leaded | Harder to work — not for your first joints |
How do you solder header pins step by step?
1. Use a breadboard as a free jig
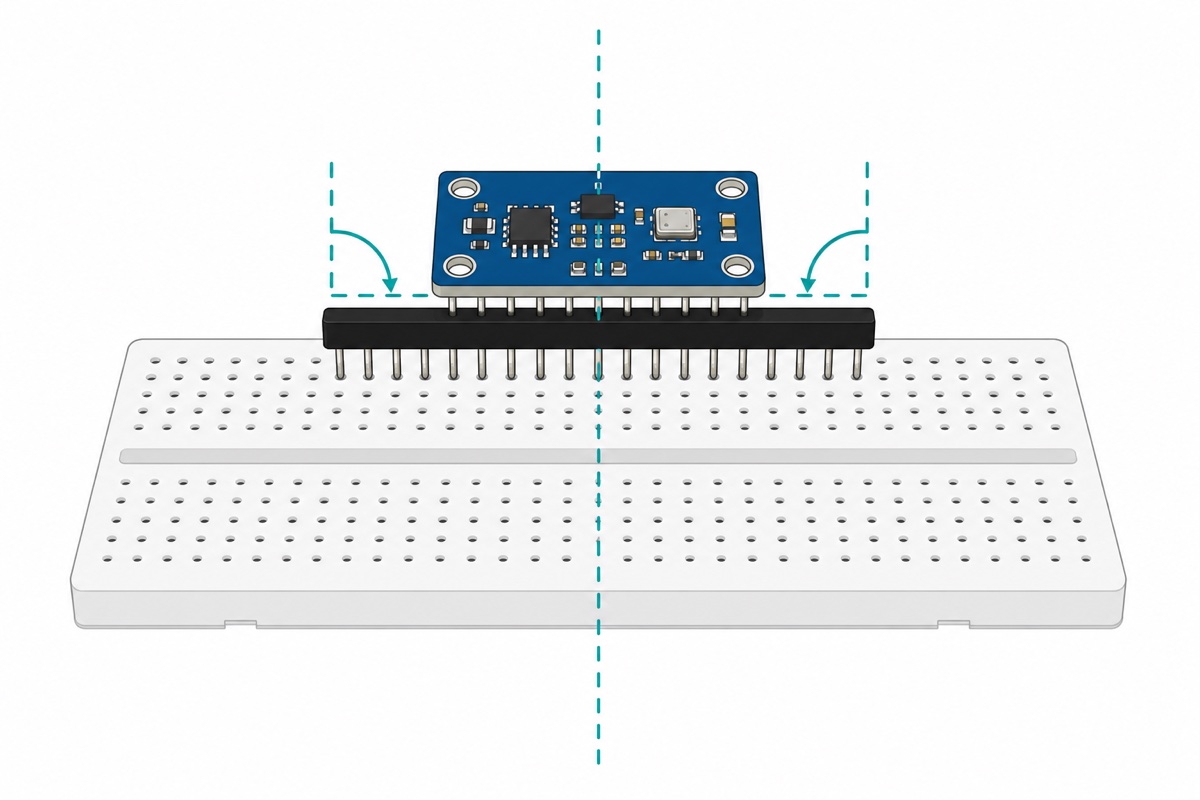
Insert the header long side down into a breadboard. The breadboard grips every pin and holds the whole row perfectly straight and square — no wobble, no crooked headers. Now place the module on top so the short ends poke through its holes.
2. Tin the iron tip lightly
Touch a small amount of solder to the hot tip so it carries a thin, shiny coat. A tinned tip transfers heat into the joint far better than a dry one.
3. Touch the iron to both the pad and the pin
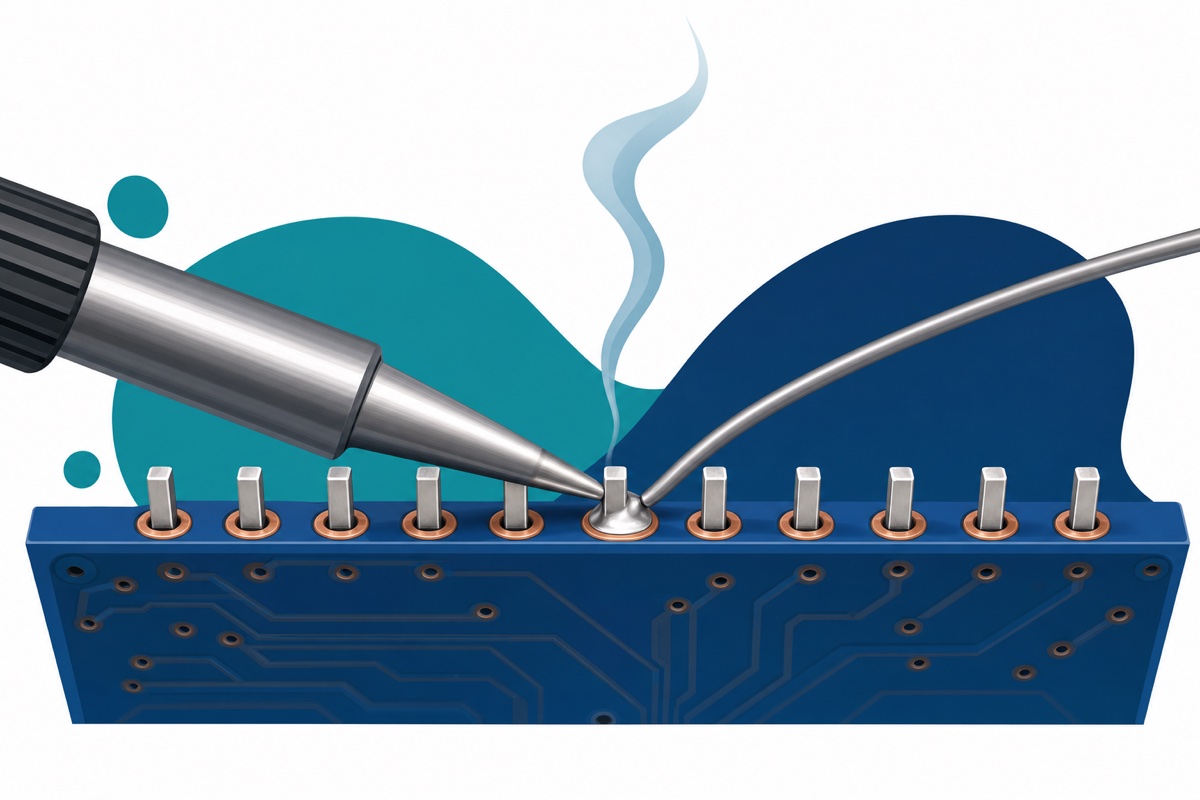
Rest the tip so it contacts the copper pad and the pin at the same time. Hold for 1–2 seconds so both surfaces come up to temperature together. Heating only one of them is where most bad joints start.
4. Feed solder into the joint, not onto the iron
Push the solder wire into the spot where pad and pin meet. If both are hot, it wicks in and wraps the pin on its own. Melting a blob on the iron and dabbing it over is how cold joints are born.
5. Remove the solder first, then the iron
Pull the solder wire away, then lift the iron. The whole joint takes about 3 seconds. If nothing is flowing by then, pull back, let it cool, and try again rather than holding the iron in place.
6. Clean the tip and move down the row
Pass the tip through the brass ball cleaner between joints so it stays clean. A typical 4-pin header is done in under a minute.
How do you know if a solder joint is good?
Look at the shape. A good joint is a shiny cone — a tiny volcano hugging the pin. A dull blob or a round ball sitting on the pad is a cold joint: reheat it with a touch of fresh solder and it will usually reflow into shape.
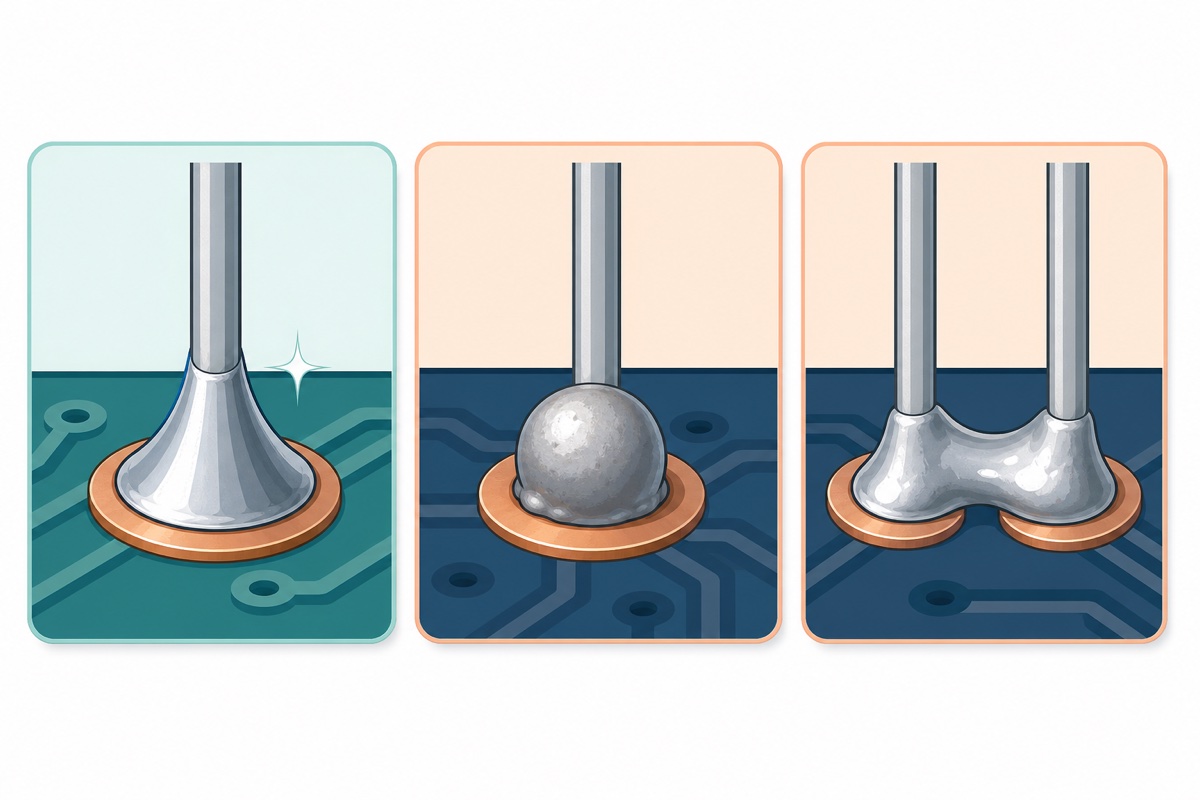
| What you see | What it means | How to fix it |
|---|---|---|
| Shiny cone or volcano around the pin | Good joint | Nothing — move to the next pin |
| Dull, grainy blob or a solder ball | Cold joint, unreliable connection | Reheat with a touch of fresh solder |
| Solder connecting two neighbouring pins | Bridge (short circuit) | Reheat and drag the solder apart, or remove the excess with a desoldering pump |
Note: this shiny-vs-dull rule applies to 60/40 leaded solder — lead-free joints look slightly dull even when perfectly good.
Cold joints are sneaky because the board often half-works. If your ESP32 uploads fine one day and fails the next, inspect the header joints before blaming the cable — our guide on ESP32 not detected / upload failed covers the other usual suspects.
How do you stay safe with a 240V iron at home?
Your iron runs off 240V Malaysian mains and its tip sits around 350 °C, so give it the same respect as a hot pan. The rules are short:
- Stand, always. The iron rests in its stand every time it leaves your hand, and it is never left powered on unattended.
- Ventilate. The smoke you see is vaporised flux, not lead — but do not breathe it directly. Open a window or run a small fan across the desk.
- Wash your hands after handling leaded solder, especially before eating.
- Tin the tip before storing. A thin coat of solder before you switch off keeps the tip in good condition for the next session.
One more habit that saves projects: practise on a cheap module first, never on your actual project board.
Common mistakes we see from real customers
“do u sell any hx711 boards with the header pins already soldered onto the board?? i’m asking because i dont know how to solder the pins”
We get versions of this weekly. Header pins are the entry-level soldering task — with the breadboard-jig method, an HX711 takes a handful of joints and a couple of minutes. Practise on one spare cheap module and “I don’t know how to solder” stops being true within an evening.
Customers also regularly ask whether we offer a soldering service to pre-solder pins. Fifteen minutes of practice is genuinely enough for header pins, and once you own the skill every unsoldered module opens up to you, including RBT and FYP projects like our jemuran automatik with rain sensor.
The technique mistakes we see most, one line each:
- Melting solder on the iron and carrying it over — feed the wire into the heated joint instead.
- Soldering headers freehand and ending up with a crooked row — let the breadboard hold them straight.
- Never cleaning the tip — a quick pass through the brass ball cleaner between joints keeps heat flowing.
FAQ
Can MakerHub solder the header pins for me?
We do not offer a pre-soldering service at the moment — honestly because header pins take about 15 minutes to learn. Practise on one cheap module first; if you get stuck, send us a photo of your joints on WhatsApp and we will point you the right way.
What temperature should the iron be for header pins?
About 350 °C for 60/40 leaded solder, which melts around 183–190 °C. If you use lead-free solder, run the iron roughly 30–40 °C hotter.
Is the smoke from soldering dangerous?
The visible smoke is burning flux, not lead vapour. Even so, do not breathe it directly — work in a ventilated space and keep your face out of the plume.
How long should the iron touch each pin?
Around 1–2 seconds to heat the pad and pin together, then a moment to feed solder in — about 3 seconds total per joint. If nothing flows by then, pull back and let the joint cool before trying again.
I bridged two pins together. Is the module ruined?
No. Reheat the bridge and drag the solder apart, or pull the excess off with a desoldering pump, then check the row again before powering the module.
Last updated July 2026. Stuck? Chat with us on WhatsApp.

Pingback: Boost vs Buck Converter: Which Do You Need?