

Tutorials
How to Build an AS608 Fingerprint Door Lock with Arduino
Jun
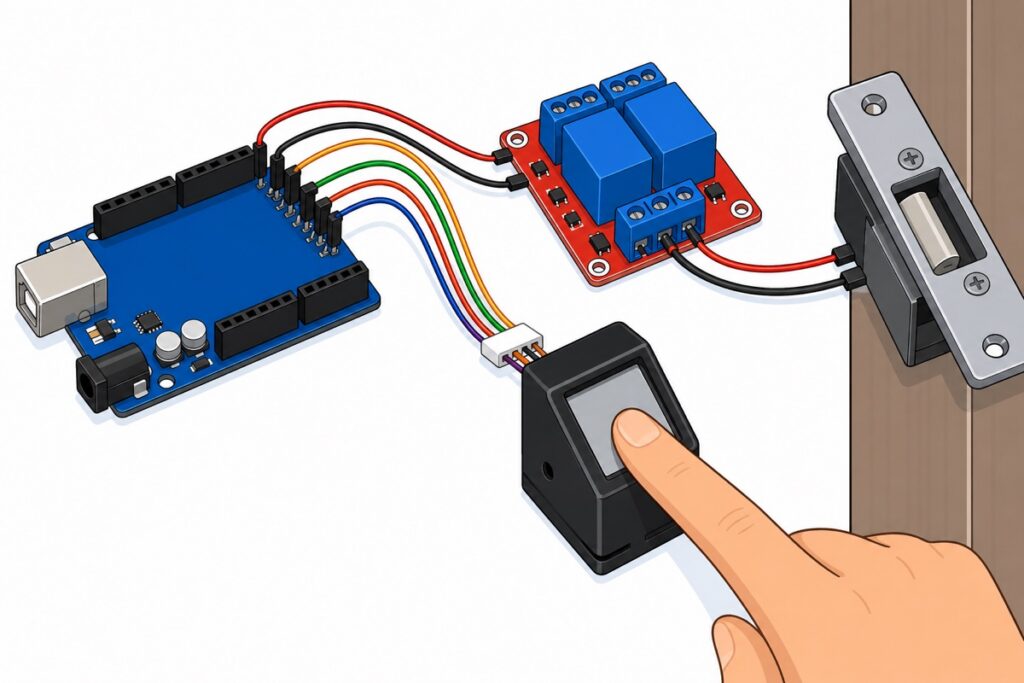
To unlock with a fingerprint, connect an AS608 sensor to an Arduino Uno over UART, enrol each finger into the module’s memory first, then let the sketch match the finger on the glass and switch a relay that opens a 12V lock. Fingerprint templates are stored in the AS608 module’s own flash, not on the Arduino — enrol once and they persist even with the power disconnected.
What do you need for an Arduino fingerprint lock?
The AS608FM is a 500 DPI optical fingerprint module with a built-in DSP — matching takes under 1 second on a 15x18mm scanning window. It communicates over UART at 57600 bps by default, with a 3.3V to 6V supply.
To switch the lock we use a 2-channel relay module, not a bare relay: a relay coil pulls far more current than the 20 mA an Arduino pin can supply, and this module already has the transistor, flyback diode and optocoupler on board. The bare Songle relay is available too, for circuits that bring their own driver.
Parts list
 Arduino Uno Compatible SMD UNO R3 with Type B Cable - ATMEGA328P with CH340G-Microcontroller Project
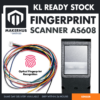 AS608 Fingerprint Scanner Module Optical Sensor Reader DIY Arduino Biometric Security Access Control Interface
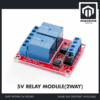 Relay Module 3.3V 5V 12V 1/2/4/8 Ways Optocoupler Trigger Relay Module 1 2 4 8 Channel Relay Module - 5V RELAY MODULE(2WAY)
 Power Supply Adapter DC Universal AC to DC Converter PSU 5V2A 5V3A 9V2A 12V2A - P.S. ADAPTOR (12V2A)
Only the lock itself needs to be bought elsewhere — a 12V solenoid for drawers and lockers, or an electric strike for doors; the 12V adaptor in the list above powers it. This project stays low-voltage throughout — for mains loads, follow our relay module guide.
How does the AS608 work, and why must you enrol first?
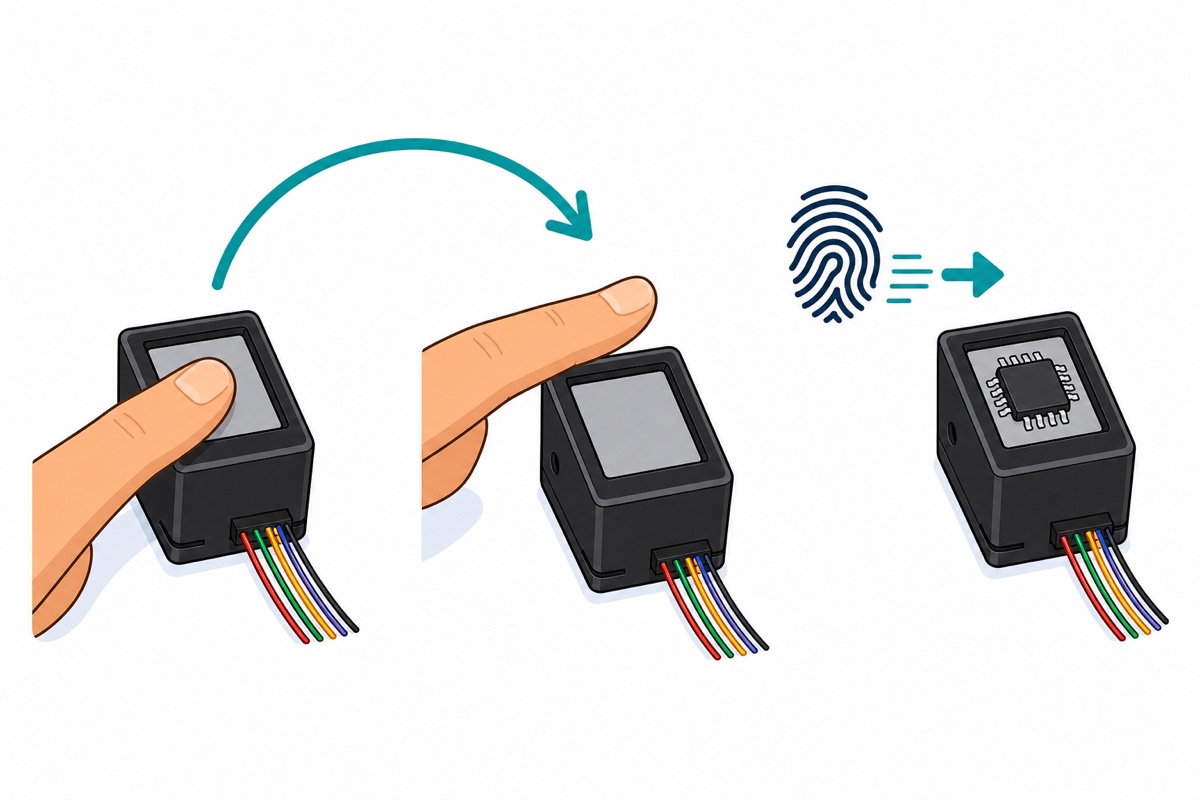
The AS608 never sends a finger image to the Arduino — it stores each fingerprint as a mathematical template in the module’s own flash, each one under an ID number. The matching sketch only works once templates exist; plenty of people upload the matching sketch straight away and wonder why every finger gets rejected — the memory is still empty.
Enrolling one finger works like this: pick an ID number, place the finger on the glass, lift it, then place the same finger again. The two readings are merged into one template and saved to that ID. Keep a written list of which ID belongs to whom — the module only knows numbers, not names.
When someone moves out, delete their ID’s template with finger.deleteModel(id); to wipe everything, use finger.emptyDatabase(). Access can be revoked without changing the door hardware — a big advantage over physical keys.
AS608 optical or ZW111 capacitive — which should you choose?
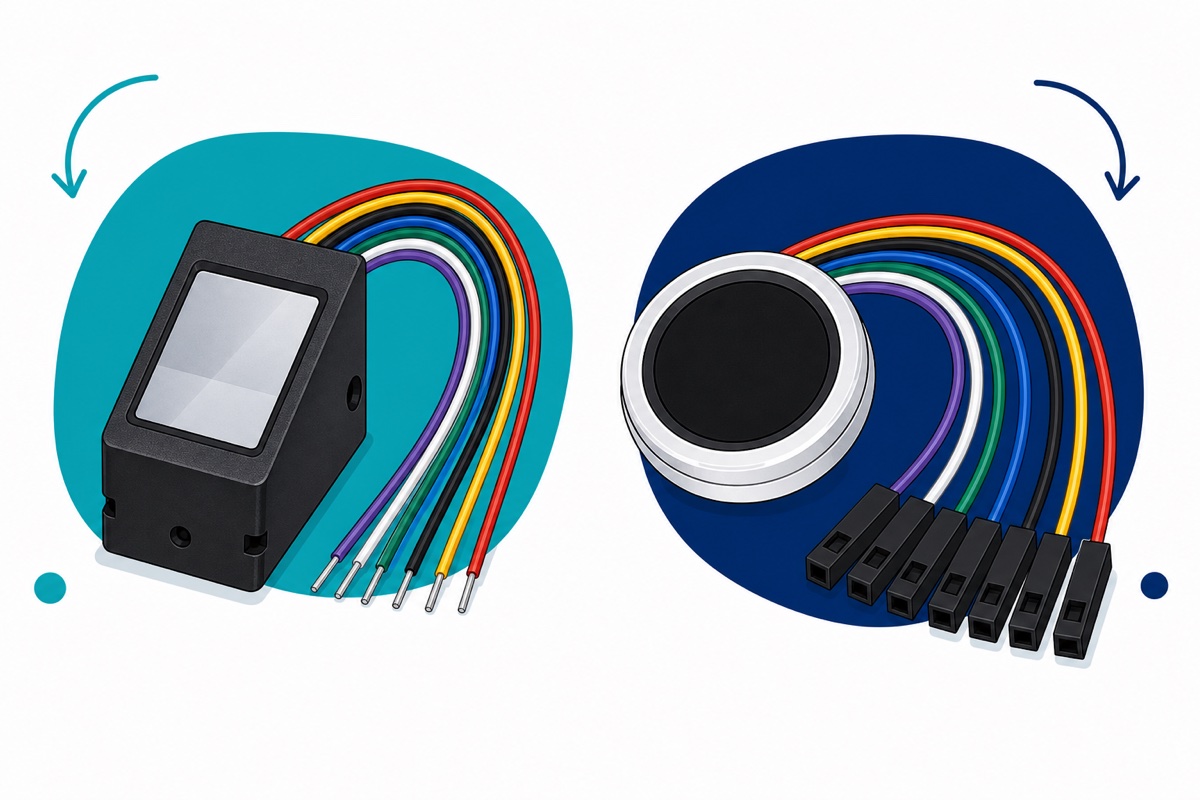
The AS608 captures an optical image of the finger surface through glass; the ZW111FP is a capacitive (semiconductor) sensor with a RISC-V core that reads the skin pattern electrically.
| Aspect | AS608FM (optical) | ZW111FP (capacitive) |
|---|---|---|
| Technology | Optical image of the finger surface, 500 DPI | Electrical reading of the skin pattern, RISC-V core |
| Wet / dry / dirty fingers | Needs a clear image — wet fingers or a dusty glass often fail | Less affected by surface condition; a soaking-wet finger is still a challenge |
| Shape & mounting | Rectangular block — suits a flat panel or DIY bracket | Round with a white/silver bezel — neat in a round panel hole |
| Connector | Ribbon with bare wire ends — needs soldering or crimping | Ready-made female dupont wires — plugs straight onto headers |
In short: the AS608 for learning, school projects and DIY brackets — this guide’s pick; the ZW111 for a round panel cutout with no soldering.
How do you wire the AS608, relay and 12V lock?
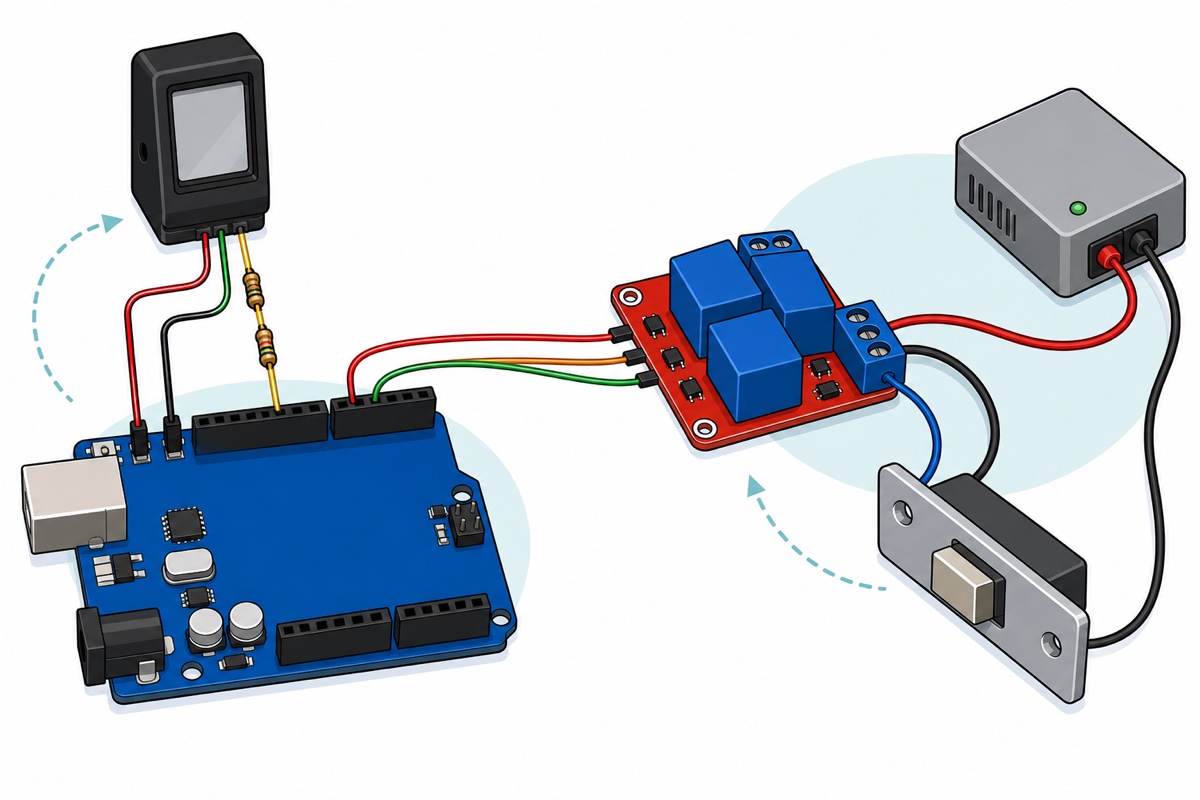
The AS608 only uses four wires of its ribbon — VCC, GND, TXD and RXD; leave the rest unconnected. The ends are bare tinned wire — solder or crimp them onto header pins first, following our header-soldering guide. Identify each wire by the pin labels on the module, never by colour — the colour order varies between batches.
The critical detail: the supply can be 3.3V to 6V, but the AS608’s UART logic is 3.3V. The sensor’s TXD can go straight to the Uno — 3.3V reads as HIGH — but in the other direction, the Uno’s 5V TX into the sensor’s RXD must pass through a divider: 1 kΩ in series from pin 3, 2 kΩ to GND, and take the roughly 3.3V signal at the junction. Feeding 5V straight into a 3.3V RX pin is the classic way people kill this module.
| Pin / wire | Connect to | Notes |
|---|---|---|
| AS608 VCC | Uno 5V | Module supply is 3.3V–6V |
| AS608 GND | Uno GND | Ground shared by everything |
| AS608 TXD | Uno pin 2 (SoftwareSerial RX) | Direct — 3.3V reads as HIGH |
| AS608 RXD | Uno pin 3 (TX) through the 1 kΩ + 2 kΩ divider | Must drop 5V to about 3.3V |
| Relay DC+ | Uno 5V | Relay coil |
| Relay DC− | Uno GND | |
| Relay IN1 | Uno pin 7 | Channel 1 trigger |
| Relay COM (channel 1) | +12V of the lock supply | Lock circuit stays separate from the Uno |
| Relay NO (channel 1) | 12V lock + terminal | Power flows only while the relay is on |
| Lock − | −12V of the lock supply |
Why SoftwareSerial and not pins 0/1? The Uno’s hardware serial is shared with USB for uploads and the Serial Monitor, so the sensor goes on pins 2 and 3 — on the Uno every digital pin supports SoftwareSerial RX, and 57600 baud is on its supported-speed list — though it sits close to SoftwareSerial’s practical limit on a 16 MHz Uno. This pins-2/3-at-57600 configuration is the same one Adafruit’s own library examples use, so it is stable for this sensor’s short packets; keep the wires short, and if the sensor occasionally goes “not found”, check the wiring and divider first. The relay module also has a high/low level trigger jumper: set it to high-trigger so the relay only fires when pin 7 is HIGH — the wrong jumper setting can pop the lock open briefly at boot.
What Arduino sketch matches a fingerprint and opens the lock?
The sketch below uses the Adafruit Fingerprint Sensor Library — install it through the Library Manager. For enrolment, first run the library’s own ready-made example: File → Examples → Adafruit Fingerprint Sensor Library → enroll, type an ID number in the Serial Monitor and follow the prompts. Once templates are stored, upload this matching sketch:
#include <SoftwareSerial.h>
#include <Adafruit_Fingerprint.h>

// Pin 2 = Uno RX (from sensor TXD), Pin 3 = Uno TX (to sensor RXD THROUGH the divider)
SoftwareSerial jalurSensor(2, 3);
Adafruit_Fingerprint finger = Adafruit_Fingerprint(&jalurSensor);

const int PIN_RELAY = 7;                 // to the relay module's IN1
const unsigned long TEMPOH_BUKA = 5000;  // lock stays open for 5 seconds

void setup() {
  digitalWrite(PIN_RELAY, LOW);          // set the idle level FIRST (high-trigger jumper)
  pinMode(PIN_RELAY, OUTPUT);            // only then make it an output - avoids a relay 'click' at boot

  Serial.begin(9600);
  finger.begin(57600);                   // AS608 default baud

  if (finger.verifyPassword()) {
    Serial.println(F("Sensor AS608 dijumpai."));
  } else {
    Serial.println(F("Sensor tidak dijumpai. Semak wiring dan baud."));
    while (true) { delay(100); }         // stop here
  }

  finger.getTemplateCount();
  if (finger.templateCount == 0) {
    Serial.println(F("Tiada template. Jalankan contoh 'enroll' dahulu."));
  } else {
    Serial.print(F("Template tersimpan: "));
    Serial.println(finger.templateCount);
  }
}

void loop() {
  if (capJariSepadan()) {
    Serial.print(F("Akses diberi untuk ID "));
    Serial.println(finger.fingerID);
    digitalWrite(PIN_RELAY, HIGH);       // relay ON, lock open
    delay(TEMPOH_BUKA);
    digitalWrite(PIN_RELAY, LOW);        // lock again
  }
  delay(50);
}

// true only if the finger matches a template in the module's flash
bool capJariSepadan() {
  if (finger.getImage() != FINGERPRINT_OK) { return false; }   // no finger (or a failed read)
  if (finger.image2Tz() != FINGERPRINT_OK) { return false; }   // image not clear enough
  if (finger.fingerSearch() != FINGERPRINT_OK) {
    Serial.println(F("Cap jari tidak dikenali."));
    delay(800);
    return false;
  }
  return true;
}
How secure is a fingerprint lock, really?
The AS608 is rated at a FAR below 0.001% and FRR below 1.0% — both measured at the default security level 3; FAR/FRR figures mean nothing unless the security level is stated with them. FAR (False Acceptance Rate) is how often a stranger’s finger is wrongly accepted — fewer than one in 100,000. FRR (False Rejection Rate) is how often your own finger is wrongly rejected — and that is the number you actually feel, because it is the one holding you at the door when your hands are wet. Lab figures are measured with clean fingers; the real world runs higher.
Some honesty is due: optical sensors capture an image of the finger surface, and security research has repeatedly shown that hobby-grade sensors can be fooled by a good enough copy of a fingerprint — we deliberately won’t describe how. More fundamental still, a fingerprint cannot be changed: a lost RFID card can be replaced, a password can be reset, but a copied fingerprint stays copied for life.
For a real door, the most important question is fail-safe versus fail-secure. A lock on the NO terminal only opens while the relay is energised — the power dies, the door stays locked (fail-secure); a maglock releases when power dies (fail-safe). Whichever you choose, a real door must have a physical key or mechanical override — a finger that won’t read, a dead sensor or a power cut must never lock you out of your own house.
Our verdict: the AS608 is a great fit for lockers, drawers, workshop cabinets, attendance systems and school projects. For a house door, treat it as a convenience layer on top of a real lock, not the only lock.
What common mistakes do we see?
“Did not find fingerprint sensor.” The most frequent pattern: TXD/RXD swapped, baud not set to 57600, or wires identified by colour when the order differs between batches. Twisted-together wires with no solder are another regular culprit — they look fine but connect intermittently.
Every finger rejected. Usually enrolment never happened — the matching sketch was uploaded with the module’s memory still empty. If templates exist and it still fails, place the finger covering the whole glass window the way you did during enrolment, and wipe the glass.
Serial Monitor says match, but the relay stays silent. Check the high/low trigger jumper, make sure IN1 (not IN2) goes to pin 7, and that the relay’s DC+/DC− are powered. Relay clicks but the lock doesn’t move? The lock may be on NC instead of NO.
Readings work sometimes, fail other times. Finger too wet or too dry, a loose wire joint, or the sensor and relay grounds not shared with the Uno.
FAQ
How many fingerprints can the AS608 store?
All templates live in the module’s own flash. A vendor datasheet lists 162 templates while many AS608 units report a 300-slot database, depending on firmware — call finger.getParameters() and read finger.capacity for your unit’s exact number.
Can I use a fingerprint lock on my house door?
Yes, as a convenience layer — not as the only lock. There must be a physical key or mechanical override so a dead sensor or a power cut cannot lock you out. For lockers, drawers and cabinets, it is very practical.
What if my fingers are wet or sweaty?
An optical sensor needs a clear image of the finger surface, so wet, sweaty or very dry fingers are often rejected — that is FRR in real life. Wipe your finger and the glass first, and enrol the same finger under two different IDs to reduce rejections.
Can I use the AS608 with an ESP32?
Yes, and it is actually easier: the ESP32 uses 3.3V logic — no divider needed, connect TXD/RXD straight to a hardware UART (Serial2, for example), with VCC from 3.3V. The same Adafruit library works without SoftwareSerial.
What is the difference between a fingerprint lock and RFID?
An RFID card can be lost, lent out or replaced; a fingerprint is always with you but cannot be changed if it is ever copied. RFID is also friendlier to wet or gloved hands. Compare them in our RFID RC522 door lock guide — for many people, the best answer is a combination of both.
Last updated August 2026. Stuck? Chat with us on WhatsApp.
