

Tutorials
How to Desolder: Solder Sucker vs Desoldering Wick (Without Lifting Pads)
Nov
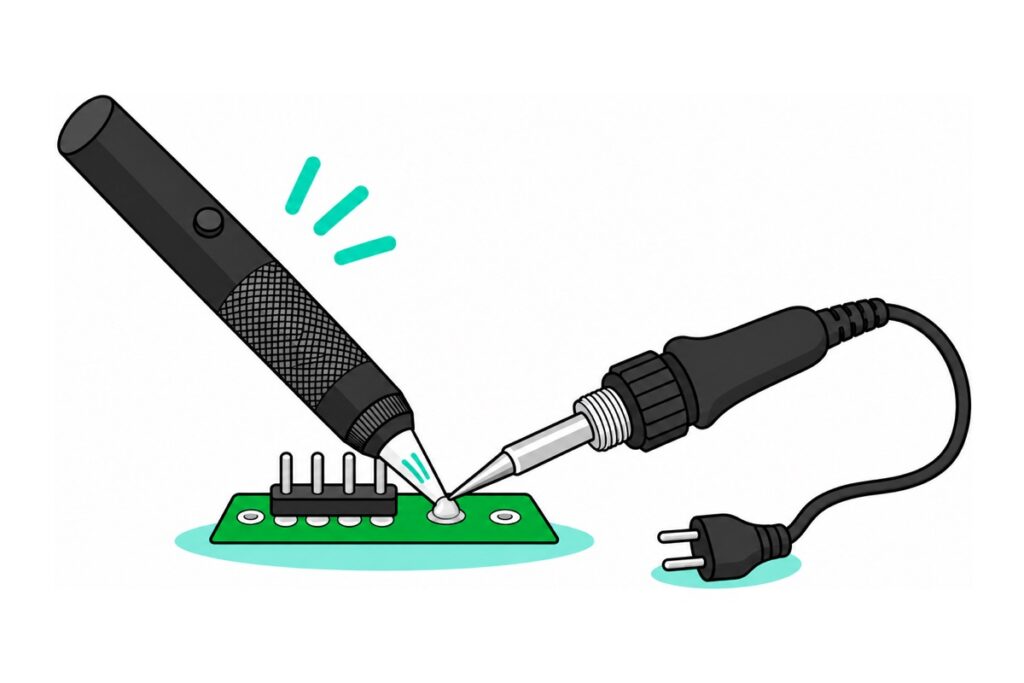
The right way to desolder: add fresh solder and flux first until the whole joint is molten and shiny, then remove it all in one go — a solder sucker for pins in through-holes, desoldering wick for flat pads and thin leftovers. Never pull a part while the solder is only half-melted — that is the number-one cause of lifted pads. This guide shows how to remove a wrongly soldered header, switch or component from a PCB (what many people search as “how to remove solder”) without damaging the board.
Why add solder before removing solder?
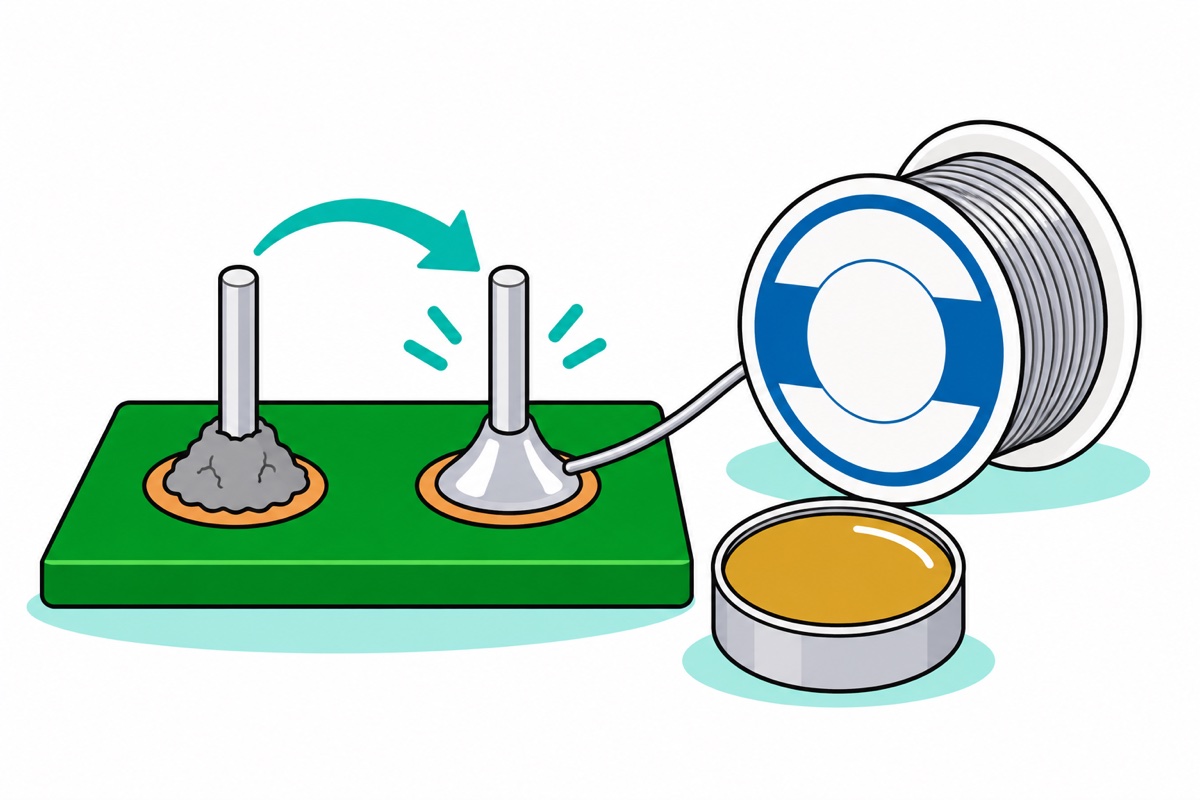
An old solder joint is coated in a dull oxide layer, and molten solder on the tip cannot wet oxide — so heat gets in only through a few dry contact points. Factory-built boards also usually use lead-free alloy, which only melts at around 217–227°C, against 183°C for classic leaded solder, per Kester’s alloy temperature chart. The result: an old joint heated directly usually melts only halfway — the top moves, but the solder inside the hole stays hard, because the component leg and the hole wall drain its heat to the far side of the board. Pull the part at that moment and the hard plug still binds the leg to the pad — your pulling force goes straight into the pad’s bond with the board.
That is why the first step of desoldering is, oddly, adding solder. Dab a little rosin flux paste on the joint, then melt fresh 0.8mm flux-core leaded solder onto it. Three things happen at once: the flux strips the oxide so the surface wets again, the molten pool becomes a far better heat bridge than a dry tip contact, and lead from the fresh solder mixes into the old alloy and lowers the melting point of the whole joint. Now the entire fillet melts at once — and one pump of the sucker or one press of the wick takes it all out. Yes, there is more solder, but suckers and wick fail on hard solder, not on a lot of solder.
A note on terms: our soldering paste tub holds amber-yellow rosin flux, not “solder in paste form” — the metal still comes from the solder wire. Flux strips oxide and blankets the hot surface so oxide cannot re-form, so molten solder wets and flows freely — into the sucker’s nozzle or into the gaps in the wick.
Tool list: desolder and remove components
| Item | Price | Qty | |
|---|---|---|---|
 Desoldering Pump Solder Cleaner Sucker Vacuum Soldering RemovalDESOLPU | RM6.95 | Out of stock | |
 80W Electronics Soldering Iron with LCD Display Ajustable Temperature Microconstroller Electronic ProjectASOIRON | RM39.95 | ||
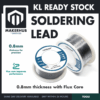 50g Soldering Wire Lead with Flux Core 1mm Diameter50SOTIN | RM9.90 | ||
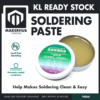 20g Soldering Paste Rosin Flux Lead-Free Blending Easy SolderSOPASTE | RM12.95 |
Optional: practice rig and extra tools
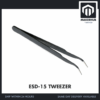 Anti-Static Precision Tweezer for Electronics PCB Repair Soldering Component ESD12 ESD14 ESD15 - ESD-15 TWEEZER
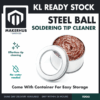 Soldering Iron Tip Cleaner with Container Steel Ball Tip Cleaning
 Double Sided Donut Board DIY Robotics Prototype Board PCB Circuit Board - DONUT BOARD (4CM*6CM)
 2.54mm Pin Header Female Male Single Row Header 40P Connector Black White Red Yellow Green Blue - 40P MALE HEADER (BLACK)
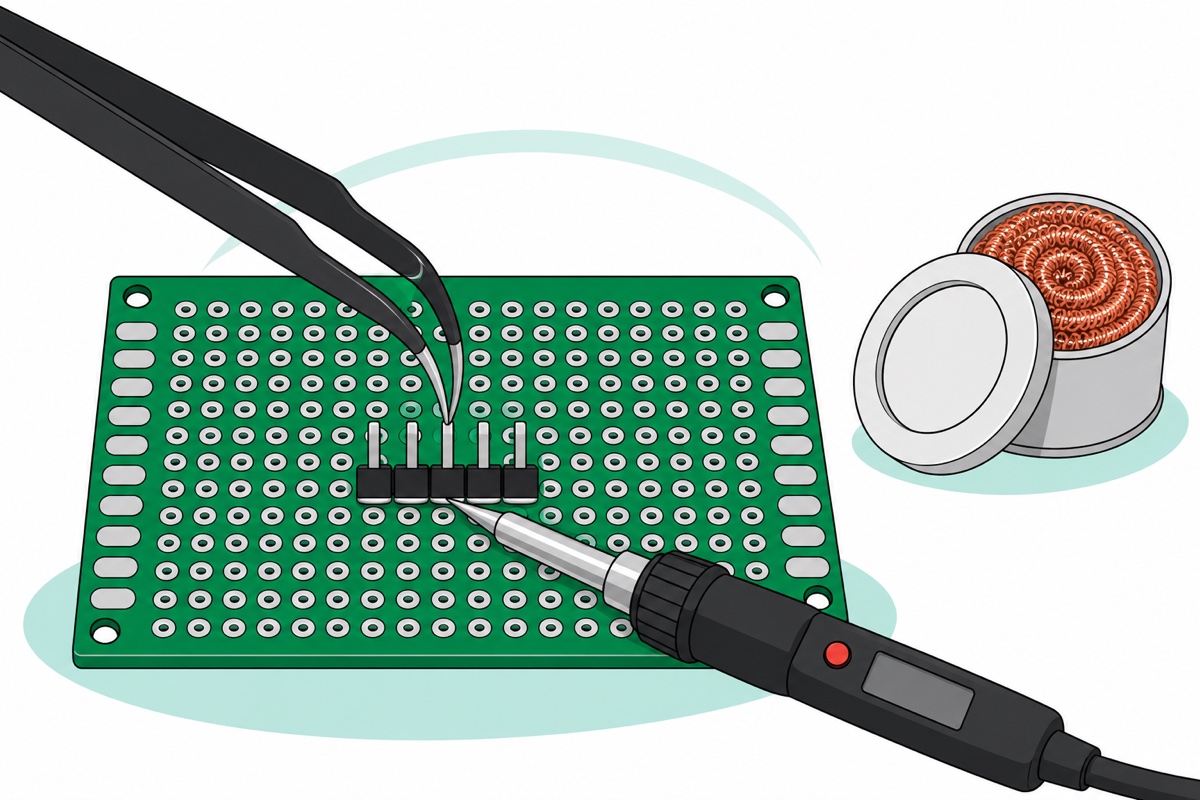
Snap 5 pins off the header, solder them onto the donut board, then desolder them again — full practice without needing a broken board. The ESD-15 tweezers hold the pin while it is heated; the tip cleaner wipes old solder off the tip between pumps.
Solder sucker or desoldering wick — when do you use which?
Choosing between a solder sucker and desoldering wick is not a matter of taste — it is a matter of joint geometry. A through-hole is a tiny tube full of solder, and the narrow gap between the component leg and the hole wall is itself a capillary channel — it holds solder by the same action the wick uses to pull it, so wick soaks up the dome on top nicely but rarely empties the hole, and the thin film left behind still locks the pin. A sucker doesn’t play tug-of-war: air pressure from the underside pushes the whole column of solder up into the nozzle in a single pump. Flat pads and solder bridges are the reverse: there is no column to suck, so a sucker only grabs the exposed blob and leaves a thin film still stuck to the pad, while wick pressed flat soaks up every last trace.
Our solder sucker is the pen-style spring-plunger type — a black aluminium body with a heat-resistant white plastic nozzle. Press the release button and the spring snaps the plunger back, and that split-second vacuum sucks the solder in. Desoldering wick is a braided ribbon of fine copper wire, usually pre-coated with flux — a cheap, generic consumable. To use it, lay the wick over the joint, press the iron tip on top, and wait for the molten solder to climb into the braid like water into a paper towel — Chemtronics lays out the full technique neatly. Three wick disciplines: press, don’t rub (braid dragged across a hot pad scrapes it); lift the iron and wick together while the solder is still molten (wick that has frozen is soldered to the pad — reheat it before lifting, never peel it off); and snip off the silvered end every time, because saturated wick absorbs nothing more. Dry wick works better with a thin smear of flux paste.
| Solder sucker | Desoldering wick | |
|---|---|---|
| Mechanism | Spring vacuum pulls molten solder out through the hole | Capillary action soaks solder into the gaps of the copper braid |
| Best for | Through-hole pins: headers, switches, terminals, component legs | Flat pads, solder bridges, thin leftovers after a pump |
| Weakness | Leaves a thin film on flat pads | Rarely empties a hole completely; cold wick sticks to the pad |
| After use | Re-cock it — the plunger pushes out the frozen solder | Snip off the silvered end |
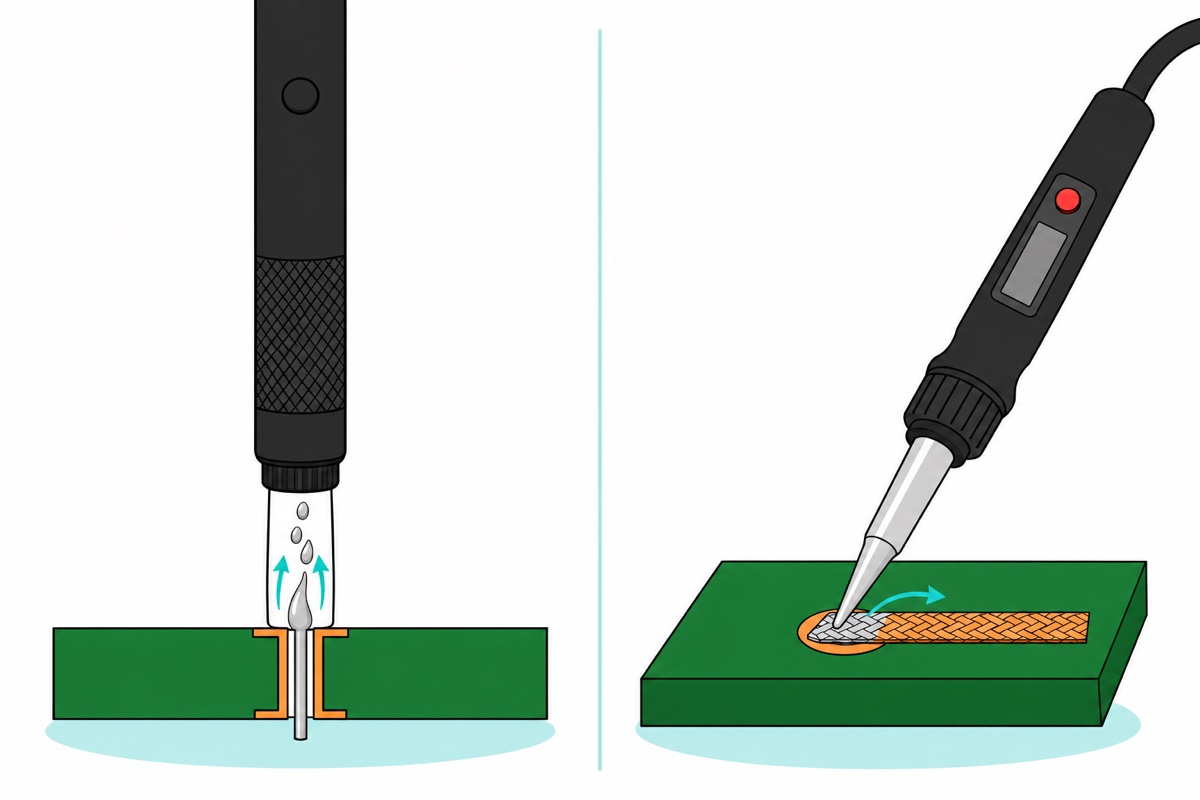
How do you remove a header or component from a PCB, step by step?
Before anything else: disconnect all power — unplug the USB cable, adapter and battery from the board. This guide is for low-voltage DC boards such as Arduino and hobby projects; circuits connected to mains are not hobby-bench work — their large capacitors can hold a dangerous charge long after the plug is pulled. Fix the board solder side up (masking tape on the bench, or a board holder), because both your hands will be busy. Then set our 80W LCD soldering iron (180–480°C range) to around 350–400°C, hotter than you would for soldering. The logic is a race of rates: heat flows in from the tip and out through the copper traces. A hot tip wins by a wide margin, so the whole fillet melts within a second or two, before the surrounding board has time to heat up; a lukewarm tip wins narrowly, so the pad’s glue gets cooked along the way. Start at 350°C, and go up to 400°C only for pins that don’t turn shiny within two or three seconds — usually GND or 5V pins, because they connect to large copper areas (such as a ground plane) that drain heat as fast as the tip delivers it. That two-to-three-second test works for irons without a temperature display too. The tip must be clean and tinned — a black, oxidised tip won’t wet with solder, just like the old joint; twist the tip through the copper-coloured cleaning coil between every pump. Choosing an iron and flux is covered in our soldering iron and flux guide.
| Step | Action |
|---|---|
| 1 | Dab a little flux paste on the first joint |
| 2 | Melt fresh solder onto the joint until the whole fillet is shiny and moving |
| 3 | Cock the sucker (push the plunger down until it locks) and hold it ready in the hand not holding the iron |
| 4 | Keep the iron on the joint; angle the white nozzle close to the pin, right beside the tip — don’t press the nozzle against the tip or the plastic will deform |
| 5 | Turn your face away from the board, then press the release button while the solder is still molten — one pump |
| 6 | Check: the pin should now be loose and wiggle. Repeat steps 1–5 for the next pin |
| 7 | Stubborn pin: reheat and nudge the pin to the centre of the hole with tweezers while molten — a pin leaning against the hole wall is stitched in place by a thin film of solder. If it still sticks, pinch the pin’s head from above and pull straight while molten |
| 8 | Thin shiny residue left on the pad: dab it with wick, not the sucker |
Two warnings at step 5. First, your eyes: the sucker’s spring recoil can flick droplets of molten solder out of the nozzle — that is why your face stays away from the board, and safety glasses are best. Second, fumes: the white plume is rosin flux fume, not lead — but according to the UK HSE it is a common cause of occupational asthma. Keep your head out of the plume, and open a window or aim a small fan across the bench.
This Adafruit video shows the hand movements for both tools. Watch how the iron tip sits at the corner of the joint so the pump’s nozzle can land right on the solder the moment it melts — the iron stays on the joint as in step 4, because a small pool of solder freezes the instant its heat is taken away:
Once every pin has been pumped, the header lifts out with no force at all — if it still resists, a joint isn’t clean yet: go back to step 1, don’t add muscle. The header itself is cheap; the board is what you are saving. If the plastic strip gets in the way, cut it between each pin with wire cutters (not flush against the board) and pull the pins out one at a time. And don’t force a still-blocked hole open with a new part’s leg: add fresh solder once more and pump — a thin film freezes fast, a full pool doesn’t. Fitting a replacement afterwards? Follow our header pin soldering guide — or if you just want the board finished without the DIY, our soldering service can handle the refit.
How do you avoid lifting a pad?
A PCB pad is a sliver of copper foil, thinner than paper, bonded to the fibreglass board with epoxy resin. Ordinary FR-4 resin starts to soften at around 130–140°C — far below solder’s melting point — so while the joint is molten, the pad is held only by softening glue, and lingering heat weakens it further. Single-sided boards without plated holes lose pads most easily: there is no hole wall anchoring the pad, only glue. Pads lift when two things meet: heat for too long, and a pull before the solder is fully molten. So four disciplines protect every pad: fully molten first, before any pull (the fillet looks shiny and moves, the pin wiggles); never pry with a screwdriver or pliers; on multi-pin headers, work pin by pin — the bent-tip ESD-15 tweezers pinch the pin’s head on the component side while the iron heats the joint on the solder side (stand the board on its edge), the bent tip giving a straight grip without blocking the iron; and let the board cool for 20–30 seconds before a second attempt on the same joint, so the resin under the pad drops back below its softening temperature.
How do you practise without a broken board?
Desoldering skill doesn’t have to wait for a real mistake. Snap 5 pins off a 40-pin 2.54mm male header, solder them onto a double-sided 4×6cm donut board — its tinned round pads on both sides hold solder like a real PCB — then remove them all again using the sequence above. How to solder it is in our donut board soldering guide. If you have wick, bridge two pins on purpose and clean the bridge up with it — bridges are wick work, not sucker work. Repeat this solder-and-desolder cycle two or three times: your score is the number of pads still intact at the end. When the session is over, wash your hands before eating: an iron runs too cool to vaporise lead, so the real risk is residue on your fingers, not the fumes. Store the tip clean and thinly coated with solder so it doesn’t oxidise as it cools.
Common mistakes we see
Pulling the part while the solder is half-melted. The top fillet moves, so it feels “melted” — but the plug inside the hole is still hard, and the pull from the pliers goes straight into the pad. Wait until the pin itself wiggles freely; a part that is truly free doesn’t need pulling at all.
Pumping an old joint without adding solder. A pump only removes what is molten — on an oxidised joint that is only half, and the hard remainder is harder to clear once the flux is spent. Flood it with fresh solder first — that full molten pool is what carries the heat down into the hole.
Pumping a clinched leg. A component leg bent flat against the pad before soldering is mechanically locked — however clean the pump, it stays caught. Heat the joint and straighten the leg with tweezers while molten, then pump.
Swapping the iron for a craft heat gun. A craft heat gun blasts hot air over the whole area with no control — connector plastic melts and the glue under the surrounding pads cooks before the target solder even melts. Desoldering a PCB is local-heat work: the iron tip, one point at a time.
FAQ
What is the difference between a solder sucker and desoldering wick?
A sucker creates a split-second vacuum that pulls molten solder out through the hole — the tool for through-hole pins. Wick soaks solder up by capillary action into a braid of copper wire — the tool for flat pads, solder bridges and thin leftovers. Clean work usually uses both: the sucker first, then wick for the final clean-up.
Why won’t old solder melt?
Its surface is oxidised, so solder on the tip can’t wet it and heat gets in only through dry contact points; the alloy may also be lead-free, which melts higher than leaded solder. The fix isn’t temperature alone: apply flux and melt fresh leaded solder onto the joint — the flux strips the oxide, and the new alloy mix melts at a lower temperature overall.
How do I desolder without damaging the PCB pads?
Four disciplines: make sure the whole fillet is molten before any pull, never pry with hard tools, work pin by pin on headers (tweezers hold, iron heats), and let the board cool for 20–30 seconds between attempts on the same joint. A lifted pad is almost always too much heat for too long combined with pulling too early.
What iron temperature should I use for desoldering?
Start around 350°C with a clean, tinned tip; go up to 400°C only for GND or 5V pins tied to large copper areas such as a ground plane, because that copper drains heat as fast as the tip delivers it. Aim for a short, hot touch: the whole fillet molten in a second or two, before the pad’s glue has time to cook.
Can I use a solder sucker on SMD components?
Not really — a sucker only removes exposed solder, while SMD solder is trapped between the pad and the part’s flat lead. For two- or three-lead SMD parts, add fresh solder and flux until every lead can be melted at once — on a two-ended resistor or capacitor, flood it until one blob bridges both ends — then lift or slide the part away with tweezers and clean the pads with wick. Multi-lead SMD parts such as ICs are a job for a hot-air rework station with a controlled nozzle — outside the scope of this guide.
Last updated November 2026. Stuck? Chat with us on WhatsApp.
